


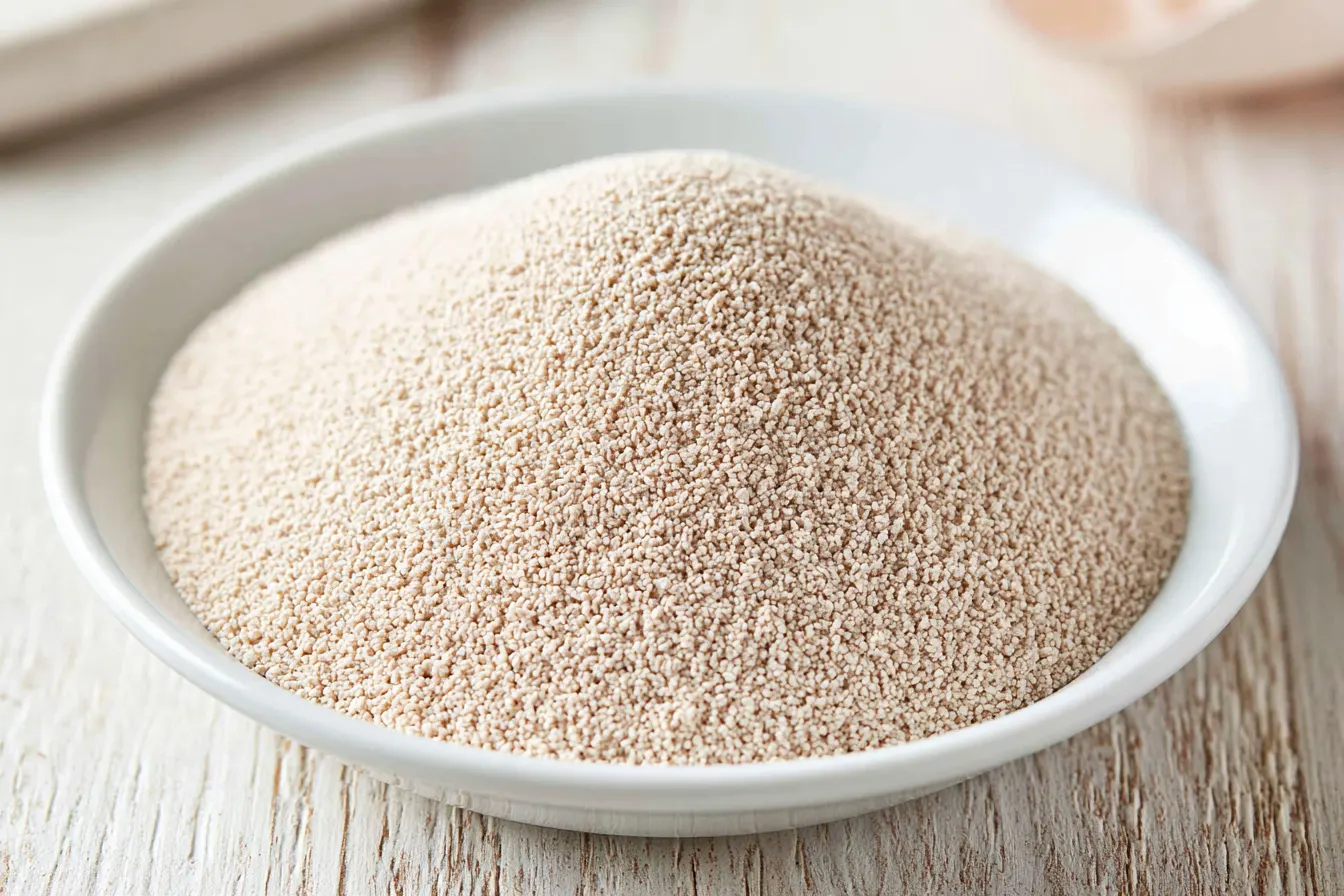
Ever stood in front of your pantry, recipe in hand, staring blankly at a packet of yeast and wondering, “just how much yeast is in a packet, anyway?” You’re not alone. I’ve been there more times than I care to admit, especially in my early baking days when every yeast-based creation felt like a high-stakes science experiment. That tiny foil pouch holds the magic that transforms humble flour and water into fluffy, aromatic bread, but its exact contents can feel like a baker’s secret.
- Cracking the Code: The Standard Yeast Packet Size
- The Different Faces of Yeast: Active Dry vs. Instant
- Converting Yeast Measurements: From Packets to Pinches (and Back!)
- How to Store Yeast to Keep It Alive and Kicking
- Beyond the Packet: Understanding Yeast Ratios in Recipes
- Frequently Asked Questions About Yeast Packets
- How much instant yeast is in a packet compared to active dry?
- Can I substitute active dry yeast for instant yeast, and vice versa?
- My recipe calls for grams, but my yeast is in packets. What’s the conversion?
- What if I accidentally use too much yeast in my recipe?
- How can I tell if my yeast is still good?
- Is there a difference in strength between brands of yeast?
- My Take: Embracing the Yeast Journey
It’s a question that pops up whether you’re tackling your first sourdough, a batch of soft dinner rolls, or a decadent brioche. Different recipes call for varying amounts of yeast, and those little packets aren’t always labeled in the most straightforward way, especially if you’re used to measuring in teaspoons or grams.
Before we dive deep into the world of yeast types and measurements, let’s demystify that common baking dilemma. Knowing the standard quantity in a packet is your first step to unlocking consistent, delicious results in all your yeasted bakes.

Cracking the Code: The Standard Yeast Packet Size
When you grab a standard packet of yeast from the baking aisle, you’re usually holding 2 and 1/4 teaspoons (or 0.25 ounces / 7 grams) of active dry or instant yeast. This is the most common measurement you’ll find, and it’s a good baseline to commit to memory. Most recipes calling for “one packet of yeast” are referring to this specific quantity.
But why the specificity? Well, yeast, in its dormant state, is a living organism. When activated with warmth and moisture, it “eats” sugars and produces carbon dioxide, creating those wonderful air pockets that give bread its texture and rise. Getting the amount right is crucial – too little, and your dough won’t rise properly; too much, and your bread can taste yeasty and have an off-texture.
Different types of yeast, while often coming in the same packet size, behave slightly differently. Active dry yeast, for instance, typically needs to be “proofed” in warm liquid before being added to the rest of your ingredients. Instant yeast, on the other hand, can usually be mixed directly into the dry ingredients without prior activation.
Why Does Packet Size Matter for Your Bake?
Understanding the standard amount isn’t just about measurement; it’s about control. Imagine a recipe calls for 1 teaspoon of yeast, but you only have packets. If you just dump the whole packet in, you’re using more than double the required amount! This can lead to an overproofed dough that rises too quickly and then collapses, or a finished product with an unpleasantly strong yeasty flavor.
Conversely, if a recipe calls for, say, a tablespoon of yeast, and you assume one packet is enough, you’ll be under-yeasting your dough. This can result in a dense, heavy loaf that struggles to rise. Precision, while sometimes feeling like a chore, truly pays off in baking, especially when it comes to the leavening agents.
Knowing your packet measurements allows you to confidently scale recipes up or down. Need to make a double batch of cinnamon rolls? You’ll know exactly how many packets (or how much from a jar) to grab. Want to halve a recipe for a smaller loaf? Easy peasy.

The Different Faces of Yeast: Active Dry vs. Instant
While the standard packet size (2 1/4 teaspoons) generally applies to both, it’s worth taking a moment to appreciate the subtle differences between active dry and instant yeast. They’re siblings, not identical twins, in the yeast family.
Active Dry Yeast: The Traditionalist
Active dry yeast consists of larger granules and is typically encased in a thicker cell wall, which makes it more stable but also requires a little extra coaxing to wake up. This is why recipes often instruct you to “proof” active dry yeast in warm water (around 105-115°F / 40-46°C) with a pinch of sugar for 5-10 minutes. This step ensures the yeast is alive and active before it goes into your dough, giving you peace of mind that your bread will actually rise.
If your proofing mixture doesn’t get foamy and bubbly, it’s a good indication that your yeast is past its prime or the water wasn’t the right temperature. Time to toss it and grab a fresh packet!
Instant Yeast: The Speedy Modernist
Instant yeast, sometimes labeled “rapid rise” or “quick rise,” has finer granules and a more porous cell wall. This means it activates much faster and doesn’t usually require proofing. You can often mix it directly with your dry ingredients, saving a step and a bit of time. It’s designed to provide a quicker rise, making it a favorite for bakers on a tighter schedule.
Because it’s so efficient, some bakers find that instant yeast can lead to a slightly less developed flavor in bread compared to active dry, which takes its time. However, for everyday baking and quick recipes, it’s an absolute godsend.
Fresh Yeast (Cake Yeast): The Old School Pro
You won’t typically find fresh yeast in small packets like dry yeast; it usually comes in compressed cakes or blocks. It’s much more perishable and needs to be refrigerated. For those who prefer its unique flavor and texture in certain European breads, knowing the conversion is key. A general rule of thumb is that 1 packet (2 1/4 teaspoons) of active dry or instant yeast is equivalent to about 0.6 ounces (17 grams) of fresh yeast. This is roughly a 1:2 ratio of dry to fresh yeast by weight.
It’s less common in home baking today due to its short shelf life, but it’s still a beloved ingredient for many professional bakers.
Converting Yeast Measurements: From Packets to Pinches (and Back!)
Let’s get down to the nitty-gritty of measurements, because recipes don’t always speak in “packets.” Sometimes they’ll call for teaspoons, grams, or even ounces. Having these conversions handy will save you a lot of head-scratching.
Key Conversions to Remember
- 1 standard yeast packet = 2 1/4 teaspoons (2.25 tsp)
- 1 standard yeast packet = 0.25 ounces
- 1 standard yeast packet = 7 grams
So, if a recipe asks for 1 teaspoon of active dry yeast, you’d use a little less than half a packet. If it asks for 1/2 ounce of yeast, you’d need two packets.
Tip: Keep a small, airtight container specifically for leftover yeast from opened packets. Store it in the refrigerator or freezer, and it will stay fresh for much longer than if left in the original, often poorly sealed, foil packet. Just be sure to bring it to room temperature before using.
For those who buy yeast in larger jars or bulk, these conversions are even more critical. A typical 4-ounce jar of active dry yeast, for example, contains roughly 16 standard packets’ worth of yeast. Knowing this helps you understand the economic value and how long a jar might last you.

How to Store Yeast to Keep It Alive and Kicking
Yeast is a living thing, and like all living things, it thrives under certain conditions and perishes under others. Proper storage is paramount to ensuring your yeast stays potent and effective. Nothing is more deflating than starting a batch of dough, only to realize your yeast is dead and your bread won’t rise.
Unopened Packets and Jars
Unopened packets of yeast can be stored at room temperature in a cool, dry pantry until their expiration date, which is usually stamped on the packet or jar. However, for maximum longevity and peace of mind, many bakers recommend storing even unopened yeast in the refrigerator or freezer. This significantly extends its shelf life, often for several months beyond the printed date.
Opened Packets and Jars
Once opened, yeast is exposed to air and moisture, which rapidly degrades its potency. Transfer any leftover yeast from an opened packet into an airtight container – a small jar with a tight-fitting lid or a resealable plastic bag works perfectly. Store this immediately in the refrigerator or, even better, the freezer.
When stored in the freezer, yeast can remain active for up to a year or even longer. You don’t even need to thaw it before using; simply measure it out directly from the freezer and proceed with your recipe as usual.
Testing Your Yeast’s Vitality
If you’re ever unsure about the freshness of your yeast, particularly if it’s been opened for a while or is past its expiration date, perform a quick proofing test:
- Combine 1 teaspoon of sugar with 1/2 cup of warm water (around 105-115°F / 40-46°C).
- Stir in 2 1/4 teaspoons (one packet) of your yeast.
- Let the mixture sit for 5-10 minutes.
If the mixture becomes foamy and bubbly, your yeast is alive and ready to use! If it remains flat, it’s time to discard it and open a new packet or jar. This simple test can save you from a lot of baking disappointment.
Beyond the Packet: Understanding Yeast Ratios in Recipes
While knowing how much yeast is in a packet is fundamental, a truly confident baker also understands the typical ratios of yeast to flour in different types of dough. This knowledge allows for more flexibility and even for creating your own recipes.
Typical Yeast-to-Flour Ratios
For most standard bread recipes, a good rule of thumb is to use about 1 teaspoon of active dry or instant yeast per 3-4 cups of all-purpose flour. This can vary based on the desired rise time, the richness of the dough (more sugar and fat can slow down yeast activity), and the ambient temperature of your kitchen.
- Lean Doughs (e.g., French bread, pizza dough): These often use slightly less yeast and rely on longer fermentation times for flavor development. Around 1 teaspoon per 4-5 cups of flour.
- Rich Doughs (e.g., brioche, challah, sweet rolls): The sugar and fat in these doughs can inhibit yeast, so you might see slightly more yeast used, or a longer rise time. Around 1 teaspoon per 3 cups of flour.
- Quick Breads (e.g., rapid-rise recipes): These recipes are designed for speed and will often use a full packet (2 1/4 teaspoons) for 3-4 cups of flour to ensure a fast, strong rise.
Understanding these general ratios helps you eyeball if a recipe seems “off” or if you want to experiment with a longer, slower rise for more complex flavors.
Factors Affecting Yeast Activity
Yeast is a finicky friend, and several factors can influence its activity:
- Temperature: Warmth (100-115°F / 38-46°C) is ideal for yeast activity. Too cold, and it’s sluggish; too hot (above 130°F / 54°C), and you’ll kill it.
- Sugar: A little sugar is yeast’s favorite food, helping it to activate. Too much sugar, however, can draw moisture away from the yeast, slowing it down.
- Salt: Essential for flavor and controlling yeast activity, but direct contact in large amounts can kill yeast. Always mix salt into the flour before adding yeast.
- Fat: Butter, oil, and eggs can weigh down dough and slow yeast activity, often requiring longer rise times or slightly more yeast.
- Acidity: Too much acidity can inhibit yeast. This is why sourdough relies on wild yeasts and bacteria that tolerate acidic environments.
Keeping these elements in mind will help you troubleshoot when your dough isn’t behaving as expected, moving you from just following a recipe to truly understanding the art of bread making.
Frequently Asked Questions About Yeast Packets
Let’s tackle some of the most common head-scratchers when it comes to those little yeast packets and what they contain.
How much instant yeast is in a packet compared to active dry?
Generally, a standard packet of instant yeast contains the same amount as active dry yeast: 2 1/4 teaspoons (0.25 ounces / 7 grams). The difference lies in their processing and how they’re used, not their quantity per packet.
Can I substitute active dry yeast for instant yeast, and vice versa?
Yes, usually you can! The general rule of thumb for substitution is a 1:1 ratio by volume (e.g., 1 teaspoon active dry for 1 teaspoon instant). However, if substituting active dry for instant, you may need to proof the active dry first. If substituting instant for active dry, you can skip the proofing step. Keep in mind that instant yeast often provides a slightly quicker rise, so adjust your proofing times accordingly.
My recipe calls for grams, but my yeast is in packets. What’s the conversion?
One standard yeast packet is equivalent to 7 grams. So, if your recipe calls for 14 grams of yeast, you’d use two packets. For smaller amounts, you’ll need a kitchen scale for precision, or you can eyeball it if you’re comfortable (e.g., a little less than half a packet for 3 grams).
What if I accidentally use too much yeast in my recipe?
Using too much yeast can lead to an overly rapid rise, which can result in an overproofed dough that collapses or bakes into a dense, coarse-textured loaf. It can also impart a strong, sometimes unpleasant, yeasty flavor to your finished product. If you catch it early, you can try to “punch down” the dough more frequently to degas it, but often it’s best to stick to the recommended amount.
How can I tell if my yeast is still good?
The most reliable way is the proofing test: mix 2 1/4 teaspoons of yeast with 1/2 cup warm water (105-115°F / 40-46°C) and a pinch of sugar. If it’s foamy and bubbly after 5-10 minutes, it’s good. If not, it’s likely dead and should be discarded.
Is there a difference in strength between brands of yeast?
While the standard packet size is consistent, some bakers believe there are minor differences in the “vigor” of different yeast brands. However, for most home baking purposes, these differences are negligible. The most important factor is ensuring your yeast is fresh and properly stored.
My Take: Embracing the Yeast Journey
From my kitchen to yours, understanding the humble yeast packet is a cornerstone of successful baking. It’s not just about knowing that how much yeast is in a packet is 2 1/4 teaspoons; it’s about appreciating the science, the patience, and the magic that goes into creating something truly delicious from scratch. Every time I open a new packet, I’m filled with a little thrill, knowing the potential for fluffy bread or tender rolls that awaits.
Don’t be intimidated by yeast. Think of it as a tiny, helpful organism that, with the right environment and care, will reward you with some of the most satisfying aromas and textures your kitchen can produce. Experiment with different types, learn how to store it correctly, and most importantly, enjoy the process. Happy baking!

No-Knead Artisan Bread
Effortless artisan bread with a crispy crust and chewy interior, requiring minimal hands-on time.
📝 Ingredients
👩🍳 Instructions
- 1In a large bowl, whisk together the flour, salt, and instant yeast until well combined. There’s no need to proof instant yeast, so you can mix it right in.
- 2Pour in the warm water and mix with a wooden spoon or spatula until a shaggy, sticky dough forms. Don’t overmix; just ensure all the flour is hydrated. There should be no dry spots.
- 3Cover the bowl tightly with plastic wrap and let it rest at room temperature (ideally around 70°F/21°C) for 12-18 hours. The longer the rise, the more flavor develops. The dough should at least double in size and be dotted with bubbles.
- 4After the long rise, generously flour a clean work surface. Scrape the dough out of the bowl onto the floured surface. It will be very sticky, so use plenty of flour to prevent sticking.
- 5Gently fold the edges of the dough towards the center to form a round ball. Avoid excessive handling; just shape it enough to create a taut surface. Cover loosely with plastic wrap or a clean kitchen towel and let it rest for 30 minutes while you preheat your oven.
- 6Place a 4-6 quart Dutch oven (with its lid) in your cold oven. Preheat the oven to 450°F (232°C). Allow the Dutch oven to preheat for at least 30 minutes after the oven reaches temperature; this is crucial for a crisp crust.
- 7Carefully remove the hot Dutch oven from the oven. Gently transfer the dough into the hot Dutch oven. You can carefully lift the dough using a floured spatula or by tipping it in from your floured hands. Be careful not to burn yourself.
- 8Cover the Dutch oven with its lid and bake for 30 minutes. This steaming environment creates the perfect crust.
- 9Remove the lid and bake for another 15-20 minutes, or until the crust is deeply golden brown and sounds hollow when tapped on the bottom. The internal temperature should be around 200-210°F (93-99°C).
- 10Carefully remove the bread from the Dutch oven and place it on a wire rack to cool completely before slicing. This prevents a gummy interior. Note: Cooling bread properly is just as important as baking it for the best texture and flavor.
💡 Notes
For a slightly chewier crust, you can add 1-2 tablespoons of whole wheat flour to the dough. Leftover bread can be stored at room temperature in an airtight container for up to 3 days, or frozen for longer storage. This recipe is highly adaptable; feel free to add seeds or herbs to the dough for different flavor profiles. Serve with butter, olive oil, or alongside your favorite soup or stew.



