


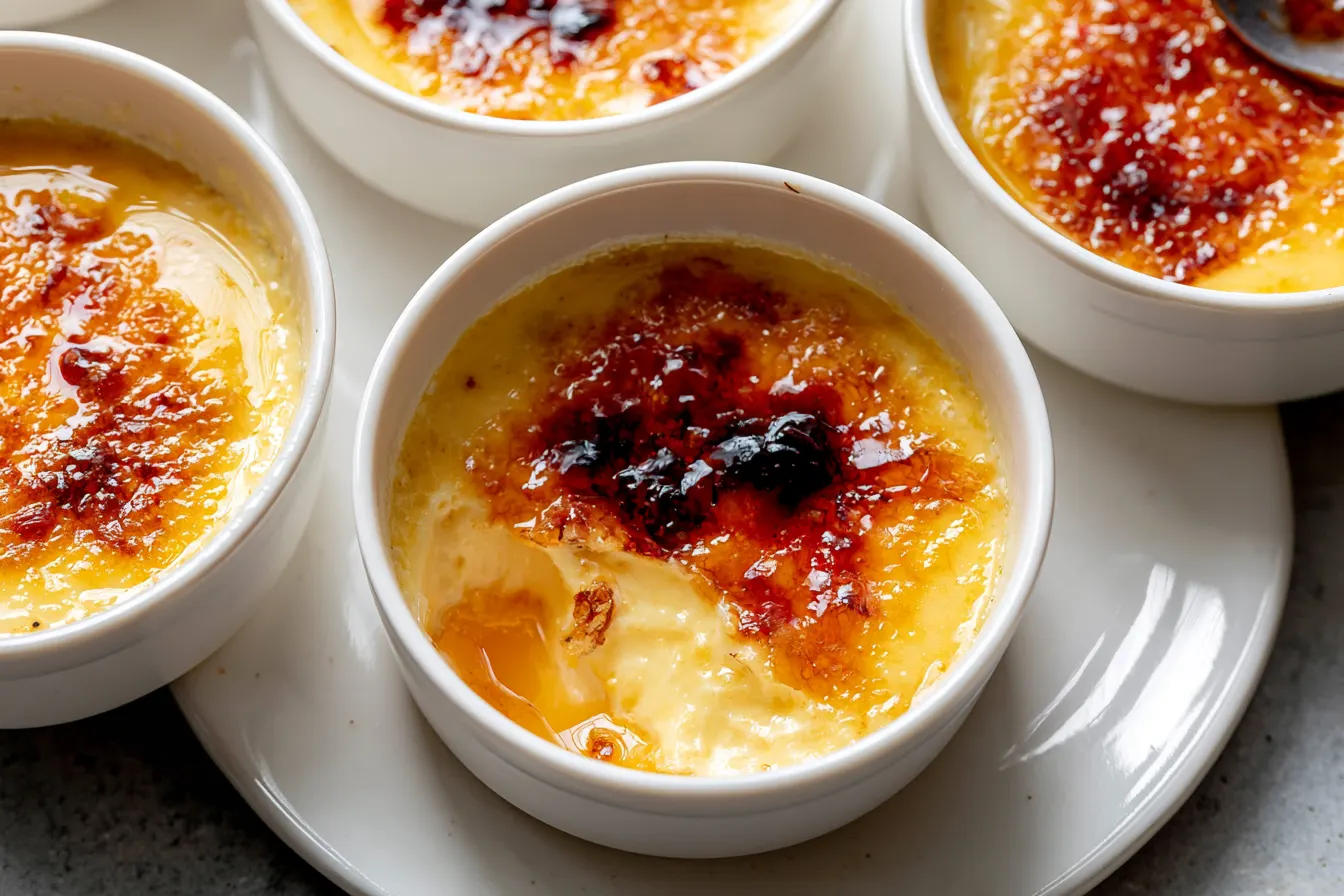
There’s this moment, right? You’re sitting at a dimly lit table, perhaps a little fancy, and the server brings out a ramekin with a perfectly smooth, golden-brown crust. You tap it with your spoon, and *crack* – that satisfying sound that promises a creamy, vanilla-bean speckled custard underneath. That, my friends, is the magic of crème brûlée. And for years, I thought it was exclusively the domain of professional chefs and high-end eateries. I mean, it just *looks* so sophisticated.
But let me tell you a little secret: that restaurant-quality crème brûlée you dream about? It’s surprisingly simple to recreate in your very own kitchen. I spent years in professional kitchens, watching pastry chefs whip up batch after batch, and realized the perceived difficulty is mostly a myth. It’s less about secret techniques and more about understanding a few fundamental principles. Forget complicated steps or intimidating equipment. This classic French dessert is all about a handful of humble ingredients, gentle heat, and a moment of dramatic torching. You absolutely can master this, and once you do, you’ll wonder why you ever paid $12 for it!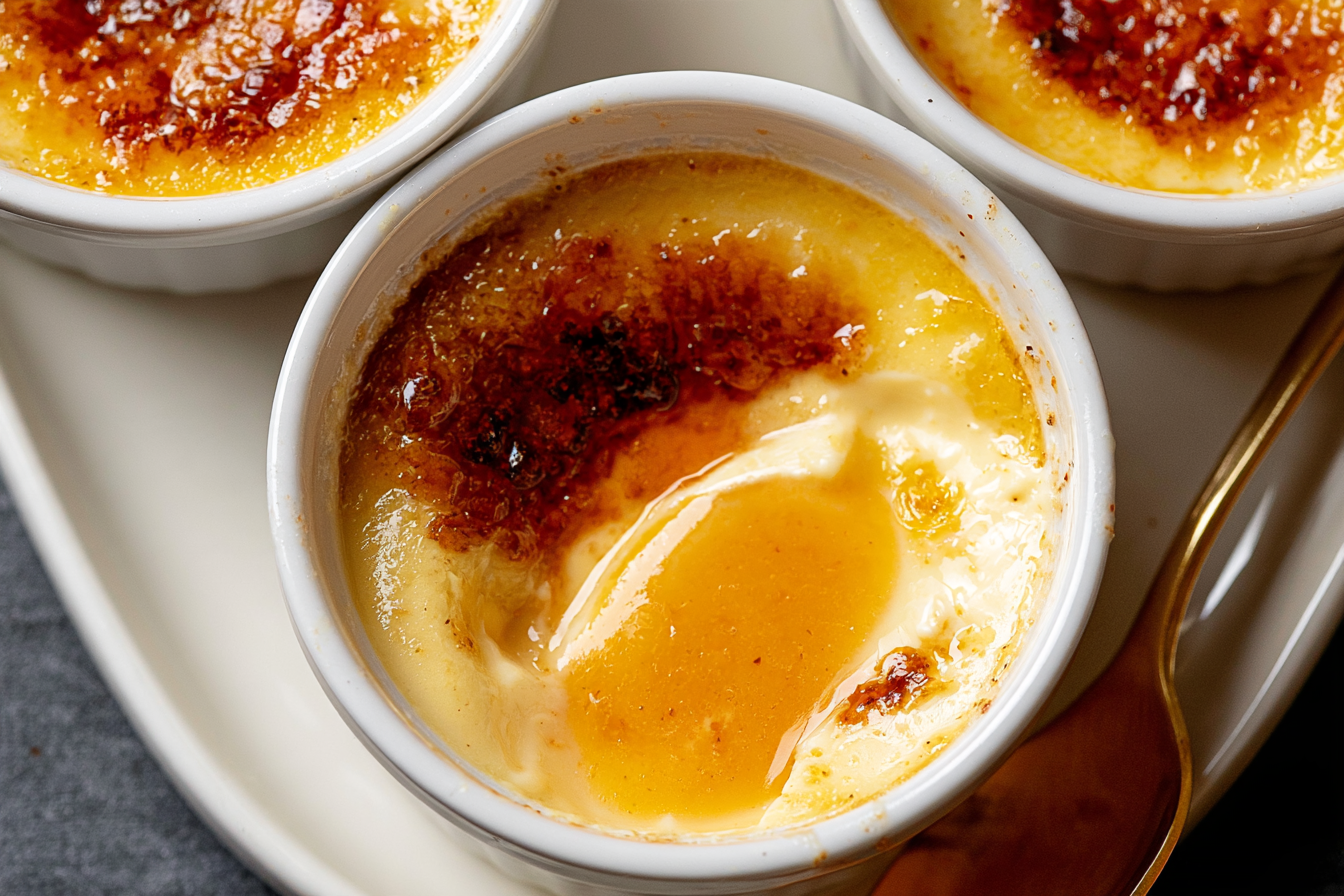
Why This Crème Brûlée Recipe Works (Every Single Time)
So, what’s the difference between a good crème brûlée and an *amazing* one? It often comes down to texture. You want that custard to be silken, creamy, and just set, not rubbery or curdled. This recipe focuses on precise temperatures and a gentle cooking method that guarantees that luscious mouthfeel every single time. We’re also using a generous amount of vanilla, which is non-negotiable for that authentic, luxurious flavor.
The key is patience, especially with the tempering of the egg yolks and the slow baking in a water bath. This prevents the eggs from scrambling and ensures even, delicate cooking. Many home cooks skip the water bath, but it’s a crucial step that acts as insulation, preventing the edges from overcooking before the center is done. Trust me, it’s worth the extra minute of setup.
Gather Your Ingredients for Divine Custard
You don’t need a pantry full of exotic items for this, just a few high-quality staples. Since there are so few components, make sure each one is the best you can find. Good vanilla, fresh eggs, and quality cream make all the difference here.
The Custard Base
- Heavy Cream: 2 cups (470ml). Go full-fat here; it provides the richness and body we need for that signature creamy texture.
- Granulated Sugar: ½ cup (100g), plus extra for brûléeing. This sweetens the custard and, of course, forms that iconic crispy top.
- Egg Yolks: 5 large. These are the thickening agents and give crème brûlée its beautiful golden hue and velvety consistency. Save the whites for meringues or an omelet!
- Vanilla Bean: 1, split and scraped, OR 2 teaspoons pure vanilla extract. While extract works, a fresh vanilla bean infuses an unparalleled depth of flavor and those gorgeous little specks. Note: If you’re using a vanilla bean, make sure to scrape out every bit of those tiny, fragrant seeds!
- Pinch of Salt: Just a tiny bit, to enhance all the other flavors.
Equipment You’ll Need
- Oven-safe ramekins (4-6 oz capacity). You’ll need four to six of them.
- Large roasting pan or baking dish (for the water bath).
- Fine-mesh sieve.
- Whisk.
- Small saucepan.
- Kitchen torch (essential for the classic brûlée finish!).
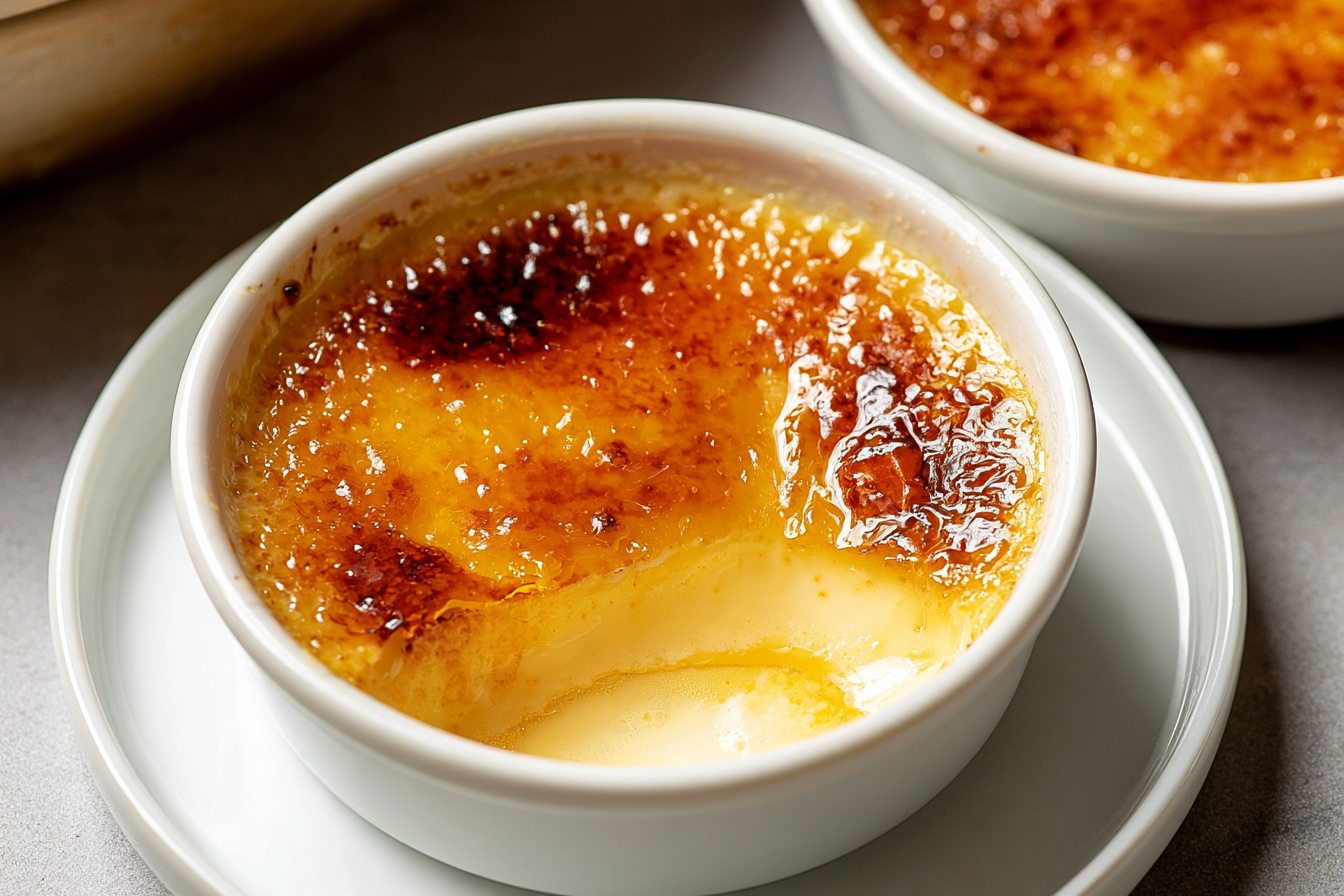
Crafting Your Perfect Crème Brûlée: Step-by-Step
This process is broken down into a few simple stages: infusing the cream, tempering the yolks, baking, chilling, and finally, the glorious torching. Don’t rush any of these steps, especially the chilling – it’s crucial for the custard to set properly.
Step 1: Get Your Oven Ready & Cream Infused
Preheat your oven to 325°F (160°C). Arrange your ramekins in a large roasting pan. This pan will hold the water bath, so choose one with high enough sides to come at least halfway up the ramekins.
In a small saucepan, combine the heavy cream, ½ cup granulated sugar, and the vanilla bean (if using, include both the scraped pod and seeds). Gently heat over medium-low heat, stirring occasionally, until the sugar is dissolved and the cream is warm to the touch, just steaming slightly – don’t let it boil! Remove from the heat, cover, and let it steep for 15-20 minutes to really let that vanilla flavor develop. If using vanilla extract, you’ll add it later.
Step 2: Tempering the Egg Yolks (Don’t Skip This!)
While the cream is steeping, separate your egg yolks into a medium bowl. Whisk them vigorously until they are pale yellow and slightly frothy. This incorporates air and helps create a smooth custard.
After the cream has steeped, remove the vanilla bean pod (you can rinse and dry it for future use in sugar!). Slowly, in a thin stream, pour about half of the warm cream mixture into the whisked egg yolks while continuously whisking the yolks. This gradual addition of warm liquid to the yolks is called tempering and prevents them from scrambling. Once combined, pour the egg yolk mixture back into the remaining warm cream in the saucepan. If using vanilla extract, stir it in now.
Step 3: Strain for Silky Smoothness
Pour the entire custard mixture through a fine-mesh sieve into a clean bowl or a large liquid measuring cup. This step is non-negotiable! It catches any bits of cooked egg, vanilla bean sediment, or unincorporated sugar, ensuring your crème brûlée is unbelievably smooth and free of lumps. Discard any solids left in the sieve.
Divide the strained custard evenly among your prepared ramekins.
Step 4: The Gentle Bake in a Water Bath
Carefully pour hot water into the roasting pan, around the ramekins, until the water comes about halfway up their sides. Be careful not to splash water into the custards.
Transfer the roasting pan to the preheated oven. Bake for 30-40 minutes, or until the edges of the custards are set, but the centers still have a slight jiggle when gently nudged. The cooking time will vary slightly depending on your oven and the size of your ramekins.
Tip: An instant-read thermometer inserted into the center of a custard (without touching the bottom) should read between 170°F and 175°F (77-79°C).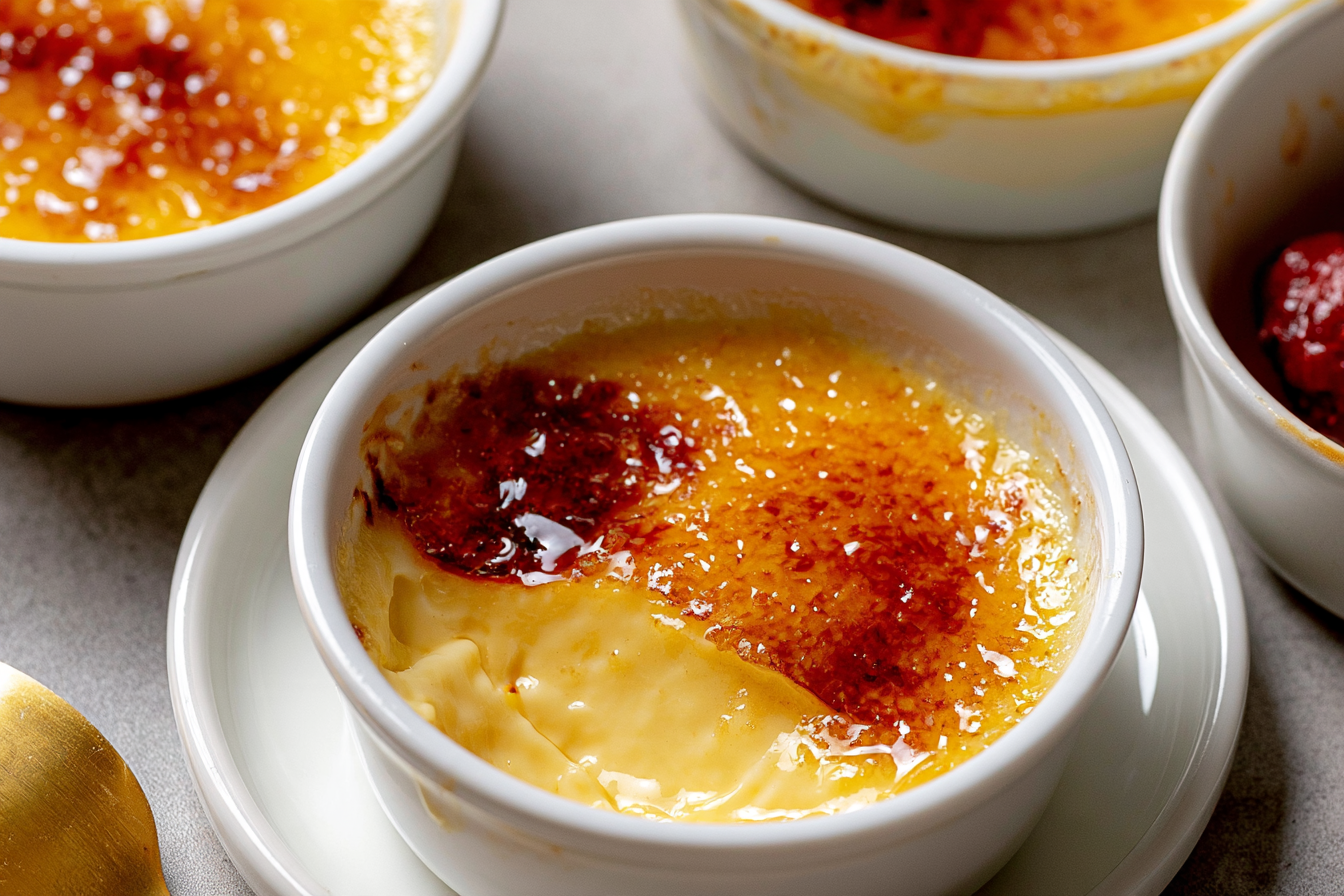
Step 5: Chill Out for Perfection
Carefully remove the roasting pan from the oven. Using tongs, carefully lift the ramekins out of the hot water bath and place them on a wire rack to cool slightly at room temperature for about 30 minutes.
Once cooled, cover each ramekin loosely with plastic wrap and refrigerate for at least 4 hours, but ideally overnight. This chilling period is crucial for the custards to fully set and for the flavors to meld beautifully. Patience is a virtue here!
Step 6: The Grand Finale – Brûlée Time!
Just before serving, uncover the chilled custards. Blot any condensation from the top with a paper towel – this helps the sugar adhere and caramelize evenly. Sprinkle a thin, even layer of granulated sugar (about 1-2 teaspoons) over the surface of each custard. Don’t pile it on too thick, or it will be difficult to melt and create a hard, burnt shell.
Ignite your kitchen torch and, holding it a few inches above the sugar, move the flame steadily and evenly across the surface. The sugar will melt, bubble, and then caramelize to a beautiful golden-amber color.
Note: If you don’t have a kitchen torch, you can place the custards under a preheated broiler. Keep a very close eye on them, as sugar burns quickly! Place them as far from the heat source as possible, and watch constantly until the sugar melts and caramelizes.Serve immediately, while the sugar topping is still warm and crisp. That crack is what it’s all about!
Common Crème Brûlée Conundrums (and How to Avoid Them)
Even with a seemingly simple recipe like this, a few things can go awry. Here’s how to troubleshoot some common issues and ensure your crème brûlée is always a triumph.
Why is my custard watery or unset?
This usually means it wasn’t baked long enough or didn’t chill sufficiently. Make sure the centers have that slight jiggle but aren’t liquid. Also, the minimum 4-hour chill time is truly important for the custards to firm up properly. Don’t skip it!
Why did my custard curdle or scramble?
Overcooking is the prime culprit here. Baking it at too high a temperature or for too long can cause the egg proteins to seize up and become lumpy. The water bath helps prevent this by regulating the heat. Tempering your egg yolks slowly with the warm cream is also critical to avoid scrambling.
My sugar topping burned! What happened?
Either you used too much sugar, or the torch was held too close/in one spot for too long. A thin, even layer of sugar is key. Keep the torch moving constantly to get an even, golden caramel. If using a broiler, place the ramekins on a lower rack and watch them like a hawk.
My sugar topping isn’t crunchy, it’s sticky.
This can happen if there’s too much moisture on the surface of the custard before you add the sugar, or if the sugar didn’t get hot enough to fully caramelize. Patting the top dry with a paper towel before sprinkling sugar helps immensely. A good, hot kitchen torch is your best friend here.
Can I make this ahead of time?
Absolutely! The custards can be baked and chilled for up to 3 days. Just make sure to cover them loosely with plastic wrap once cooled. Only brûlée them right before serving to ensure that satisfying crisp crack.
Make-Ahead Magic & Storage Tips
One of the best things about crème brûlée is how well it lends itself to advance preparation. You can bake the custards days before you plan to serve them, making it an ideal dessert for dinner parties or special occasions where you want to minimize last-minute stress.
Once the custards are baked and cooled, cover each ramekin individually with plastic wrap, ensuring the plastic doesn’t touch the surface of the custard if possible (a slight dome helps). They’ll keep beautifully in the refrigerator for up to 3 days. When you’re ready to serve, simply pull them out, pat away any condensation, sprinkle with sugar, and torch!
Leftover brûléed custards? If you happen to have any, the crispy sugar topping won’t stay crisp for long once refrigerated. It will soften and become sticky. You can still eat the custard, of course, but for the full experience, it’s best to only brûlée what you’ll eat immediately.
Serving Suggestions and Flavor Variations
While classic vanilla crème brûlée is perfection on its own, there are so many ways to customize this elegant dessert to suit your taste or the season.
Classic Crème Brûlée
Serve it plain, perhaps with a few fresh berries (raspberries or blueberries are lovely) on the side for a pop of color and tartness. A dollop of lightly sweetened whipped cream is also never a bad idea. A cup of strong coffee or a dessert wine like Sauternes makes a wonderful pairing.
Coffee Crème Brûlée
Infuse the cream with 1-2 tablespoons of whole coffee beans or 1 tablespoon of instant espresso powder along with the vanilla. Strain them out before tempering the yolks. This adds a sophisticated bitterness that balances the sweetness beautifully.
Citrus Crème Brûlée
Add a strip of orange or lemon zest to the cream as it heats. Remove it before straining. The subtle citrus aroma is bright and refreshing.
Chocolate Crème Brûlée
Melt 2 ounces of good quality dark chocolate (60-70% cacao) into the warm cream mixture after it’s steeped and before tempering. Whisk until smooth. This creates a rich, decadent version.
Pumpkin or Spiced Crème Brûlée
Perfect for fall! Add ½ cup pumpkin puree and 1 teaspoon of pumpkin pie spice blend to the cream mixture. You might need an extra egg yolk or a slightly longer bake time to account for the added moisture.
No matter how you serve it, that satisfying *crack* will always be the star of the show. Enjoy the process, and don’t be afraid to impress yourself (and your guests!) with this surprisingly simple yet utterly elegant dessert. Happy brûléeing!
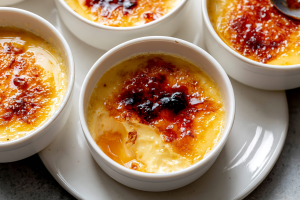
Restaurant-Quality Vanilla Crème Brûlée
Master easy restaurant-quality crème brûlée at home with this simple recipe, featuring a silky vanilla custard and a perfect caramelized sugar crust.
📝 Ingredients
👩🍳 Instructions
- 1Preheat your oven to 325°F (160°C). Place four 4-6 ounce oven-safe ramekins in a large roasting pan.
- 2In a small saucepan, combine heavy cream, ½ cup granulated sugar, and the vanilla bean (pod and scraped seeds). Heat over medium-low, stirring, until sugar dissolves and cream is warm (just steaming), but not boiling. Remove from heat, cover, and let steep for 15-20 minutes.
- 3While cream steeps, whisk egg yolks vigorously in a medium bowl until pale yellow and slightly frothy.
- 4Remove vanilla bean pod from cream. Slowly, in a thin stream, pour about half of the warm cream into the whisked egg yolks while continuously whisking to temper them. Pour the tempered yolk mixture back into the remaining cream in the saucepan. If using vanilla extract, stir it in now.
- 5Pour the entire custard mixture through a fine-mesh sieve into a clean bowl or large measuring cup to ensure smoothness. Discard any solids.
- 6Divide the strained custard evenly among the prepared ramekins.
- 7Carefully pour hot water into the roasting pan around the ramekins, until it comes halfway up their sides. Be careful not to splash water into the custards.
- 8Transfer the roasting pan to the preheated oven. Bake for 30-40 minutes, or until the edges are set but the centers still have a slight jiggle. An instant-read thermometer should read 170-175°F (77-79°C).
- 9Carefully remove ramekins from the water bath and place on a wire rack to cool for 30 minutes. Cover loosely with plastic wrap and refrigerate for at least 4 hours, or preferably overnight, until fully set.
- 10Just before serving, blot any condensation from the top of the chilled custards with a paper towel. Sprinkle a thin, even layer (1-2 teaspoons) of granulated sugar over each custard.
- 11Using a kitchen torch, move the flame steadily over the sugar until it melts, bubbles, and caramelizes to a golden-amber crust. Alternatively, use a broiler, watching constantly to prevent burning.
- 12Serve immediately while the sugar topping is crisp.
💡 Notes
For best results, use fresh, high-quality heavy cream and eggs. Ensure the custards are thoroughly chilled before torching for the best set and flavor. If you don't have a kitchen torch, a broiler can be used, but watch very carefully. Custards can be made up to 3 days ahead and stored in the fridge; brûlée just before serving.



