


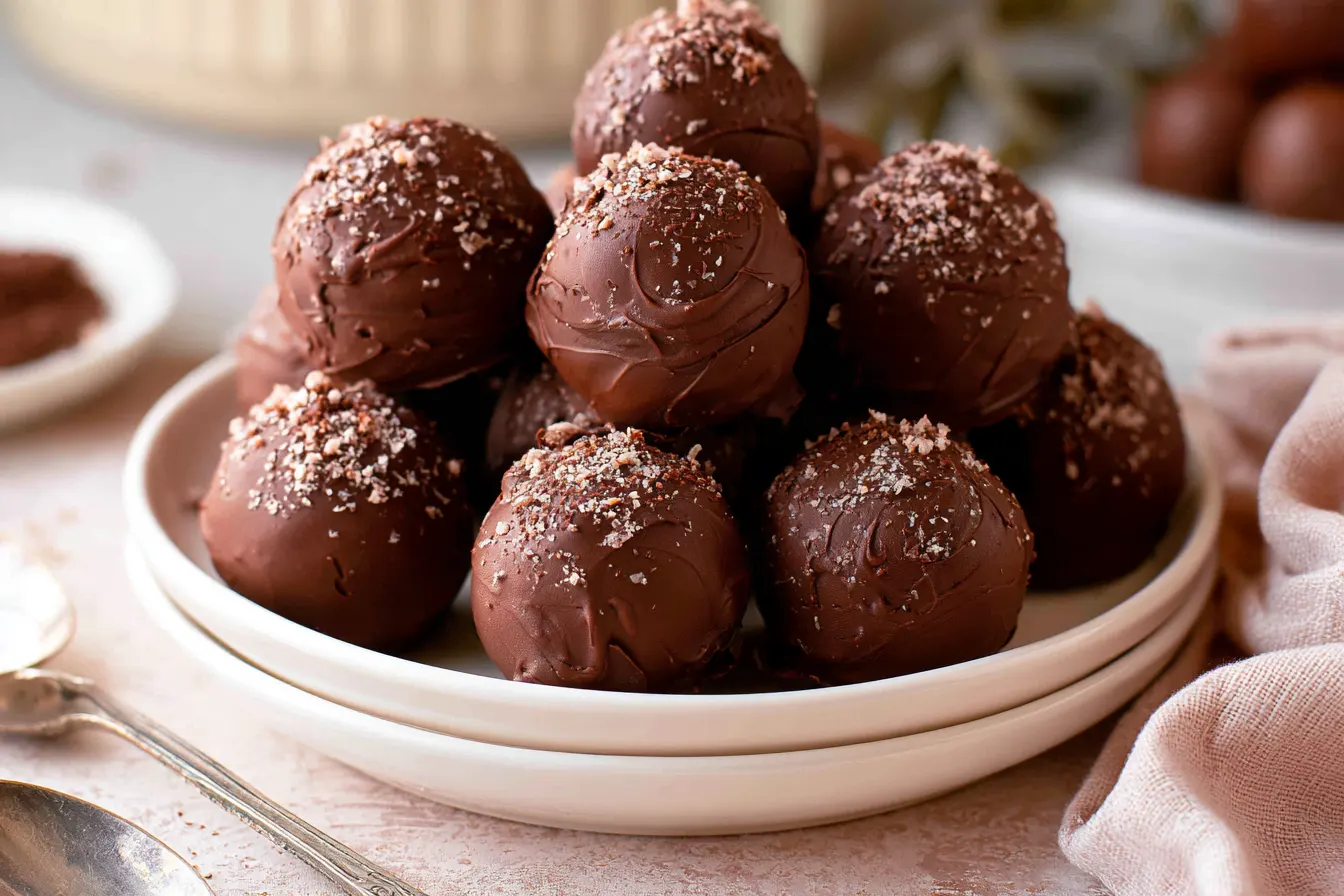
Ever find yourself staring at half a leftover chocolate cake, feeling a mix of triumph and slight panic? Triumph because, well, chocolate cake! Panic because you know it won’t last forever, and sometimes, a slice just feels like too much. Fear not, my sweet-toothed friends, because today we’re turning that dilemma into pure delight with these utterly decadent chocolate cake truffles.
I stumbled upon this idea purely by accident after a particularly ambitious baking session left me with more dark chocolate cake than I knew what to do with. The thought of letting it go to waste was unbearable, so I started experimenting. What if I crumbled it up? What if I added frosting? The result was so unexpectedly luxurious, so rich and melt-in-your-mouth, it instantly became a new favorite.
These aren’t just cake pops without the stick; they’re a sophisticated, bite-sized indulgence, perfect for gifting, parties, or simply treating yourself to a moment of pure bliss. Imagine a dense, fudgy core, perfectly sweetened, and enrobed in a crisp shell of dark chocolate. Seriously, they’re that good.
The Secret Sauce: Why These Truffles Are Next-Level
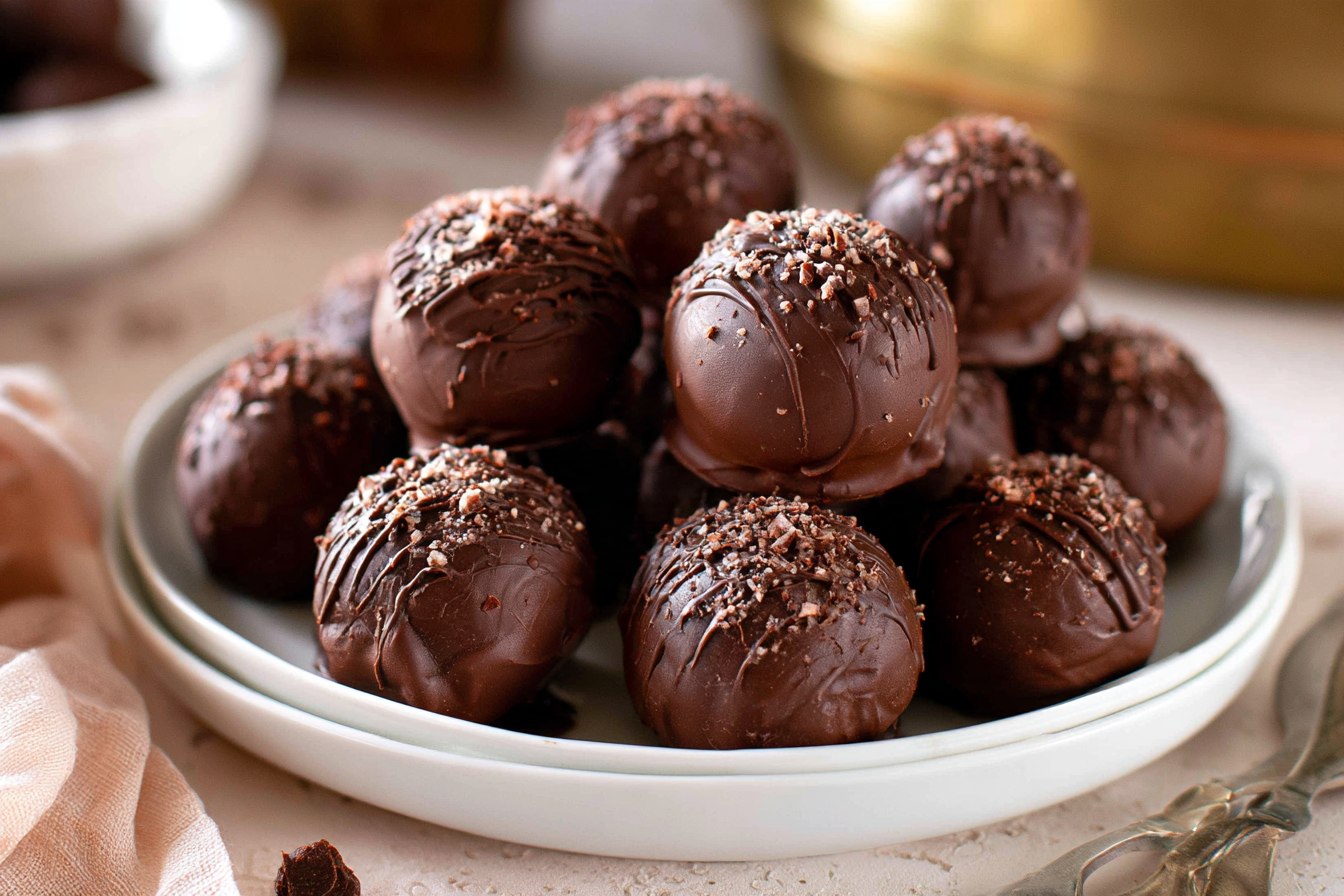
You might think a truffle is just a truffle, but there’s an art to crafting one that truly sings. The beauty of these chocolate cake truffles lies in their simplicity and the clever repurposing of ingredients. We’re not just throwing cake and frosting together; we’re creating a new, harmonious texture that’s entirely its own.
The magic happens when the dark chocolate cake crumbs meld with a rich, creamy chocolate cream cheese frosting. This isn’t your average buttercream; the cream cheese adds a slight tang and an incredible richness that balances the sweetness of the cake and the dark chocolate coating. It creates a dense, pliable mixture that’s easy to roll and results in an unbelievably moist, fudgy center.
Ingredient Spotlight: Dark Chocolate Power
For the best results, don’t skimp on the quality of your dark chocolate. Whether it’s for the cake itself or the outer coating, a good quality dark chocolate (around 60-70% cacao) will make all the difference. It provides a deeper, more nuanced flavor that cuts through the sweetness and elevates the entire experience. If you’re using leftover cake, chances are it’s already got that good stuff in it!
When it comes to the cream cheese, full-fat is your friend here. It contributes to that lush, velvety texture we’re aiming for. Low-fat versions tend to be a bit too watery and won’t give you the same decadent consistency for the truffle base.
Gathering Your Goodies: What You’ll Need
The beauty of this recipe is its minimal ingredient list, especially if you’re starting with leftover cake. Don’t worry if you don’t have leftover cake; you can always bake a small batch specifically for these truffles. Just ensure it’s fully cooled before you start crumbling!
For the Truffle Base:
- About 3 cups (approx. 450g) Dark Chocolate Cake, crumbled: This is roughly half of a standard 9-inch round cake or a small 8×8 inch square cake. Day-old cake works best as it crumbles easily.
- 4 oz (113g) Cream Cheese, softened: Full-fat, please! Let it sit on the counter for at least 30 minutes.
- 1/2 cup (120g) Unsalted Butter, softened: Again, room temperature is key for a smooth frosting.
- 1 cup (120g) Powdered Sugar (Confectioners’ Sugar), sifted: Sifting prevents lumps in your frosting.
- 1/2 cup (45g) Unsweetened Cocoa Powder, sifted: Dutch-processed is great for a darker, richer color.
- 1 teaspoon Vanilla Extract: Pure vanilla, always.
- Pinch of Salt: Just a tiny bit to enhance the chocolate flavor.
For the Chocolate Coating & Garnish:
- 12 oz (340g) Dark Chocolate, chopped: Good quality baking chocolate or chocolate chips.
- 1 tablespoon Coconut Oil or Vegetable Shortening (optional): Helps thin the chocolate for a smoother dip and prevents blooming.
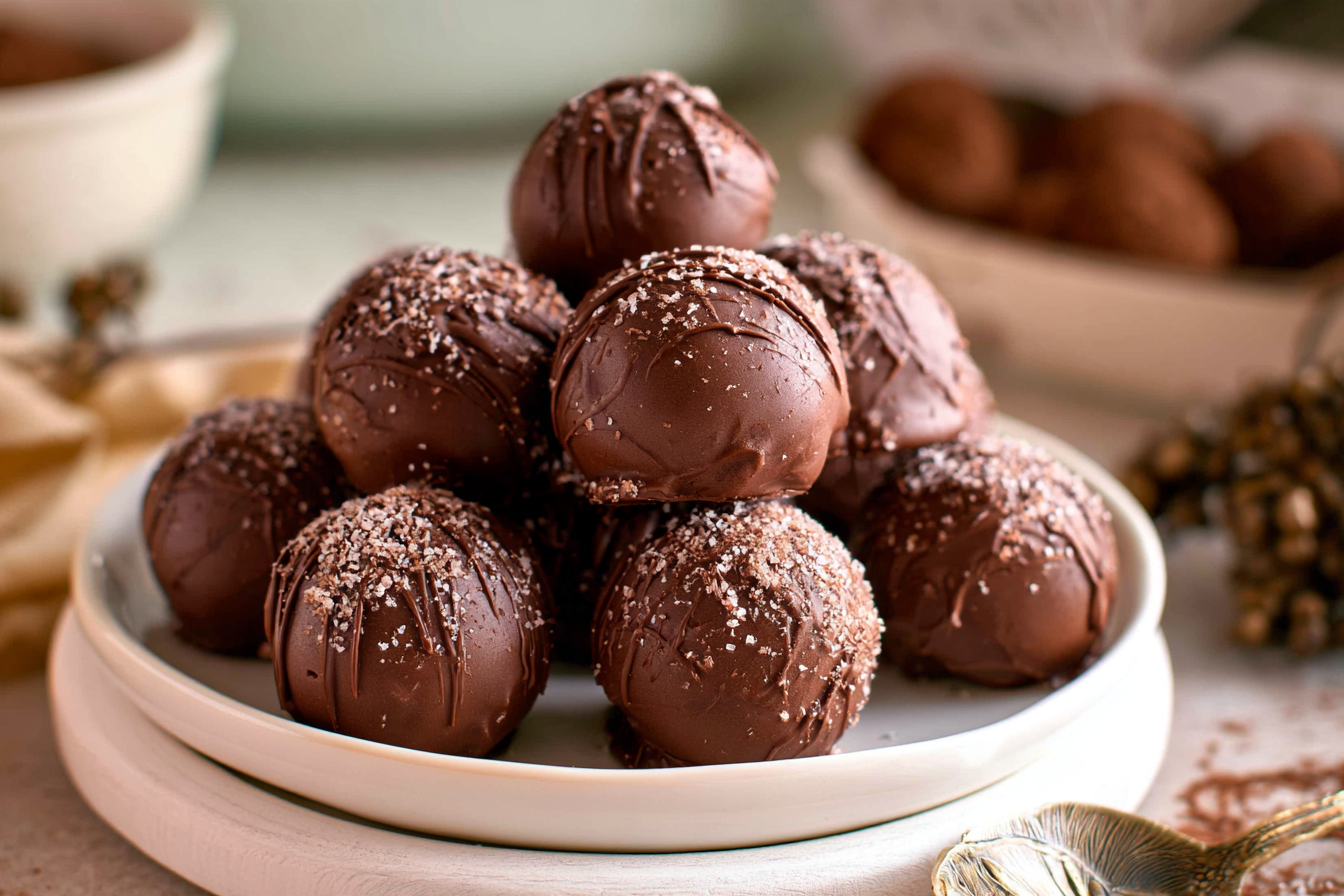
- Sprinkles, cocoa powder, finely chopped nuts, or flaky sea salt (for garnish): Get creative here!
Crafting Your Confections: Step-by-Step Guide
Making these chocolate cake truffles is surprisingly therapeutic. It’s a hands-on process that yields incredibly satisfying results. Just remember to be patient with the chilling times – they’re crucial for perfect truffles!
Step 1: Crumbly Beginnings
First things first, get that cake crumbled. You can do this by hand, breaking it into fine, even crumbs. Alternatively, a food processor can make quick work of it, but be careful not to over-process and turn it into a paste. You want distinct crumbs.
Step 2: The Creamy Dream Frosting
In a medium bowl, use an electric mixer to beat the softened cream cheese and butter together until light and fluffy. This should take about 2-3 minutes. Gradually add the sifted powdered sugar and cocoa powder, mixing on low speed until combined, then increase to medium until smooth. Stir in the vanilla extract and a tiny pinch of salt.
Step 3: Bringing It All Together
Now, combine the crumbled cake and the chocolate cream cheese frosting. Use your hands – yes, really! It’s the best way to ensure everything is thoroughly mixed and forms a cohesive, dense dough. You want a mixture that holds its shape when pressed but isn’t overly sticky. Tip: If your mixture feels too dry, add another tablespoon of softened cream cheese. If it’s too wet, add a few more cake crumbs or a tablespoon of cocoa powder.
Step 4: Roll With It
Scoop out small portions of the mixture, about 1 tablespoon each, and roll them into smooth balls. Place the rolled truffles on a parchment-lined baking sheet. Once all your truffles are rolled, pop the baking sheet into the refrigerator for at least 30-60 minutes. This chilling step is vital; it firms up the truffles, making them much easier to dip.
Step 5: The Chocolate Dive
While your truffles are chilling, prepare your chocolate coating. Melt the chopped dark chocolate in a double boiler or in the microwave in 30-second intervals, stirring well after each, until completely smooth. If using, stir in the coconut oil or shortening to thin it slightly. Note: Work quickly when dipping. If the chocolate starts to thicken, gently reheat it.
Step 6: Dip, Decorate, Delight!
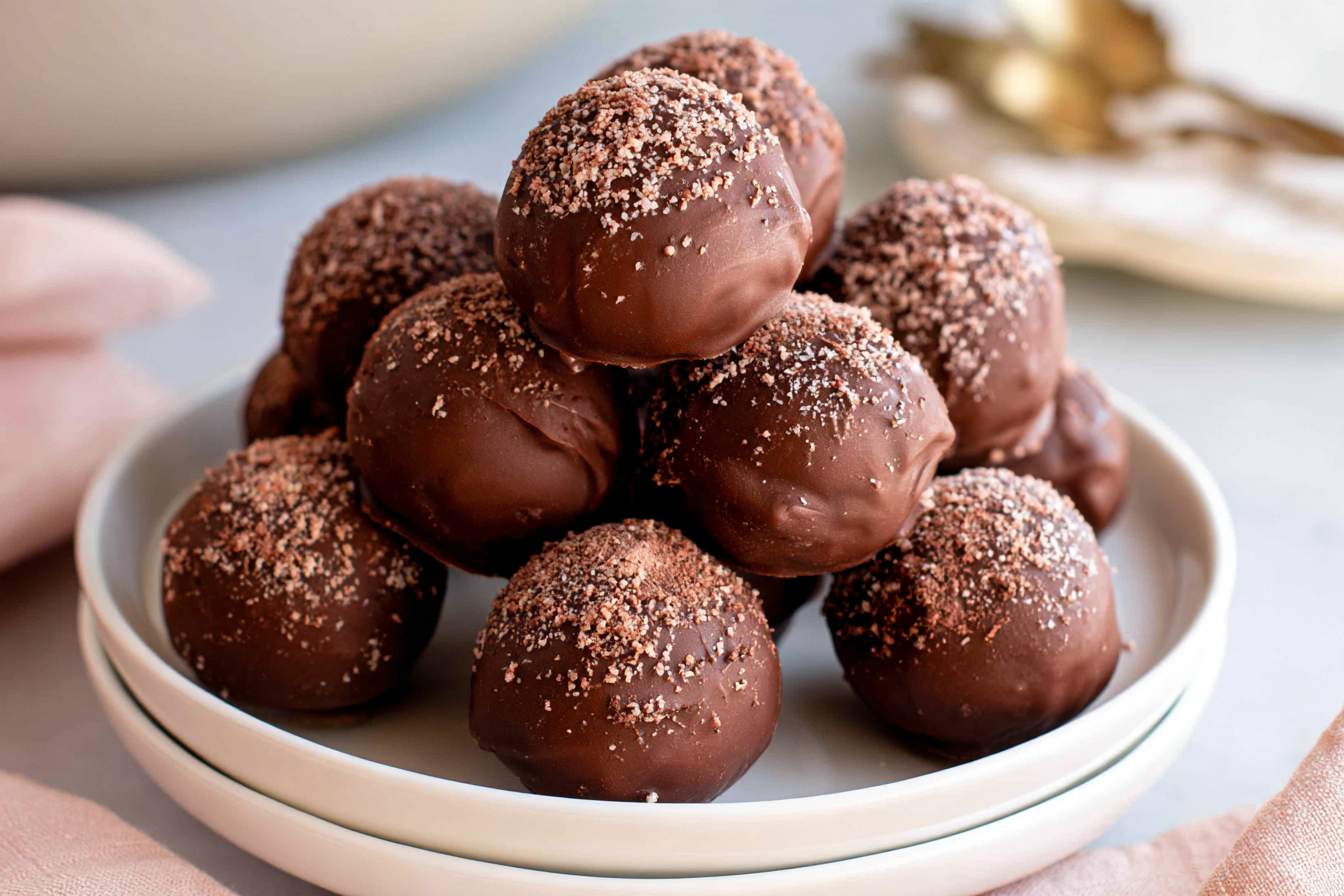
Using a fork or a candy dipping tool, carefully dip each chilled truffle into the melted chocolate, ensuring it’s fully coated. Lift it out, tap gently to remove excess chocolate, and then place it back on the parchment-lined baking sheet. Immediately adorn with your chosen garnishes – sprinkles, sea salt, or nuts – before the chocolate sets. Repeat with the remaining truffles.
Step 7: Final Chill & Serve
Once all truffles are dipped and decorated, return the baking sheet to the refrigerator for another 15-30 minutes, or until the chocolate coating is completely set. Then, they’re ready to be devoured!
Make-Ahead Magic & Storage Solutions
These truffles are fantastic for making ahead, which makes them perfect for holiday gifts or party platters. You can prepare the truffle base and roll the balls up to 3 days in advance. Store them in an airtight container in the refrigerator before dipping.
Once dipped, the finished chocolate cake truffles will keep beautifully in an airtight container in the refrigerator for up to a week. For longer storage, they freeze wonderfully for up to a month. Just thaw them in the refrigerator for a few hours before serving.
Your Burning Questions, Answered!
I get a lot of questions about making truffles, so let’s tackle some of the common ones that pop up.
What kind of chocolate cake works best for truffles?
Any dense, moist chocolate cake will work beautifully. Leftover brownies can also be used as a delicious substitute! Avoid very light, airy sponge cakes as they won’t hold together as well.
Can I use a different type of frosting?
While chocolate cream cheese frosting provides the best texture and flavor balance for these chocolate cake truffles, you could experiment with a dense chocolate buttercream. Just ensure it’s not too soft or too sweet, as the cake itself already provides sweetness.
My chocolate coating is too thick. What should I do?
If your melted chocolate is too thick, stir in 1-2 teaspoons of coconut oil or vegetable shortening. This will help thin it out and create a smoother, glossier coating. Make sure your truffles are very cold, as this also helps the chocolate set quickly and prevents them from melting into the warm chocolate.
How do I prevent the chocolate from cracking after it sets?
Cracking can happen if there’s a big temperature difference between the truffle and the melted chocolate, or if the chocolate is too thick. Ensure your melted chocolate isn’t scorching hot, and use the coconut oil trick mentioned above. Also, allowing the truffles to come to a slightly cooler room temperature for a few minutes after chilling and before dipping can help.
Can I make these gluten-free or dairy-free?
Absolutely! If you use a gluten-free chocolate cake and dairy-free cream cheese, butter, and chocolate, these truffles can easily be adapted. Just ensure all your substitute ingredients are suitable for your dietary needs.
Serving Suggestions & Flavor Variations
These chocolate cake truffles are fantastic on their own, but a few creative touches can elevate them even further. Serve them alongside a strong cup of coffee or a glass of red wine for a sophisticated dessert. They also make a lovely addition to a dessert charcuterie board.
Looking to switch things up? Try these variations:
- Mint Chocolate: Add 1/2 teaspoon of peppermint extract to the frosting mixture.
- Orange Zest: Grate in a teaspoon of orange zest with the cake crumbs for a bright, citrusy note.
- Salted Caramel: Drizzle a little homemade or store-bought salted caramel over the dipped truffles before the chocolate sets.
- Nutty Crunch: Roll the truffles in finely chopped toasted pecans or walnuts after dipping, instead of sprinkles.
Final Thoughts on These Little Bites of Heaven
There’s something incredibly satisfying about transforming humble ingredients, or even leftovers, into something truly special. These chocolate cake truffles are a testament to that. They’re proof that sometimes, the most delicious creations come from a little ingenuity and a lot of love for chocolate.
Whether you’re looking for an easy dessert, a thoughtful gift, or just a reason to use up that last bit of cake, I hope you give these a try. They’re a guaranteed crowd-pleaser and a perfect way to satisfy any chocolate craving, one glorious bite at a time.
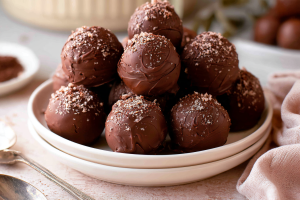
Decadent Chocolate Cake Truffles
Rich dark chocolate cake mixed with creamy chocolate cream cheese frosting, rolled and dipped in dark chocolate.
📝 Ingredients
👩🍳 Instructions
- 1Crumble the dark chocolate cake into very fine, even crumbs. Set aside in a large mixing bowl.
- 2In a separate medium bowl, beat the softened cream cheese and butter together with an electric mixer until light and fluffy, about 2-3 minutes.
- 3Gradually add the sifted powdered sugar and cocoa powder to the cream cheese mixture, mixing on low speed until combined, then increase to medium until smooth. Stir in the vanilla extract and a pinch of salt.
- 4Add the prepared chocolate cream cheese frosting to the crumbled cake. Use your hands to thoroughly mix the cake crumbs and frosting until a cohesive, dense dough forms. The mixture should hold its shape when pressed.
- 5Scoop out approximately 1 tablespoon of the mixture at a time and roll it into smooth, uniform balls. Place the rolled truffles on a parchment-lined baking sheet.
- 6Refrigerate the truffles for at least 30-60 minutes, or until firm. This is crucial for easy dipping.
- 7While the truffles are chilling, melt the chopped dark chocolate in a double boiler or in the microwave in 30-second intervals, stirring well after each, until completely smooth. Stir in the coconut oil or shortening if using, to thin the chocolate.
- 8Using a fork or candy dipping tool, dip each chilled truffle into the melted chocolate, ensuring it is fully coated. Lift the truffle, gently tap off any excess chocolate, and return it to the parchment-lined baking sheet.
- 9Immediately garnish each truffle with sprinkles, sea salt, or other toppings before the chocolate sets.
- 10Return the baking sheet with the dipped truffles to the refrigerator for another 15-30 minutes, or until the chocolate coating is completely set. Serve chilled.
💡 Notes
For best results, use day-old cake as it crumbles more easily. If the truffle mixture is too sticky, add a few more cake crumbs or cocoa powder. If too dry, add a touch more softened cream cheese. Store truffles in an airtight container in the refrigerator for up to 1 week, or freeze for up to 1 month.



