


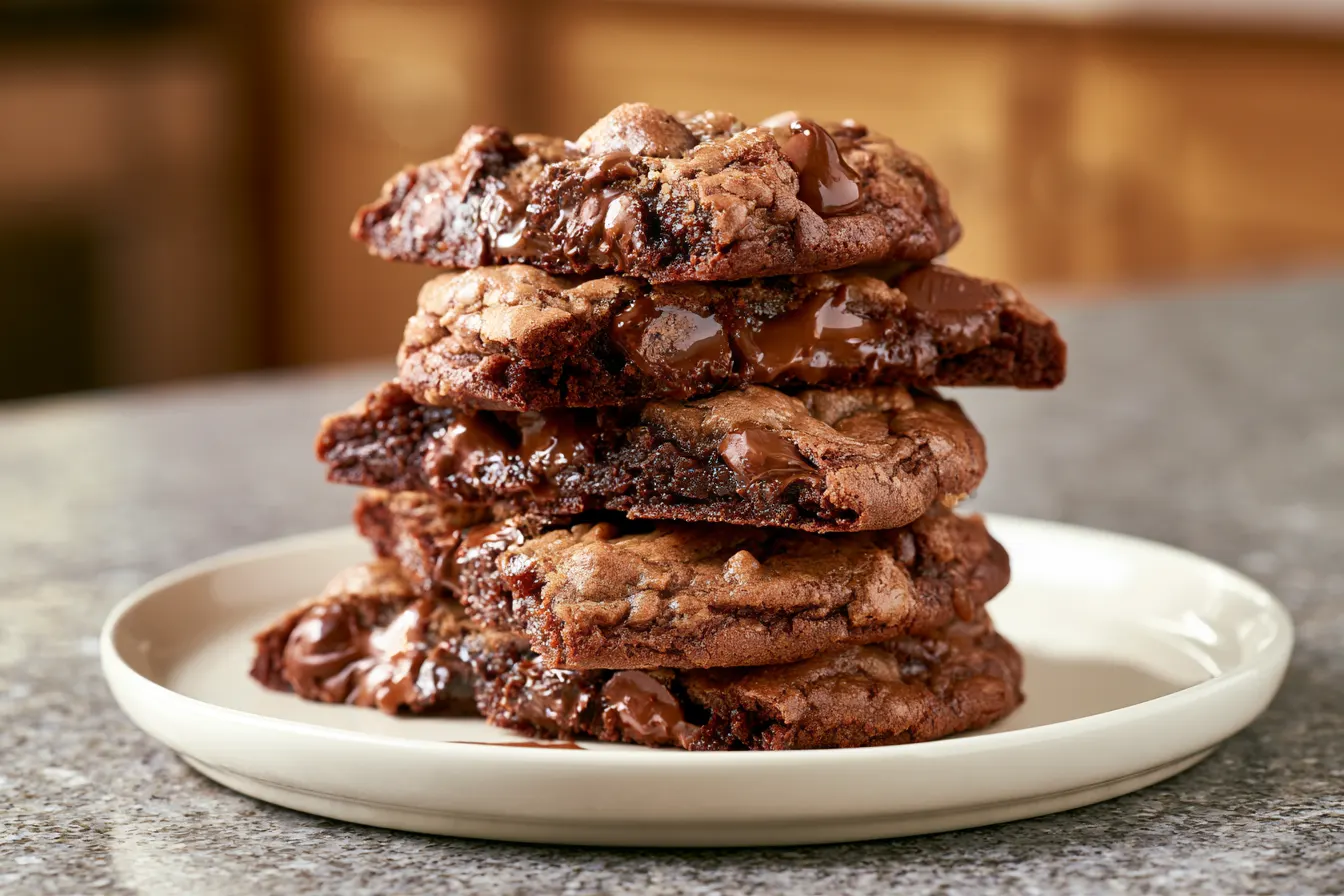
Ever had one of those moments where you’ve baked a beautiful batch of cookies, but then everyone just grabs one and runs? I know the feeling. It’s a little anticlimactic, especially when you’ve put so much love into them. That’s precisely why I started playing around with this idea of presenting cookies differently, and it led me straight to these delightful halved cookies stacked in an irresistible pile. It’s a simple trick, but it totally transforms the experience from “grab-and-go” to “gather-and-share.”

What Makes These Stacked Cookies Special?
You might be thinking, “They’re just cookies cut in half, what’s the big deal?” And you’d be right, in the simplest sense. But the magic here lies in the presentation and the subtle way it changes how we interact with a classic treat. First, by halving them, you immediately reveal the texture inside – whether it’s a chewy center, a crumbly shortbread, or pockets of melted chocolate. It’s an immediate visual appeal that whole cookies just don’t offer in the same way. Beyond that, stacking them creates an abundance that feels generous and festive. It’s less about individual portions and more about a shared experience. Imagine a platter of these at a holiday party; they practically beg to be enjoyed with a cup of coffee or a glass of milk. It also makes them incredibly easy to serve and transport, which is a huge win for anyone hosting or bringing a dish to share. Finally, this presentation encourages conversation. People notice the unique arrangement, and it often becomes a talking point. “Oh, these are so clever!” or “What a great idea to cut them like this!” It elevates a simple bake into something a bit more memorable without any extra baking effort on your part. It’s all in the slice and stack!Essential Ingredients for Your Perfect Halved Cookies
For this recipe, we’re going with a classic, slightly chewy chocolate chip cookie base. This type of cookie holds up beautifully to being halved and stacked, and its timeless appeal means everyone will love it. The key here is good quality ingredients – they truly make a difference in the final taste and texture.For the Cookie Dough:
- 1 cup (2 sticks) unsalted butter, softened: Make sure it’s truly soft, not melted, for the best dough consistency.
- ¾ cup granulated sugar: For sweetness and a bit of crispness on the edges.
- ¾ cup packed light brown sugar: This is your secret weapon for chewiness and depth of flavor.
- 2 large eggs: Room temperature eggs incorporate better into the batter.
- 1 teaspoon vanilla extract: Don’t skimp on the good stuff!
- 2 ¼ cups all-purpose flour: Measured correctly (fluff, spoon, level!) to avoid dense cookies.
- 1 teaspoon baking soda: Helps with spread and tenderness.
- ½ teaspoon salt: Balances the sweetness and enhances flavor.
- 1 ½ cups (about 9 oz) semi-sweet chocolate chips: Or a mix of your favorite chocolate chunks and chips.
Crafting Your Perfectly Stackable Cookie Base
Making these cookies is straightforward, but a few small details ensure they’re perfect for slicing and stacking. Remember, we want them sturdy enough to hold their shape, but tender enough to be utterly delicious.Mixing Up the Magic:
- Cream the Butter and Sugars: In a large mixing bowl, using an electric mixer, beat the softened butter with the granulated sugar and brown sugar on medium speed until light and fluffy. This usually takes about 2-3 minutes. Scrape down the sides of the bowl as needed.
- Add Eggs and Vanilla: Beat in the eggs one at a time, mixing well after each addition. Stir in the vanilla extract until just combined. Don’t overmix here; you just want everything incorporated.
- Combine Dry Ingredients: In a separate medium bowl, whisk together the flour, baking soda, and salt. This ensures even distribution of the leavening agents.
- Gradually Add Dry to Wet: With the mixer on low speed, gradually add the dry ingredients to the wet ingredients, mixing until just combined. Be careful not to overmix the dough, as this can lead to tough cookies.
- Fold in Chocolate Chips: Remove the bowl from the mixer and use a spatula to fold in the chocolate chips until they are evenly distributed throughout the dough.
- Chill the Dough (Optional, but Recommended): For best results and to prevent excessive spreading, cover the bowl with plastic wrap and chill the dough for at least 30 minutes, or up to 24 hours. This also deepens the flavor.

Baking and Arranging Your Halved Cookies
This is where the magic really happens – transforming your perfectly baked cookies into a visually stunning display of deliciousness. Pay attention to baking times; we want them golden on the edges but still soft in the center.Bringing it All Together:
- Preheat and Prep: Preheat your oven to 375°F (190°C). Line baking sheets with parchment paper or silicone baking mats. This prevents sticking and ensures even baking.
- Scoop the Dough: Drop rounded tablespoons of cookie dough onto the prepared baking sheets, leaving about 2 inches between each cookie. Use a cookie scoop for uniform size.
- Bake to Perfection: Bake for 9-11 minutes, or until the edges are golden brown and the centers are still slightly soft. For a chewier cookie, you can pull them out a minute earlier. Tip: Don’t overcrowd the baking sheets; bake in batches if necessary to ensure proper air circulation around each cookie.
- Cool Before Slicing: Let the cookies cool on the baking sheets for 5 minutes before transferring them to a wire rack to cool completely. This is crucial! Trying to halve warm cookies will result in a crumbly mess.
- The Halving Process: Once completely cool, take a sharp knife (a serrated knife works wonderfully for this) and carefully cut each cookie in half. Try to make a clean cut right through the middle.
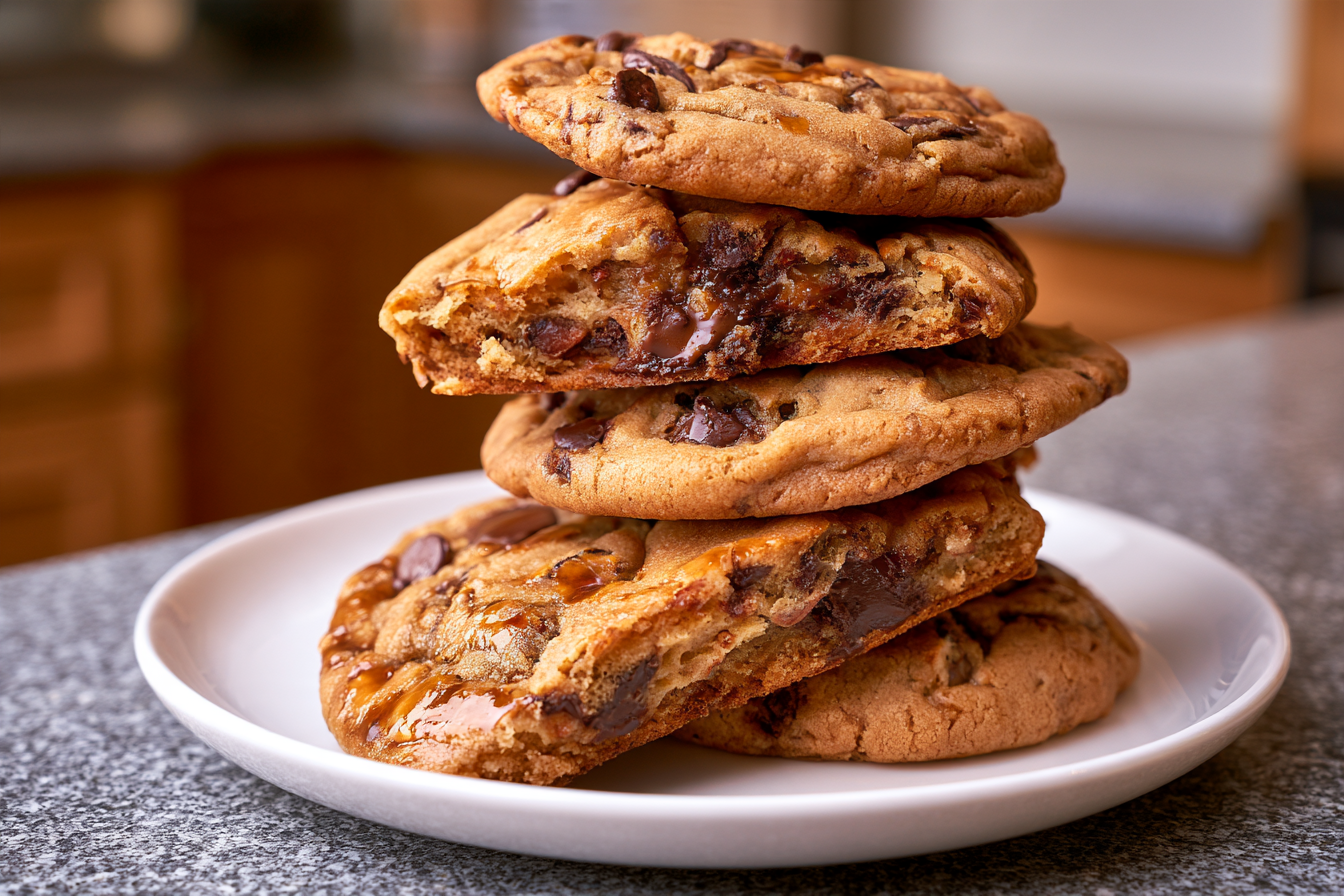
- Stack ‘Em High: Arrange your halved cookies on a platter or serving board. Start by laying some flat, then begin to stack them up, leaning them against each other to create a visually appealing mound. You can stack them randomly or in a more organized fashion – whatever looks good to you!

Serving Suggestions and Flavor Twists
These halved cookies are fantastic on their own, but a few additions can make them even more special. Think of them as a blank canvas for your dessert dreams! For a simple yet elegant presentation, serve them alongside a scoop of vanilla bean ice cream or a dollop of fresh whipped cream. A drizzle of homemade caramel sauce or a sprinkle of flaky sea salt over the chocolate chips before serving can also elevate the experience. For a decadent touch, you could even make a small batch of chocolate ganache for dipping. Feeling adventurous? Try some flavor variations!- Nutty Twist: Fold in a ½ cup of chopped walnuts or pecans along with the chocolate chips.
- Spiced Delight: Add ½ teaspoon of cinnamon or a pinch of nutmeg to the dry ingredients for a warmer flavor profile.
- Citrus Zest: Grate in the zest of one orange or lemon when creaming the butter and sugars for a bright, refreshing note.
- White Chocolate & Macadamia: Swap out the semi-sweet chips for white chocolate chips and add a ½ cup of chopped macadamia nuts.
Common Queries About Stacked Cookies
Got questions about making or serving these delightful stacked treats? You’re in good company! Here are some of the most common things people ask.Can I use any cookie recipe for this?
While you *can* use almost any cookie recipe, ones that are a bit sturdier (like chocolate chip, oatmeal, or shortbread) tend to hold up best to being halved and stacked. Very delicate or crumbly cookies might break apart too easily. Avoid super thin, crispy cookies if you want a nice, visible interior.How far in advance can I bake and halve these cookies?
You can bake the cookies up to 3-4 days in advance. Make sure they are completely cool before halving them. Once halved, store them in an airtight container at room temperature. I recommend stacking them on the serving platter no more than a few hours before serving to maintain their fresh appearance.What’s the best way to cut the cookies in half without them crumbling?
A sharp knife is your best friend here! A serrated bread knife often works best for a clean cut, especially if the cookies have a slightly crisp exterior. Ensure the cookies are fully cooled; warm cookies will crumble. Don’t press too hard; use a gentle sawing motion.Can I freeze these cookies?
Yes, you can! You can freeze the whole, un-halved baked cookies for up to 2-3 months in an airtight container or freezer bag. Thaw them at room temperature, then halve and stack. You can also freeze the raw cookie dough for up to 3 months; just thaw in the fridge overnight before baking.Are these good for shipping or gifting?
Absolutely! Halved cookies fit beautifully into gift boxes or tins. Just make sure to arrange them snugly so they don’t shift too much during transport. You can even layer them with parchment paper for extra protection. They look incredibly charming and thoughtful as a gift.Storing Your Halved Cookie Stash
Once your glorious stack of cookies has been admired and (mostly) devoured, you’ll want to store any leftovers properly to keep them fresh. Place the halved cookies in an airtight container at room temperature. They’ll stay fresh and delicious for 3-4 days. If you want to extend their life, you can freeze them. Arrange the halved cookies in a single layer on a baking sheet and freeze until solid (about 1-2 hours). Then, transfer them to a freezer-safe bag or container, separating layers with parchment paper. They’ll keep well for up to 2 months. Thaw at room temperature for a few hours before enjoying. They’re just as good after thawing!
Decadent Halved Chocolate Chip Cookies for Sharing
Transform classic chocolate chip cookies into an inviting, shareable stack by simply halving them, revealing their delicious interior.
📝 Ingredients
👩🍳 Instructions
- 1In a large bowl, cream softened butter with granulated sugar and light brown sugar until light and fluffy (2-3 minutes) using an electric mixer. Scrape down the sides of the bowl.
- 2Beat in eggs one at a time, mixing well after each addition. Stir in vanilla extract until just combined.
- 3In a separate medium bowl, whisk together flour, baking soda, and salt.
- 4Gradually add the dry ingredients to the wet mixture, mixing on low speed until just combined. Do not overmix.
- 5Fold in the semi-sweet chocolate chips with a spatula until evenly distributed.
- 6Cover the dough and chill in the refrigerator for at least 30 minutes, or up to 24 hours, for best results and less spreading.
- 7Preheat your oven to 375°F (190°C). Line baking sheets with parchment paper or silicone baking mats.
- 8Drop rounded tablespoons of cookie dough onto the prepared baking sheets, spacing them about 2 inches apart.
- 9Bake for 9-11 minutes, or until the edges are golden brown and the centers are still slightly soft. Do not overbake.
- 10Allow cookies to cool on the baking sheets for 5 minutes before transferring them to a wire rack to cool completely. This step is crucial for clean cuts.
- 11Once completely cooled, use a sharp knife (a serrated knife works well) to carefully cut each whole cookie in half, creating two distinct halves.
- 12Arrange the halved cookies on a platter or serving board, stacking them high and leaning them against each other to create an appealing, abundant display.
💡 Notes
Ensure cookies are fully cooled before cutting to prevent crumbling. For a festive touch, drizzle with melted white chocolate or sprinkle with flaky sea salt before serving. These cookies freeze well, both as dough and baked. Thaw at room temperature.



