


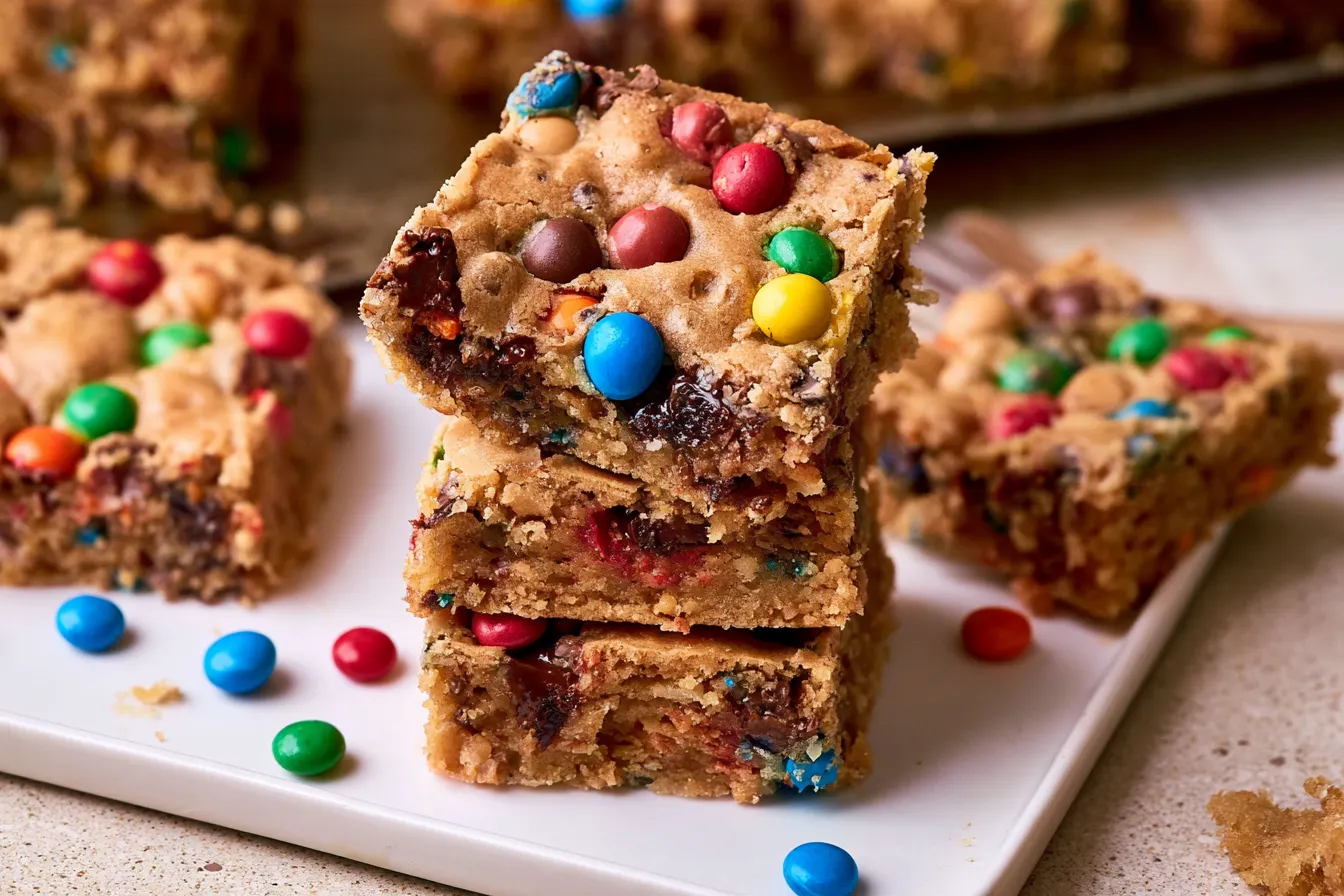
Ever had one of those days where only a truly substantial, no-holds-barred treat will do? You know, the kind that feels like a warm hug and a party all rolled into one? That’s precisely where these incredibly thick and chewy monster cookie bars come into play. They’re everything you love about classic monster cookies—peanut butter, oats, chocolate chips, and M&M’s—but baked into a convenient, gloriously hefty bar that begs to be devoured.
I’ve always been a fan of a good cookie, but sometimes, the sheer effort of scooping dozens of individual cookies just doesn’t feel worth the reward. Enter the cookie bar: all the flavor, significantly less fuss. These monster cookie bars deliver on every front: soft, gooey centers, delightfully crisp edges, and a texture that manages to be both substantial and tender. Seriously, one bite, and you’ll understand the obsession.
The beauty of this recipe also lies in its simplicity. We’re talking no-chill dough, minimal cleanup, and a result that looks like it came straight from a fancy bakery. It’s perfect for potlucks, bake sales, or just a Tuesday night when you need a little extra joy in your life. Ready to get baking?
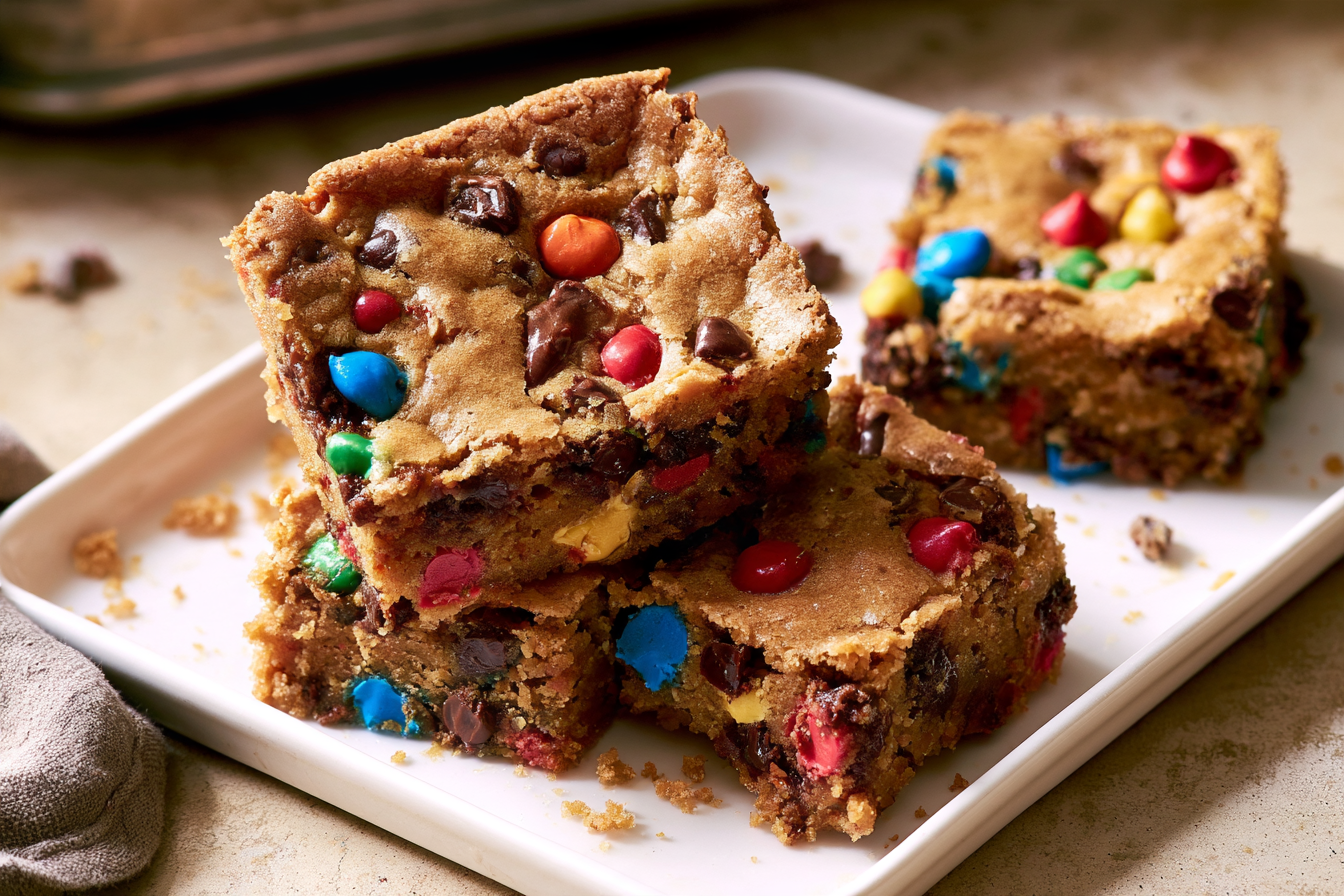
The Anatomy of an Irresistible Monster Cookie Bar
So, what makes these monster cookie bars stand head and shoulders above the rest? It boils down to a few critical components and a clever technique or two. First, we’re building on a solid foundation of creamy peanut butter and hearty rolled oats. These two ingredients are non-negotiable for that signature monster cookie flavor and chew.
Beyond the basics, it’s all about balance. We’re using a mix of brown sugar for moisture and chew, and granulated sugar for a bit of crispness. And of course, a generous hand with the mix-ins is essential. I like a blend of mini M&M’s and semi-sweet chocolate chips, but feel free to customize your candy-to-chocolate ratio to your heart’s content.
Why This Recipe Just Works Better
Many monster cookie bar recipes can end up either too dry or too crumbly. My approach focuses on achieving that perfect bakery-style density without sacrificing tenderness. The secret? A slightly higher ratio of brown sugar and a careful baking time that ensures the edges are set but the center remains beautifully soft and yielding. We’re aiming for a slightly underbaked center that finishes cooking as it cools, leading to that coveted fudgy texture.
Another key element is the lack of chilling time. Who has time to wait when a monster cookie craving strikes? This dough comes together quickly and bakes immediately, making it a fantastic last-minute dessert option.
Gather Your Sweet Supplies
Before we dive into the delicious details, let’s make sure you have everything ready to go. The quality of your ingredients truly makes a difference here, especially with something as foundational as peanut butter. Opt for a creamy, classic peanut butter, not the natural, oil-separated kind, as it can affect the texture of the bars.
Dry Goods You’ll Need
- All-purpose flour: Just enough to bind everything together without making the bars tough.
- Old-fashioned rolled oats: Crucial for that signature monster cookie texture and chew. Don’t use instant oats!
- Baking soda: Our leavening agent, helping the bars puff up slightly.
- Salt: Essential for balancing the sweetness and enhancing all the other flavors.
The Wet & Wonderful Ingredients
- Unsalted butter: Softened to room temperature for easy creaming. If using salted butter, reduce the added salt by 1/4 teaspoon.
- Granulated sugar: For sweetness and a little crispness.
- Light brown sugar: Packed, for moisture, chewiness, and a lovely molasses flavor.
- Creamy peanut butter: The star of the show! Make sure it’s a standard, shelf-stable variety.
- Large eggs: At room temperature, they incorporate better into the batter.
- Vanilla extract: A good quality vanilla always elevates baked goods.
The Fun Stuff: Mix-Ins!
- Semi-sweet chocolate chips: Or milk chocolate, if you prefer a sweeter profile.
- Mini M&M’s: Their small size distributes perfectly throughout the bars, ensuring candy in every bite. Regular M&M’s work too, but I love the mini ones here.
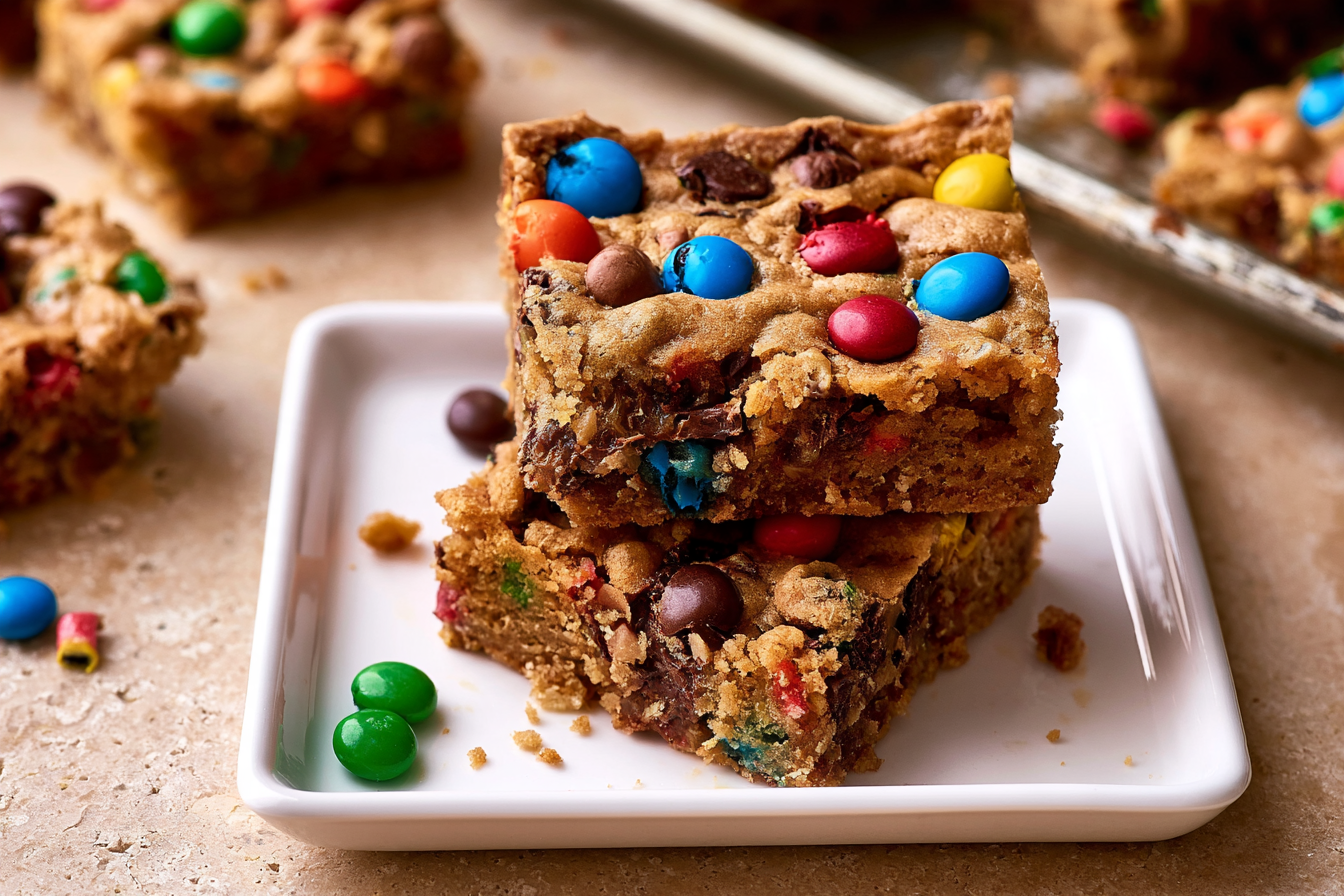
Crafting Your Monster Cookie Masterpiece
This recipe is incredibly straightforward, even for beginner bakers. The key is to follow the steps in order and avoid overmixing once the dry ingredients are added. That’s how we keep our bars tender, not tough.
Step 1: Prep the Oven and Pan
Begin by preheating your oven to a cozy 350°F (175°C). Line a 9×13-inch baking pan with parchment paper, leaving an overhang on the sides. This “sling” will make it incredibly easy to lift the entire slab of bars out once they’re cooled and ready to cut. A little cooking spray on the parchment paper can’t hurt, either.
Step 2: Whisk the Dry Trio
In a medium bowl, whisk together your all-purpose flour, old-fashioned rolled oats, baking soda, and salt. Give it a good whisk to ensure everything is evenly distributed. Set this aside for now.
Step 3: Cream the Fats and Sugars
In a large mixing bowl, using an electric mixer (either stand or hand-held), beat together the softened unsalted butter, granulated sugar, and packed light brown sugar until the mixture is light and fluffy. This usually takes about 2-3 minutes. Scrape down the sides of the bowl as needed to ensure everything is incorporated.
Next, add the creamy peanut butter to the butter-sugar mixture. Beat it in until it’s completely smooth and well combined, about another minute. The aroma at this stage is already incredible!
Step 4: Incorporate Eggs and Vanilla
Crack in the large eggs, one at a time, beating well after each addition until fully incorporated. Then, stir in the vanilla extract. The mixture should be smooth and creamy.
Step 5: Combine Wet and Dry
With the mixer on low speed, gradually add the dry ingredient mixture to the wet ingredients. Mix only until just combined. As soon as you see no more streaks of dry flour, stop mixing. Overmixing develops gluten, which can lead to tough bars.
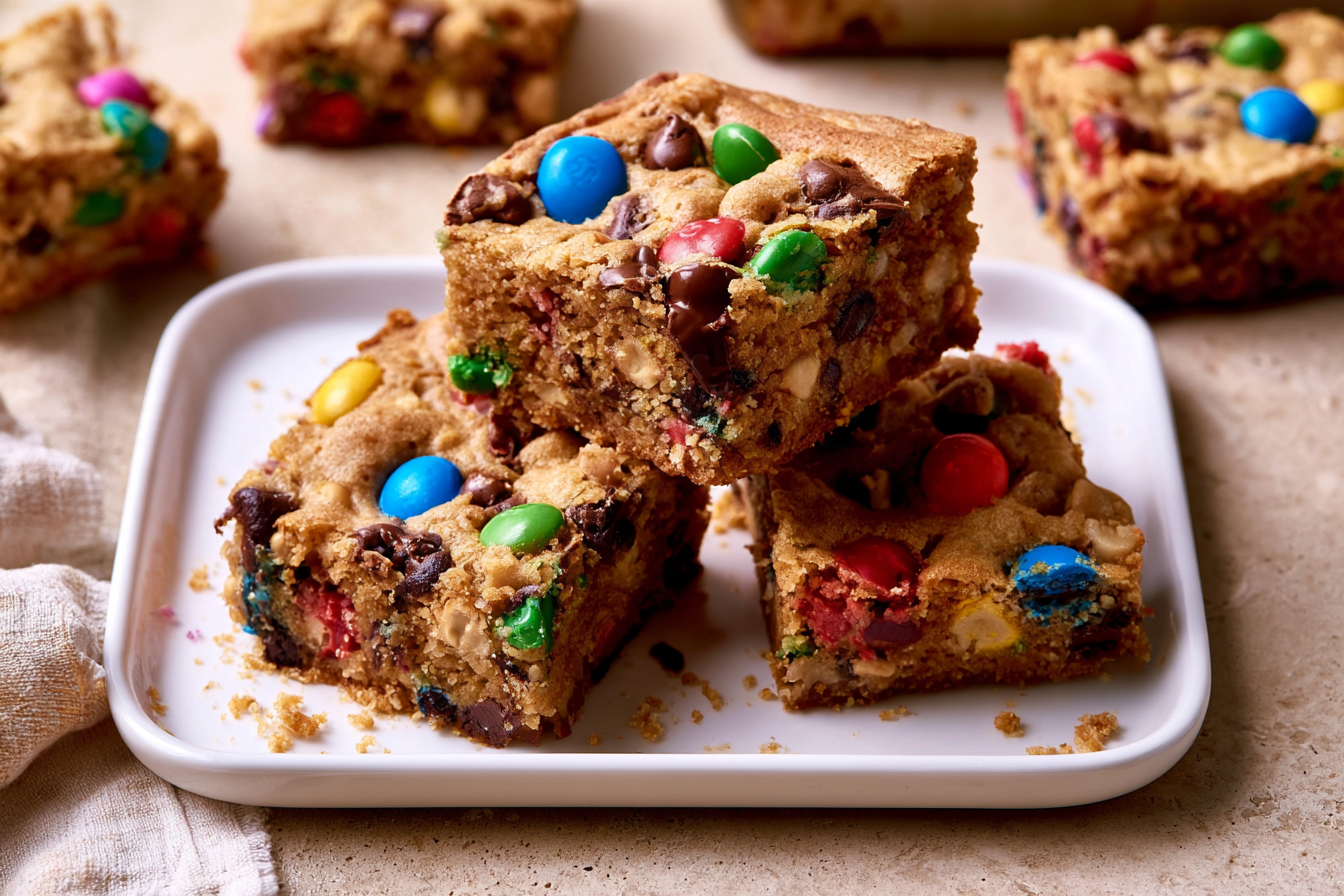
Step 6: Fold in the Fun
Remove the bowl from the mixer. Now comes the best part: gently fold in the semi-sweet chocolate chips and mini M&M’s using a spatula. Be sure to distribute them evenly throughout the dough. Don’t be afraid to get your hands a little sticky here if you need to; sometimes a gentle hand-fold ensures everything is perfectly dispersed.
Step 7: Press and Bake
Transfer the cookie dough to your prepared 9×13-inch baking pan. Use your hands or the back of a spatula to press the dough evenly into the pan. Make sure it’s packed down firmly, especially into the corners. If you want a picture-perfect top, press a few extra M&M’s and chocolate chips onto the surface before baking.
Bake for 28-32 minutes, or until the edges are lightly golden brown and the center looks set but still slightly soft. A toothpick inserted into the center should come out with moist crumbs, not wet batter. Remember, we want that slightly underbaked center for maximum chewiness!
Tip: If you notice the edges browning too quickly, you can loosely tent the pan with foil for the last 5-10 minutes of baking.
Step 8: Cool and Cut
Once baked, remove the pan from the oven and place it on a wire rack to cool completely. This is the hardest part! Resist the urge to cut into them warm; they need time to set up properly. Cutting warm bars will result in a crumbly mess. Once fully cooled (at least 2-3 hours, or even longer!), use the parchment paper overhang to lift the entire slab out of the pan. Place it on a cutting board and slice into squares or rectangles. Enjoy!
Common Baking Blunders and How to Dodge Them
Even the simplest recipes can have their pitfalls. Here are a few common issues you might encounter when making monster cookie bars and how to ensure yours turn out perfectly every time.
Bars Are Too Dry or Crumbly
This is often a sign of too much flour, overmixing the dough, or overbaking. Ensure you’re measuring your flour correctly (spoon and level, don’t scoop directly from the bag). Mix only until the flour disappears, and keep a close eye on the oven. Every oven is different, so your baking time might vary slightly. When in doubt, err on the side of underbaking for chewiness.
Bars Are Too Gooey and Don’t Set
If your bars are excessively gooey even after cooling, they might be underbaked. This can happen if your oven temperature is inaccurate or if you pulled them out too soon. Invest in an oven thermometer to ensure accuracy. If your bars seem too wet in the center after the recommended baking time, pop them back in for another 3-5 minutes.
M&M’s Sink to the Bottom
While a few sinking M&M’s are inevitable, a significant amount at the bottom can be avoided. Make sure your cookie dough is thick enough to hold the mix-ins. If your dough feels too loose, you might have too much liquid or not enough flour (refer to the “too dry” tip above). You can also toss your M&M’s and chocolate chips with a tablespoon of flour before adding them to the dough; the flour coating helps them suspend better.
Keeping Your Cookie Bars Fresh
Once your monster cookie bars are baked and cooled, you’ll want to store them properly to maintain their delicious chewiness and flavor.
Storage Tips
Store the cooled cookie bars in an airtight container at room temperature for up to 4-5 days. If you stack them, consider placing a piece of parchment paper between layers to prevent sticking. They tend to stay freshest if stored as a slab and cut as needed, but individual squares are fine too.
Freezing for Later Indulgence
These bars freeze beautifully! Once completely cooled, cut them into individual squares. Wrap each square tightly in plastic wrap, then place them in a freezer-safe bag or container. They can be frozen for up to 3 months. Thaw individual bars at room temperature for an hour or two, or pop them in the microwave for 15-30 seconds for a warm, gooey treat.
Frequently Asked Questions About Monster Cookie Bars
Can I use natural peanut butter for these bars?
I strongly recommend using a classic, creamy, shelf-stable peanut butter (like Jif or Skippy) for this recipe. Natural peanut butters, which often separate and contain only peanuts and salt, have a different fat and moisture content. This can significantly alter the texture of the bars, making them drier or more crumbly. For best results, stick with the creamy, processed kind.
What if I don’t have mini M&M’s? Can I use regular ones?
Absolutely! Regular M&M’s work just fine. I personally love the mini ones because they distribute more evenly and ensure you get that colorful candy crunch in every bite, but the taste will be the same with regular M&M’s. Feel free to use your favorite chocolate candy here!
Can I add other mix-ins to the monster cookie bars?
Yes, go wild! Monster cookies are known for being a bit of a kitchen sink cookie. Consider adding pretzels for a salty crunch, white chocolate chips, butterscotch chips, or even chopped nuts (if you’re not avoiding them due to the peanut butter). Just be mindful not to add too many extra mix-ins, as it can affect the overall structure of the bars. Aim for no more than an additional 1/2 cup.
How do I know when the bars are perfectly baked?
Look for lightly golden-brown edges. The center should appear mostly set but might still have a slight jiggle to it when you gently shake the pan. A toothpick inserted into the center should come out with moist crumbs, not wet batter. Remember, they will continue to set as they cool, so don’t wait for a completely dry toothpick or you’ll end up with dry bars!
Can I make these in a smaller pan?
You can, but you’ll need to adjust the baking time. For an 8×8-inch pan, you might need to increase the baking time by 5-10 minutes, but keep a close eye on them. The bars will be much thicker, so ensure the center is cooked through but not overbaked. A 9×9-inch pan would also work with a slight adjustment to baking time. Always use the toothpick test as your guide.
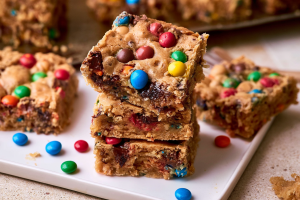
Thick & Chewy Monster Cookie Bars
Bakery-style monster cookie bars with peanut butter, oats, M&M’s, and chocolate chips in every irresistible bite. Soft centers, crisp edges, and no-chill dough make these a dream.
📝 Ingredients
👩🍳 Instructions
- 1Preheat oven to 350°F (175°C). Line a 9x13-inch baking pan with parchment paper, leaving an overhang on the sides. Lightly grease the parchment paper.
- 2In a medium bowl, whisk together the flour, rolled oats, baking soda, and salt. Set aside.
- 3In a large mixing bowl, using an electric mixer, cream together the softened butter, granulated sugar, and light brown sugar until light and fluffy, about 2-3 minutes. Scrape down the sides of the bowl as needed.
- 4Add the creamy peanut butter to the butter-sugar mixture and beat until well combined and smooth.
- 5Beat in the eggs, one at a time, mixing well after each addition. Stir in the vanilla extract.
- 6With the mixer on low speed, gradually add the dry ingredient mixture to the wet ingredients. Mix only until just combined; do not overmix.
- 7Remove the bowl from the mixer. Gently fold in the semi-sweet chocolate chips and mini M&M's using a spatula until evenly distributed.
- 8Transfer the cookie dough to the prepared baking pan. Press the dough evenly and firmly into the pan, ensuring it reaches all corners. If desired, press a few extra M&M's and chocolate chips onto the surface for presentation.
- 9Bake for 28-32 minutes, or until the edges are lightly golden brown and the center appears set but still slightly soft. A toothpick inserted into the center should come out with moist crumbs.
- 10Remove from the oven and place the pan on a wire rack to cool completely before lifting out of the pan using the parchment paper overhang and cutting into squares. Cooling completely is crucial for proper setting.
💡 Notes
For best results, use classic creamy peanut butter (like Jif or Skippy), not natural peanut butter. Store cooled bars in an airtight container at room temperature for up to 5 days. These bars also freeze exceptionally well; wrap individual squares tightly and freeze for up to 3 months. Thaw at room temperature.



