


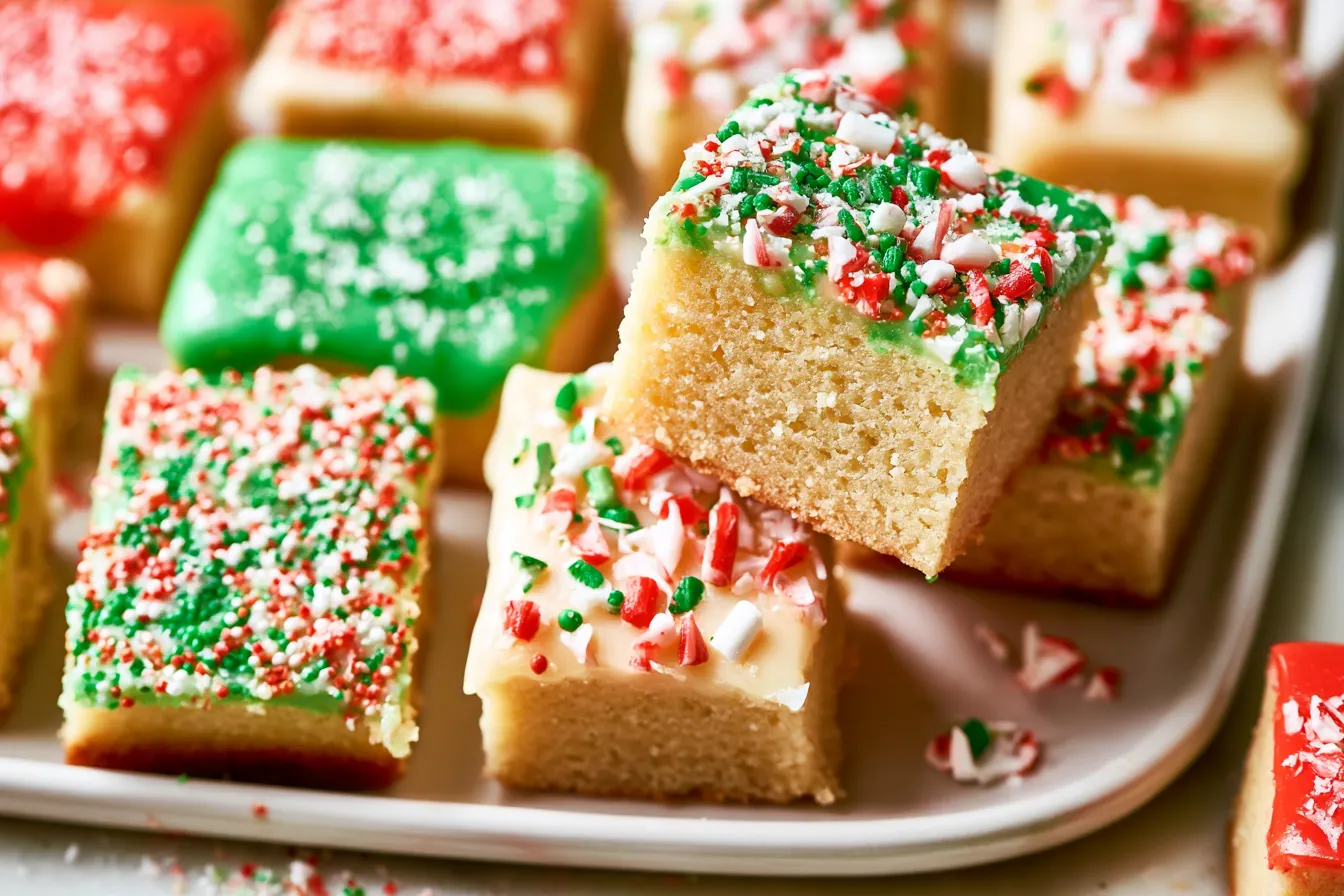
Okay, let’s be real for a minute: decorating individual sugar cookies is a *lot* of work. It’s fun for about ten minutes, then your back aches, your kitchen is covered in sprinkles, and you’re left wondering why you started this annual tradition in the first place. This year, I decided to rebel against the cookie cutter tyranny and embrace the glorious simplicity of Christmas sugar cookie bars.
- Why You’ll Absolutely Adore These Festive Cookie Bars
- The Simple Line-Up: What You’ll Need
- Crafting Your Christmas Sugar Cookie Bars
- Top Tips for Perfect Cookie Bar Success
- Common Questions About Sugar Cookie Bars
- Serving Suggestions & Festive Flair
- Make-Ahead Magic for a Stress-Free Season
- A Little History of the Sugar Cookie
These aren’t just any cookie bars, though. We’re talking soft, chewy, perfectly sweet bars baked in one glorious sheet, then drenched in a dreamy royal icing and showered with festive sprinkles. All the holiday magic, none of the individual cookie fuss.
It’s the perfect solution for busy holiday bakers who still want that homemade touch without spending hours on their feet. Trust me, your sanity (and your taste buds) will thank you.

Why You’ll Absolutely Adore These Festive Cookie Bars
There’s something inherently joyful about a sugar cookie, especially around the holidays. That classic vanilla flavor just screams comfort and celebration. But as I mentioned, the traditional cut-out route can be a bit of a marathon.
This recipe for Christmas sugar cookie bars streamlines the entire process. You get all the flavor and fun of a classic sugar cookie with about half the effort.
Think less rolling and cutting, and more mixing and spreading. It’s a game-changer when you’ve got a million other holiday tasks vying for your attention.
Plus, they feed a crowd! A single batch yields a generous pan of treats, perfect for holiday parties, potlucks, or just keeping your own cookie jar well-stocked.
They’re wonderfully soft and tender, with that delightful chewiness that makes a great sugar cookie. The royal icing adds a beautiful, slightly crisp shell and a burst of sweet vanilla flavor.
The Simple Line-Up: What You’ll Need
Good news! You probably have most of these ingredients in your pantry already. We’re sticking to classic sugar cookie staples here, nothing fancy or hard to find.

For the Soft & Chewy Cookie Base
- All-purpose flour: The backbone of our bars. Make sure to measure it correctly!
- Baking powder: Gives our bars a lovely lift and tenderness.
- Salt: Balances the sweetness and enhances all the other flavors. Don’t skip it!
- Unsalted butter: Softened to room temperature. This is crucial for a smooth, well-incorporated dough.
- Granulated sugar: Provides the classic sweetness and helps with that tender crumb.
- Large eggs: Room temperature eggs incorporate better into the butter and sugar mixture.
- Vanilla extract: The star flavor of any good sugar cookie. Use the good stuff if you can!
- Almond extract (optional): Just a touch adds a wonderful depth of flavor, enhancing the vanilla without overpowering it.
For the Dreamy Royal Icing
- Powdered sugar: Also known as confectioners’ sugar. This is what gives us that smooth, fine icing texture.
- Meringue powder: This is the secret ingredient for a stable, shiny royal icing that sets beautifully. You can usually find it in the baking aisle or craft stores.
- Warm water: Used to thin the icing to the perfect consistency.
- Vanilla extract: Again, for flavor.
- Light corn syrup: A little secret trick to add shine and prevent the icing from becoming too brittle.
- Festive sprinkles: Because it’s Christmas, and sprinkles make everything better!
Crafting Your Christmas Sugar Cookie Bars
The beauty of this recipe is how straightforward it is. No chilling required for the dough, and the royal icing comes together quickly. Here’s how we do it.
Whipping Up the Perfect Cookie Dough
- Prep Your Pan: First things first, preheat your oven to 375°F (190°C). Then, line a 9×13-inch baking pan with parchment paper, leaving an overhang on the sides. This makes lifting the baked bars out incredibly easy. Give it a light spray with non-stick cooking spray for extra insurance.
- Dry Ingredients Unite: In a medium bowl, whisk together the flour, baking powder, and salt. Set this aside for a moment.
- Cream the Wet: In a large mixing bowl, using an electric mixer (handheld or stand mixer with paddle attachment), cream together the softened butter and granulated sugar until it’s light and fluffy. This usually takes about 2-3 minutes. Scrape down the sides of the bowl as needed.
- Add Eggs & Extracts: Beat in the eggs, one at a time, mixing well after each addition. Then, stir in the vanilla extract and almond extract (if using). The mixture might look a little curdled, but don’t worry, it’ll come together.
- Combine Gently: Gradually add the dry ingredients to the wet ingredients, mixing on low speed until just combined. Be careful not to overmix! Overmixing can lead to tough cookies. The dough will be soft and a bit sticky.
- Spread it Out: Press the dough evenly into your prepared 9×13-inch baking pan. I like to use the back of a spoon or my lightly floured hands for this. Make sure it’s spread from edge to edge.
- Bake to Golden Perfection: Bake for 18-22 minutes, or until the edges are lightly golden and a toothpick inserted into the center comes out clean.
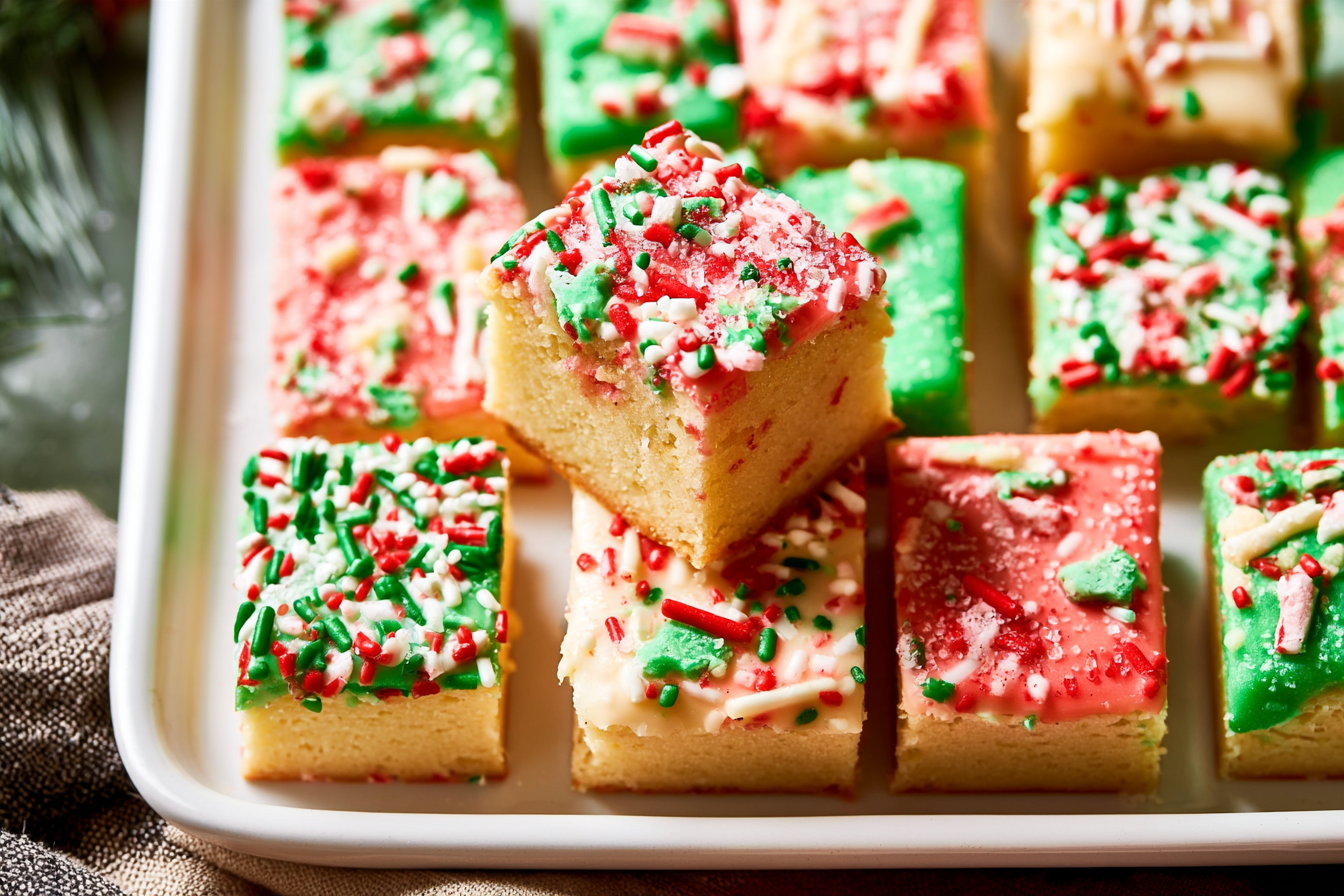
- Cool Completely: Remove the pan from the oven and let the bars cool completely in the pan on a wire rack. This is important before icing!

Mixing the Smooth Royal Icing
- Combine Dry: In a medium bowl, whisk together the powdered sugar and meringue powder.
- Add Liquids: Gradually add the warm water, vanilla extract, and light corn syrup. Mix on low speed until combined, then increase to medium-high and beat for 5-7 minutes, or until the icing is thick, glossy, and holds soft peaks. If it’s too thick, add water a teaspoon at a time. If it’s too thin, add a tablespoon of powdered sugar.
- Icing Time: Once the cookie bars are completely cool, pour the royal icing over them. Use an offset spatula or the back of a spoon to spread it evenly all the way to the edges.
- Sprinkle Away: Immediately shower the top with your favorite festive sprinkles before the icing sets.
- Let it Set: Allow the icing to set completely, which can take anywhere from 1-3 hours depending on your humidity. Once set, use the parchment paper overhang to lift the entire slab out of the pan.
- Slice and Serve: Cut into squares or rectangles and enjoy!
Top Tips for Perfect Cookie Bar Success
Even though these are super easy, a few little pointers can make all the difference between good and absolutely amazing.
- Room Temperature Ingredients: This applies to both your butter and eggs. They cream together much more smoothly and create a more uniform dough, leading to a tenderer crumb.
- Don’t Overbake: Sugar cookies can go from perfectly soft to dry and crumbly in a flash. Keep an eye on them; they should just be lightly golden at the edges. They’ll continue to set a bit as they cool.
- Cool Completely: I can’t stress this enough! If you try to ice warm bars, the icing will melt and run, creating a sticky mess. Patience is key here.
- Meringue Powder Magic: For that classic royal icing sheen and hardness, meringue powder is non-negotiable. Don’t substitute it with egg whites unless you’re experienced with raw egg whites in icing.
Common Questions About Sugar Cookie Bars
Can I make these Christmas sugar cookie bars ahead of time?
Absolutely! The baked and iced bars can be stored at room temperature in an airtight container for up to 3-4 days. They actually taste even better the next day once the flavors have had a chance to meld.
Can I freeze these cookie bars?
Yes, you can! You can freeze the baked and un-iced bars for up to 3 months. Wrap them tightly in plastic wrap and then in foil. Thaw at room temperature before icing. You can also freeze iced bars, but the sprinkles might bleed a little bit as they thaw due to condensation.
What if I don’t have meringue powder for the icing?
While meringue powder is ideal for a classic royal icing that sets hard and shiny, you can make a simpler glaze. Combine powdered sugar with milk (or water) and vanilla extract until you reach a pourable consistency. It won’t set as hard, but it will still be delicious!
Can I use different extracts?
Definitely! While vanilla and almond are traditional, feel free to experiment. A touch of peppermint extract would be lovely for a festive twist, or even a hint of lemon if you’re feeling adventurous. Just use a light hand with stronger extracts.
My cookie bars are too dry, what went wrong?
Most likely, they were overbaked. Sugar cookies should be removed from the oven when the edges are just starting to turn golden. The center might still look a little soft, but they’ll firm up as they cool. Over-measuring flour can also lead to a dry dough.
Serving Suggestions & Festive Flair
These Christmas sugar cookie bars are a party in themselves! They’re perfect as a standalone dessert for any holiday gathering, from a casual family dinner to a festive office potluck.
Arrange them on a platter with other holiday treats like chocolate crinkle cookies or peppermint bark for a beautiful dessert spread. A mug of hot cocoa or a festive coffee drink makes a wonderful pairing.
For an extra special touch, you could drizzle a little melted white chocolate over the top after the royal icing has set, then add more sprinkles. Or, try using different colored food coloring in separate batches of icing to create a multi-colored design.
Make-Ahead Magic for a Stress-Free Season
The holidays are busy enough without last-minute baking stress. These bars are fantastic for make-ahead planning.
You can bake the cookie base a day or two in advance, let it cool completely, then cover it tightly in the pan. When you’re ready, whip up the royal icing, spread it on, and decorate.
As mentioned, you can also freeze the un-iced bars. This is a brilliant strategy if you’re baking for multiple events. Just pull them out, thaw, and then decorate fresh.
This flexibility makes them a lifesaver during the busiest time of the year. Less time in the kitchen means more time enjoying the season with loved ones.
A Little History of the Sugar Cookie
While sugar cookie *bars* are a relatively modern convenience, the humble sugar cookie itself has a long and storied history. Its origins can be traced back to the 1700s, when German Protestant settlers in Nazareth, Pennsylvania, developed a round, simple cookie called the Nazareth Sugar Cookie.
These early cookies were made with basic ingredients like flour, sugar, butter, and eggs, and were revolutionary for their time because sugar was still a relatively expensive commodity. Over time, as sugar became more accessible, the sugar cookie evolved into the beloved treat we know today, becoming a canvas for decorations and a staple of celebrations, especially Christmas.
So, while we’re enjoying the convenience of a bar, we’re still tapping into centuries of delicious tradition!

Christmas Sugar Cookie Bars with Royal Icing
Soft and chewy Christmas sugar cookie bars baked in a sheet pan, topped with shiny royal icing and festive sprinkles.
📝 Ingredients
👩🍳 Instructions
- 1Preheat oven to 375°F (190°C). Line a 9x13-inch baking pan with parchment paper, leaving an overhang on the sides. Lightly spray with non-stick spray.
- 2In a medium bowl, whisk together the flour, baking powder, and salt. Set aside.
- 3In a large bowl with an electric mixer, cream together the softened butter and granulated sugar until light and fluffy (2-3 minutes).
- 4Beat in the eggs one at a time, mixing well after each addition. Stir in the vanilla extract and almond extract (if using).
- 5Gradually add the dry ingredients to the wet ingredients, mixing on low speed until just combined. Do not overmix.
- 6Press the dough evenly into the prepared baking pan. Use the back of a spoon or lightly floured hands to spread it from edge to edge.
- 7Bake for 18-22 minutes, or until the edges are lightly golden and a toothpick inserted into the center comes out clean.
- 8Remove from oven and let the cookie bars cool completely in the pan on a wire rack.
- 9While bars cool, prepare the royal icing: In a medium bowl, whisk together the sifted powdered sugar and meringue powder.
- 10Gradually add the warm water, vanilla extract, and light corn syrup. Mix on low speed, then increase to medium-high and beat for 5-7 minutes until the icing is thick, glossy, and holds soft peaks. Adjust with more water or powdered sugar if needed.
- 11Once cookie bars are completely cool, pour the royal icing over them. Spread evenly with an offset spatula. Immediately shower with festive sprinkles.
- 12Allow the icing to set completely (1-3 hours) before lifting the slab out of the pan using the parchment paper overhang. Cut into squares or rectangles and serve.
💡 Notes
For best results, ensure butter and eggs are at room temperature. Do not overbake the cookie bars to keep them soft and chewy. Store leftover bars in an airtight container at room temperature for up to 3-4 days. Freezing un-iced bars is a great make-ahead option.



