


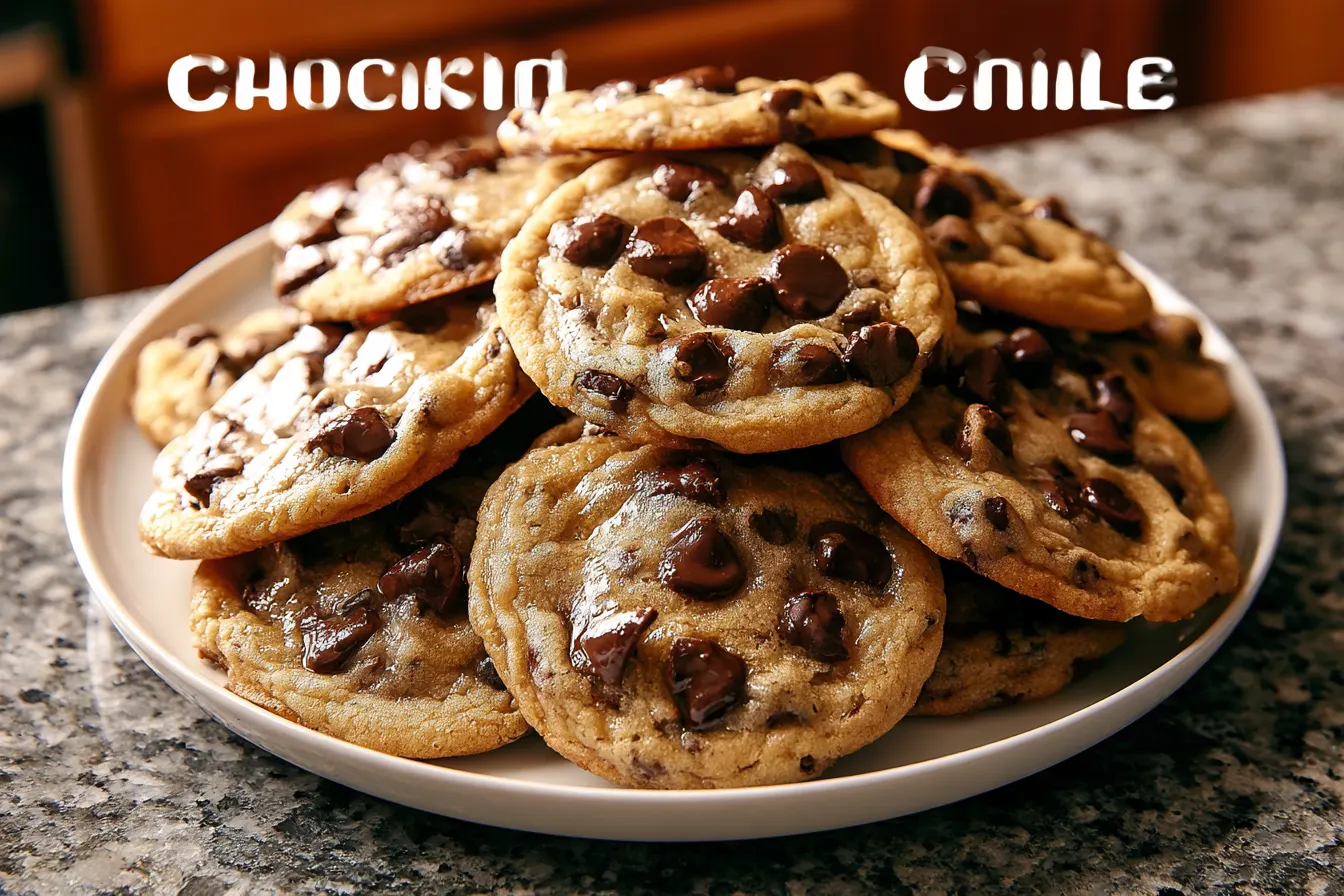
Ever had that sudden, undeniable craving for warm, gooey chocolate chip cookies, only to be stopped dead in your tracks by the dreaded “chill for at least an hour” instruction? I know I have. There’s nothing quite like the disappointment of wanting fresh-baked goodness now and realizing you’re stuck in a time warp. That’s precisely why I set out to perfect these no chill chocolate chip cookies made by hand, designed to deliver pure, unadulterated cookie joy without the wait.
- Why Ditch the Chill Time? And How This Recipe Makes It Work
- Gather Your Supplies: Ingredients for Instant Cookie Bliss
- Whipping Up Your Dough: Hand-Mixing Magic
- Baking Your Instant Gratification Cookies
- Questions You Might Have About Quick-Bake Cookies
- Variations to Keep Things Exciting
- Storing Your Delicious Creations

Why Ditch the Chill Time? And How This Recipe Makes It Work
Traditional chocolate chip cookie recipes often call for chilling the dough. This step serves a few purposes: it allows the flour to fully hydrate, deepening the flavor; it solidifies the butter, which helps prevent the cookies from spreading too much; and it gives the sugars more time to dissolve, contributing to a chewier texture. So, why would we skip it? Well, sometimes you just don’t have the time or patience! The beauty of these hand-mixed, no-chill cookies lies in a few clever adjustments that allow us to bypass that waiting period without sacrificing flavor or texture. We’re using a slightly higher ratio of brown sugar to white sugar, which adds moisture and chewiness. Plus, a little extra flour helps provide structure, ensuring your cookies don’t turn into flat puddles in the oven. The mixing method, using just your hands, also subtly impacts the gluten development, contributing to that perfect balance of soft and chewy. It’s all about finding that sweet spot where convenience meets deliciousness.The Secret to Success: Brown Butter (Optional, but Highly Recommended!)
Before we even get to the main event, let’s talk about an optional, but truly transformative, step: browning your butter. Now, I know what you’re thinking, “Isn’t that just adding *another* step?” Yes, technically. But it’s a 5-minute step that infuses your cookies with a nutty, caramel-like depth that is simply unparalleled. It elevates an already delicious cookie into something truly extraordinary. If you have an extra few minutes, please, please, please try it. You just melt the butter over medium heat, stirring constantly, until it turns a lovely amber color and smells like toasted nuts. Then, let it cool slightly before mixing. It’s a little extra effort that pays off in spades.Gather Your Supplies: Ingredients for Instant Cookie Bliss
The best part about these cookies? You likely have most, if not all, of these ingredients in your pantry right now. No exotic flours or hard-to-find extracts required. We’re sticking to the classics, letting simple, good quality ingredients shine.Dry Ingredients: The Foundation of Flavor
- 2 ¼ cups (270g) all-purpose flour
- 1 teaspoon baking soda
- ½ teaspoon salt (don’t skip this, it balances the sweetness!)
Wet Ingredients & Sweeteners: For That Perfect Chewy Texture
- ½ cup (113g) unsalted butter, softened (or browned and cooled slightly)
- ¾ cup (150g) packed light brown sugar
- ½ cup (100g) granulated sugar
- 1 large egg, room temperature
- 1 teaspoon pure vanilla extract
The Star of the Show: Chocolate!
- 1 ½ cups (250g) chocolate chips or chunks (a mix of milk and semi-sweet is divine!)

Whipping Up Your Dough: Hand-Mixing Magic
This is where the “made by hand” part really comes into play. There’s something incredibly therapeutic about feeling the dough come together between your fingers. It’s a sensory experience that connects you directly to what you’re creating.Step 1: Prep Your Oven and Pan
First things first, preheat your oven to 375°F (190°C). Line a couple of baking sheets with parchment paper. This isn’t just for easy cleanup; it helps the cookies bake more evenly and prevents sticking.
Step 2: Combine the Dry Bits
In a medium bowl, whisk together the all-purpose flour, baking soda, and salt. Give it a good whisk to make sure everything is evenly distributed. This step prevents pockets of baking soda (yuck!) or overly salty bites.
Step 3: Cream the Butter and Sugars
In a large bowl, combine your softened butter (or cooled browned butter) with the light brown sugar and granulated sugar. Using a sturdy spoon or even just your clean hands, cream these together until they’re light and fluffy. This can take a few minutes of good mixing, and you’ll feel the sugar crystals start to dissolve into the butter. The texture should be smooth and cohesive. Tip: If your butter isn’t quite soft enough, you can microwave it for 10-15 seconds, but be careful not to melt it completely!
Step 4: Incorporate the Egg and Vanilla
Add the room temperature egg and vanilla extract to the butter-sugar mixture. Mix well until everything is fully combined and looks homogenous. Don’t rush this part; ensuring the egg is well-incorporated creates a smooth base for your dough.
Step 5: Gradually Add Dry to Wet
Now, add your dry ingredient mixture to the wet ingredients in two or three additions. Mix until just combined. Overmixing at this stage can develop too much gluten, leading to tougher cookies. You want to stop when there are still a few streaks of flour visible.
Step 6: Fold in the Chocolate
Finally, gently fold in your chocolate chips or chunks. I like to use a spatula for this, ensuring the chocolate is evenly distributed throughout the dough without overworking it. If you want those gorgeous pools of chocolate on top, reserve a handful of chips to press into the tops of the dough balls just before baking.

Baking Your Instant Gratification Cookies
The moment of truth! These cookies bake up relatively quickly, so keep a close eye on them.Step 7: Portion and Bake
Using a cookie scoop (about 1.5 tablespoons) or simply rolling the dough between your palms, form golf-ball sized mounds of dough. Place them about 2 inches apart on your prepared baking sheets. Remember, no chilling required! Bake for 9-12 minutes, or until the edges are golden brown and the centers are still slightly soft and puffy. They might look a little underdone in the middle, but that’s what gives them that perfect chewiness as they cool. Note: Baking times can vary depending on your oven, so watch them closely the first time you make them.
Step 8: Cool and Enjoy
Let the cookies cool on the baking sheet for 5 minutes before transferring them to a wire rack to cool completely. This resting period allows them to firm up and prevents them from breaking when you move them. But honestly, they’re best enjoyed warm, with a glass of cold milk or a cup of coffee. The melty chocolate is irresistible!
Questions You Might Have About Quick-Bake Cookies
Even straightforward recipes can spark a few questions. Here are some common ones that pop up when you’re bypassing the chill time.Can I really skip chilling the dough entirely?
Yes, absolutely! That’s the whole point of this recipe. The specific ingredient ratios and mixing method are designed to give you a fantastic cookie without any chill time. You get to go from craving to cookie in under 30 minutes.
My cookies spread too much! What happened?
A few things could cause excessive spreading. Your butter might have been too warm (almost melted), or your oven temperature might be off (consider investing in an oven thermometer). Also, ensure you’re using the correct amount of flour; too little can lead to flat cookies. Make sure your baking soda is fresh, too!
Can I make these cookies ahead of time, even without chilling?
While the beauty of this recipe is its immediacy, you can certainly portion out the dough balls and freeze them. Place them on a parchment-lined baking sheet and freeze until solid, then transfer to an airtight freezer bag. When a craving strikes, bake directly from frozen, adding a couple of extra minutes to the baking time.
What kind of chocolate chips are best?
This is purely a matter of personal preference! I love a mix of semi-sweet and milk chocolate chips for a balanced flavor and varied melt. You could also use dark chocolate chunks, white chocolate, or even a mix with some chopped nuts for added texture. Use what you love!
My cookies are hard, not chewy. What did I do wrong?
This usually happens if the cookies were overbaked. Remember, you want them to look slightly underdone in the center when you pull them from the oven. They’ll continue to cook a bit on the hot baking sheet. Also, ensure your brown sugar is packed firmly; it adds crucial moisture for chewiness.
Variations to Keep Things Exciting
Once you’ve mastered the basic no-chill chocolate chip cookie, don’t be afraid to experiment! This dough is a fantastic canvas for other flavors.- Nutty Crunch: Add ½ cup of chopped walnuts or pecans along with the chocolate chips.
- Spice It Up: A pinch of cinnamon or a tiny dash of cayenne pepper can add a surprising warmth and complexity.
- Toffee Bits: Fold in ½ cup of toffee bits for an extra layer of caramel flavor and chewy texture.
- Sea Salt Finish: A sprinkle of flaky sea salt on top of the dough balls just before baking enhances the chocolate flavor and adds a gourmet touch.
Storing Your Delicious Creations
While these cookies are best devoured warm, fresh from the oven, you might find yourself with a few leftovers (a rare but possible occurrence!). Store them in an airtight container at room temperature for up to 3-4 days. To bring back that freshly baked chewiness, pop them in the microwave for 10-15 seconds. It works wonders! For longer storage, the baked cookies freeze beautifully. Once completely cooled, place them in a single layer in an airtight freezer bag or container, separated by parchment paper if stacking. They’ll keep well for up to 2-3 months. Thaw at room temperature or gently reheat.
Hand-Mixed, No Chill Chocolate Chip Cookies
Get warm, gooey chocolate chip cookies in under 30 minutes with this easy, hand-mixed, no-chill recipe.
📝 Ingredients
👩🍳 Instructions
- 1Preheat your oven to 375°F (190°C). Line two baking sheets with parchment paper.
- 2In a medium bowl, whisk together the flour, baking soda, and salt. Set aside.
- 3In a large bowl, cream together the softened butter, light brown sugar, and granulated sugar until light and fluffy. This can be done with a sturdy spoon or your hands.
- 4Beat in the egg and vanilla extract until fully combined and smooth.
- 5Gradually add the dry ingredient mixture to the wet ingredients in 2-3 additions. Mix until just combined; avoid overmixing.
- 6Fold in the chocolate chips or chunks until evenly distributed. If desired, reserve a few chips to press on top of the dough balls before baking.
- 7Scoop or roll golf-ball sized mounds of dough (about 1.5 tablespoons) and place them 2 inches apart on the prepared baking sheets.
- 8Bake for 9-12 minutes, or until the edges are golden brown and the centers are still slightly soft. They will firm up as they cool.
- 9Let the cookies cool on the baking sheets for 5 minutes before transferring them to a wire rack to cool completely. Enjoy warm for the best experience!
💡 Notes
For an extra layer of flavor, brown your butter before mixing (melt butter over medium heat until amber and nutty, then cool slightly). Ensure your egg is at room temperature for better emulsion. Cookies can be stored in an airtight container for 3-4 days or frozen for up to 2-3 months.



