


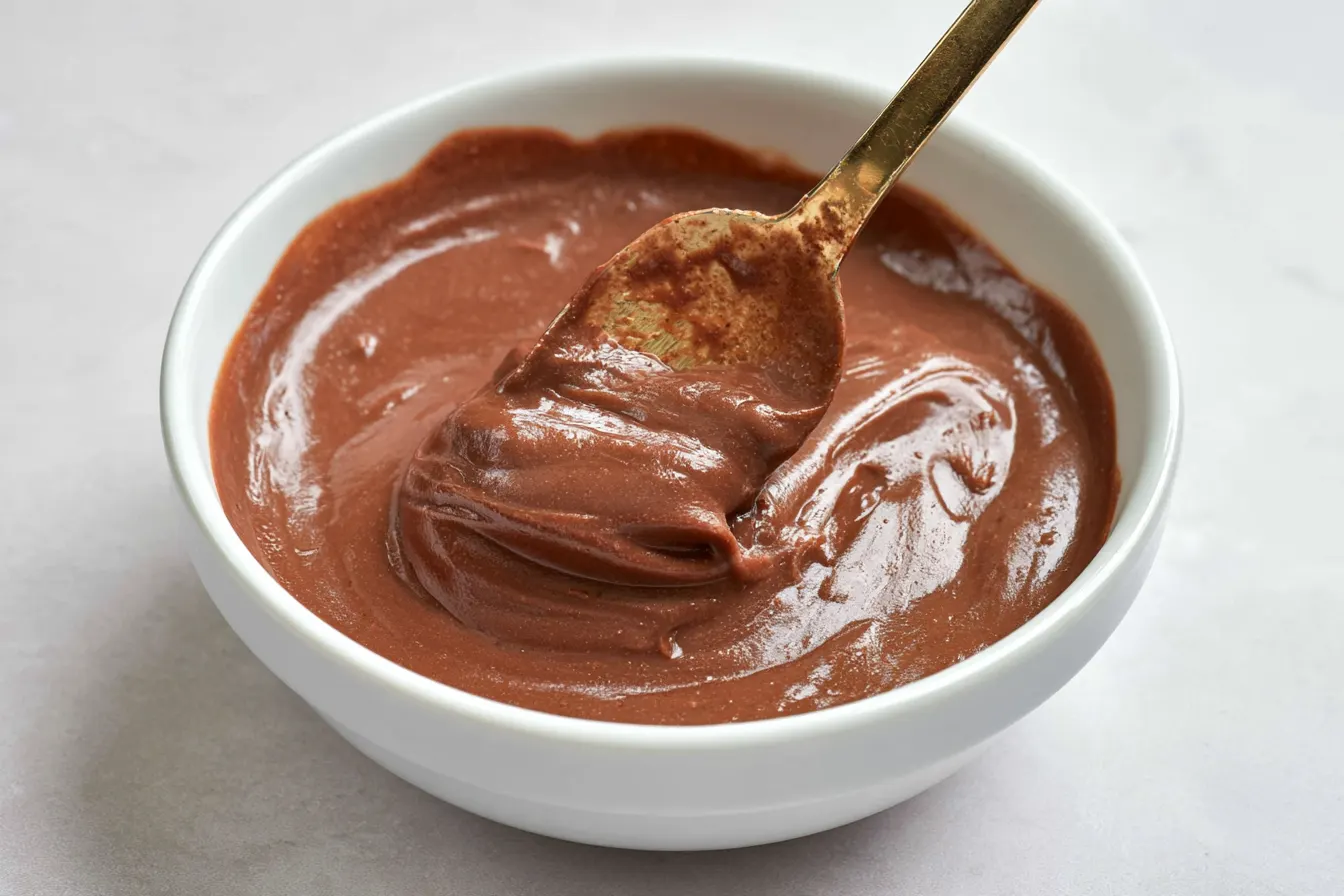
I once ran out of Nutella on a Sunday morning, and let me tell you, that’s a special kind of breakfast emergency. My toast felt naked, my pancakes forlorn. It was that desperate moment that sent me down a rabbit hole of trying to make my own, healthier alternative to the store-bought jar, and what I found was pure magic. This homemade Nutella isn’t just a substitute; it’s a revelation.

Why Bother Making Your Own Chocolate Hazelnut Spread?
You might be thinking, “Why go through the effort when there’s a perfectly good jar at the store?” Well, for starters, control. When you make it yourself, you know exactly what goes into it. We’re talking real roasted hazelnuts, good quality cocoa, and your choice of sweetener. No artificial flavors, no preservatives, and you can adjust the sweetness to your liking. It’s also often more economical in the long run, especially if you buy your ingredients in bulk. Beyond that, the flavor profile of homemade Nutella is simply superior. The freshness of the hazelnuts truly shines through, complemented by a deep, rich chocolate flavor that you just don’t get from the mass-produced versions. It’s a gourmet experience, made right in your own kitchen.Gathering Your Pantry Essentials
Making your own chocolate hazelnut spread doesn’t require a trip to a specialty store. Most of these ingredients you probably already have, or can easily find at your local grocery store. The quality of your ingredients really makes a difference here, so opt for the best you can find.The Foundation: Hazelnuts
- Raw Hazelnuts: About 2 cups (approximately 250g). These are the star of the show! Roasting them yourself brings out their incredible flavor.
The Chocolatey Goodness
- Unsweetened Cocoa Powder: ½ cup. Dutch-processed works beautifully here for a darker, less acidic chocolate flavor, but regular unsweetened cocoa is also perfectly fine.
- Dark Chocolate (optional but recommended): 2-3 ounces (50-80g) of good quality dark chocolate (70% cacao or higher), melted. This adds depth and a luxurious texture that powder alone can’t achieve.
Sweetness & Smoothness
- Powdered Sugar: ½ cup (or more/less to taste). I prefer powdered sugar because it dissolves seamlessly, ensuring a silky-smooth spread. Granulated sugar can make it slightly gritty.
- Neutral Oil: 2-4 tablespoons of a neutral-flavored oil like refined coconut oil (melted), grapeseed oil, or sunflower oil. This helps achieve that super creamy, spreadable consistency.
- Milk: 2-4 tablespoons of whole milk or a dairy-free alternative like almond milk or oat milk. This thins it out to the perfect consistency.
Flavor Boosters
- Vanilla Extract: 1 teaspoon. A good quality vanilla enhances all the other flavors.
- Salt: ¼ teaspoon. Just a pinch balances the sweetness and brings out the chocolate and hazelnut notes.

Crafting Your Own Heavenly Chocolate Hazelnut Spread
The process might seem a little daunting if you’ve never made nut butter before, but I promise you, it’s incredibly straightforward. The key is patience with your food processor!Step 1: Roasting Those Hazelnuts to Perfection
Preheat your oven to 350°F (175°C). Spread your raw hazelnuts in a single layer on a baking sheet. Roast them for about 10-15 minutes, or until their skins start to crack and they smell wonderfully fragrant. Keep an eye on them—hazelnuts can go from perfectly roasted to burnt very quickly!
Tip: Don’t skip this step! Roasting significantly deepens the hazelnut flavor and makes the skins easier to remove, which is crucial for a smooth spread.
Step 2: Skinning Your Roasted Hazelnuts
Once roasted, transfer the hot hazelnuts to a clean kitchen towel. Fold the towel over them and rub vigorously. The friction will help remove most of the papery skins. Don’t worry if a few stubborn skins remain; it won’t affect the flavor or texture much, but try to get off as many as you can for the smoothest result.
Let the skinned hazelnuts cool completely. This is important for preventing the spread from heating up too much in the food processor and potentially seizing the chocolate.
Step 3: The Magical Transformation into Nut Butter
Place the cooled, skinned hazelnuts into a high-powered food processor. Process them continuously. At first, they’ll turn into a coarse meal, then a fine powder. Keep going! It’ll look like nothing is happening for a while, but then, miraculously, the oils will start to release.
After about 5-10 minutes (depending on your food processor), they’ll form a thick, pasty butter. Scrape down the sides occasionally. Continue processing until it becomes a smooth, runny, pourable nut butter. This could take anywhere from 10-20 minutes in total. Patience is key here!

Step 4: Incorporating the Chocolate and Sweetness
Once your hazelnuts are a liquid butter, add the unsweetened cocoa powder, powdered sugar, vanilla extract, and salt to the food processor. If using, melt your dark chocolate gently (microwave in 30-second intervals or use a double boiler) and add that in too.
Process again until everything is thoroughly combined and smooth. Scrape down the sides as needed to ensure all ingredients are incorporated. The spread will thicken up a bit at this stage due to the cocoa and sugar.
Step 5: Achieving the Perfect Consistency
With the food processor still running, slowly drizzle in the neutral oil and then the milk, a tablespoon at a time, until you reach your desired consistency. You might need more or less depending on how thick your hazelnut butter was and how runny you like your spread. Taste and adjust sweetness or salt as desired.
Note: If your spread feels a little thick after refrigeration, a quick stir or a few seconds in the microwave can bring it back to that perfect spreadable texture.
Step 6: Storage and Enjoyment
Transfer your glorious homemade Nutella to a clean, airtight jar. Store it at room temperature for up to 2 weeks, or in the refrigerator for up to 1 month. If refrigerated, it will firm up, so let it sit out for a bit before spreading or give it a quick zap in the microwave.
Commonly Asked Questions About Homemade Chocolate Hazelnut Spread
Making your own pantry staples often brings up a few questions. Here are some of the most common ones I hear about this delicious spread:Can I make this without a high-powered food processor?
While a high-powered food processor is ideal for achieving the smoothest texture, you can technically use a regular food processor. It might just take longer for the hazelnuts to release their oils and become creamy. Be sure to give your machine breaks to prevent overheating.
What if I don’t have time to skin the hazelnuts?
You can absolutely make this spread without skinning the hazelnuts. The skins won’t harm you, but they can impart a slightly more bitter flavor and a slightly grittier texture to the finished product. For the silkiest spread, I highly recommend taking the extra step to remove them.
How can I adjust the sweetness of my homemade Nutella?
The beauty of making it yourself is customization! Start with the recommended amount of powdered sugar, then taste and add more, a tablespoon at a time, processing after each addition until it’s perfect for your palate. You can also try other sweeteners like maple syrup or agave, but these liquid sweeteners may alter the consistency, requiring less milk.
My spread is too thick/too thin. How do I fix it?
If your spread is too thick, add more milk or neutral oil, a teaspoon at a time, and process until it reaches your desired consistency. If it’s too thin, you can try adding a few more roasted hazelnuts (ground into a butter first) or a tablespoon of cocoa powder, though this will slightly alter the flavor balance.
What are some great ways to use this homemade chocolate hazelnut spread?
Oh, the possibilities are endless! Beyond the obvious toast and pancakes, try swirling it into oatmeal or yogurt, spreading it on crepes, using it as a filling for pastries, dipping fruit into it (strawberries and bananas are amazing!), or simply eating it by the spoonful straight from the jar. It’s also fantastic drizzled over ice cream or used in baking.
A Little Nutritional Insight
While this is definitely an indulgent treat, making your own offers some nutritional advantages. You’re cutting down on highly processed oils and excessive refined sugars often found in commercial versions. Hazelnuts themselves are packed with healthy fats, fiber, and vitamin E.| Homemade Nutella (per serving, estimated) | |
|---|---|
| Calories | 180 kcal |
| Total Fat | 15g |
| Saturated Fat | 3g |
| Cholesterol | 0mg |
| Sodium | 60mg |
| Total Carbohydrates | 10g |
| Dietary Fiber | 2g |
| Total Sugars | 7g |
| Protein | 4g |
Please note: These are estimated values and can vary based on specific brands and quantities of ingredients used.
Serving Suggestions & Creative Twists
While a spoon is always an excellent serving utensil for this homemade chocolate hazelnut spread, let’s get a little more creative, shall we? Imagine a warm, fluffy croissant, still slightly steaming, split open and generously slathered with this rich, nutty spread. Or picture a platter of fresh berries – vibrant red strawberries, plump blueberries, and juicy raspberries – with a small bowl of this chocolate hazelnut goodness for dipping. It’s simple elegance. For a fun dessert, try making homemade graham cracker sandwiches filled with a dollop of the spread and a few mini marshmallows, then lightly toasting them. It’s like a gourmet s’more experience, but indoors! You can also swirl it into your favorite brownie batter for an extra layer of decadence, or use it as a filling for crepes with sliced bananas. If you’re feeling particularly ambitious, it makes an incredible base for a no-bake cheesecake! The creamy texture and deep flavor truly elevate simple dishes.Storage Tips to Keep it Fresh
Proper storage ensures your homemade Nutella stays delicious for as long as possible. Once you’ve made your batch, transfer it to an airtight container. A glass jar with a tight-fitting lid is perfect. You can keep it at room temperature in a cool, dark pantry for up to two weeks. If you live in a warmer climate or just prefer to extend its shelf life, storing it in the refrigerator is a great option. It will keep well in the fridge for up to a month. Just be aware that refrigeration will make it considerably firmer. If you want that pourable, silky consistency straight from the fridge, you might need to let it sit out on the counter for 15-30 minutes, or gently warm a portion in the microwave for a few seconds. Avoid repeatedly heating and cooling the entire jar, as this can affect quality over time.
Easy Homemade Nutella (Chocolate Hazelnut Spread)
Whip up your own healthier, incredibly delicious homemade Nutella with roasted hazelnuts and rich chocolate.
📝 Ingredients
👩🍳 Instructions
- 1Preheat your oven to 350°F (175°C). Spread raw hazelnuts in a single layer on a baking sheet. Roast for 10-15 minutes, or until fragrant and skins start to crack. Watch carefully to prevent burning.
- 2Transfer hot roasted hazelnuts to a clean kitchen towel. Fold the towel over and rub vigorously to remove as many skins as possible. Let the skinned hazelnuts cool completely.
- 3Place cooled, skinned hazelnuts into a high-powered food processor. Process continuously, scraping down sides periodically. They will go from coarse meal to fine powder, then a thick paste, and finally a smooth, runny nut butter (this can take 10-20 minutes).
- 4Add cocoa powder, powdered sugar, vanilla extract, and salt to the food processor. If using, add the melted dark chocolate. Process until thoroughly combined and smooth.
- 5With the food processor running, slowly drizzle in the neutral oil, then the milk, one tablespoon at a time, until your desired spreadable consistency is reached. Taste and adjust sweetness or salt as needed.
- 6Transfer the homemade Nutella to a clean, airtight jar. Store at room temperature for up to 2 weeks, or in the refrigerator for up to 1 month. If refrigerated, allow to come to room temperature or gently warm before serving for best consistency.
💡 Notes
For the best flavor, use high-quality hazelnuts and dark chocolate. Adjust sweetness to your preference. If your spread gets too thick in the fridge, a quick stir or a few seconds in the microwave will restore its creaminess. Leftover skins can be discarded.



