


Okay, let’s be real. If you’ve ever found yourself staring at a recipe that calls for “shortening” and immediately thought, “What even *is* that, and do I really need it?”, you’re definitely not alone. For years, I just assumed it was some old-school ingredient that only grandmas used, opting for butter every single time. But then, a few years back, I was trying to perfect a pie crust that flaked like a dream, and my usual butter-only approach just wasn’t cutting it. That’s when I finally decided to really dig into what shortening is in baking and, spoiler alert, it totally changed my game.

Understanding the Magic: What Exactly is Shortening?
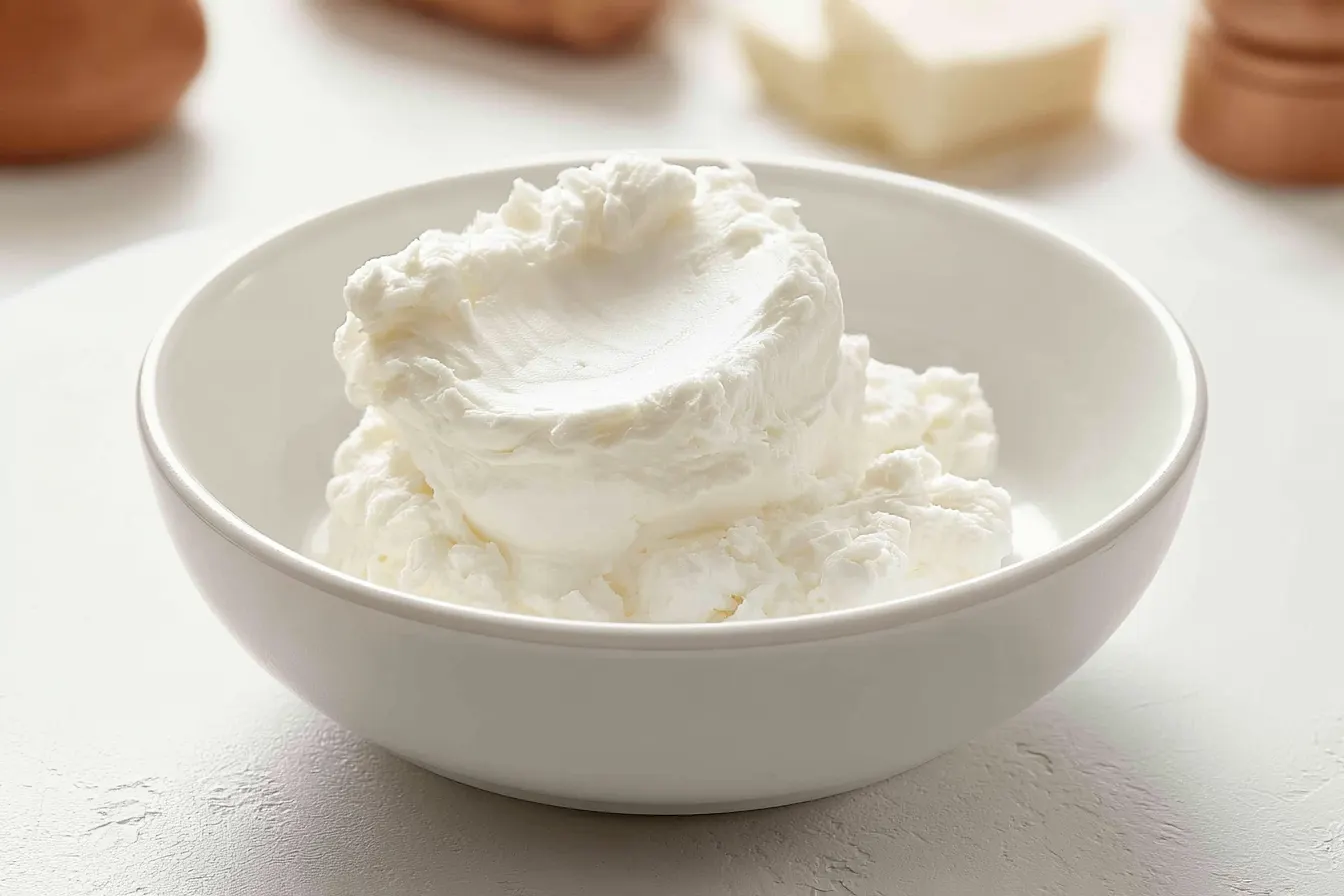
At its core, shortening is a solid fat made from vegetable oils. Unlike butter, which contains water (about 18-20%), shortening is 100% fat. This crucial difference is what gives shortening its unique baking properties. Originally, it referred to animal fats like lard, but today, when most recipes mention “shortening,” they’re referring to hydrogenated vegetable oils.Why Go For Shortening? The Big Benefits
There are a few key reasons why bakers, particularly those aiming for specific textures, reach for shortening:- Unmatched Tenderness: Because it’s 100% fat and has a high melting point, shortening coats flour particles more thoroughly than butter. This prevents gluten from developing as much, resulting in incredibly tender crumbs in cakes and cookies, and flaky layers in pastries.
- Superior Volume and Lift: Shortening has a higher creaming ability than butter. When you cream shortening with sugar, it incorporates more air, leading to baked goods with a lighter texture and greater volume. This is especially noticeable in cakes and some cookie recipes.
- Flaky Powerhouse: For pie crusts, biscuits, and other laminated doughs, shortening’s ability to create distinct layers of fat between dough makes for an exceptionally flaky result. Its higher melting point means it doesn’t melt as quickly during mixing, creating those pockets of steam that lift the dough.
- Neutral Flavor: Unlike butter, which has a distinct flavor, shortening is flavorless. This can be an advantage when you want the other ingredients in your baked goods to really shine, or if you’re making a delicate cake where a buttery flavor might be overpowering.
- Stability and Shelf Life: Shortening is more stable at room temperature and has a longer shelf life than butter. It’s also less prone to spoilage and doesn’t go rancid as quickly.
Shortening vs. Butter: A Baker’s Showdown
This is the age-old question, isn’t it? And the truth is, neither is inherently “better”—they just serve different purposes. Understanding these differences is key to choosing the right fat for your desired outcome.Butter’s Best Moments
Butter brings flavor. That rich, creamy, slightly nutty taste is irreplaceable in many recipes. It also contributes to browning (thanks to its milk solids) and creates a crispier texture in certain cookies. If you want a classic butter cookie or a browned butter glaze, butter is your friend.When Shortening Wins the Gold
Think about recipes where texture is paramount: a supremely flaky pie crust, a cake that’s light as air, or cookies that are soft and pillowy rather than crisp. Shortening excels here. It allows for higher rises and more delicate structures because it introduces less water and greater air incorporation during creaming. Often, the best solution is a blend! Many recipes, especially for cookies and cakes, will call for a mix of butter and shortening. This gives you the best of both worlds: the flavor of butter combined with the tenderizing and volume-boosting power of shortening. It’s a harmonious balance that leads to truly exceptional results.
Picking Your Shortening: A Quick Guide
Walking down the baking aisle, you might see a few different types of shortening. Here’s a breakdown to help you choose:Classic Hydrogenated Shortening
This is your standard, all-purpose shortening (like Crisco). It’s solid at room temperature and works wonderfully for pie crusts, tender cookies, and cakes. It’s often the go-to for its consistency and reliability.All-Vegetable Shortening
Many brands now offer “all-vegetable” versions, which are still hydrogenated but made purely from vegetable oils. Functionally, it’s very similar to classic shortening for most home baking applications.Non-Hydrogenated or Organic Shortening
For those looking for less processed options, some brands offer non-hydrogenated or organic vegetable shortenings. These can sometimes have a slightly softer consistency and may perform slightly differently, but they are generally suitable for most recipes. Always check the texture; if it’s too soft, it might not cream as well or provide the same structural integrity. Note: While some shortenings are labeled “trans-fat free,” it’s worth noting that “hydrogenated” does not automatically mean trans fats are present. Manufacturers have developed processes to create solid fats without creating trans fats. Always check the nutrition label if this is a concern for you.Using Shortening Like a Pro: Tips and Techniques
Incorporating shortening effectively into your baking isn’t complicated, but a few pointers can make a big difference.Temperature is Key
Just like butter, shortening’s temperature matters. For creaming with sugar, it should be at a cool room temperature—soft enough to indent easily with your finger, but still firm. If it’s too warm, it won’t incorporate enough air; if it’s too cold, it’ll be difficult to cream smoothly. For pie crusts and biscuits, you want your shortening to be cold and cut into small pieces. This helps create those distinct layers of fat that contribute to flakiness.Creaming Method Mastery
When a recipe calls for creaming shortening and sugar, don’t rush it. Beat them together on medium speed for several minutes until the mixture is light, fluffy, and noticeably paler in color. This process incorporates air, which is crucial for lift and tenderness in your final product.Substitutions: When and How
Can you substitute shortening for butter, or vice-versa? Yes, but with caveats.- Shortening for Butter: You can often substitute shortening for butter in equal amounts, especially in recipes where tenderness and volume are desired over flavor (e.g., some cakes, basic sugar cookies, pie crusts). Be aware that you’ll lose the buttery flavor and potentially some browning.
- Butter for Shortening: This is trickier due to butter’s water content. If you substitute butter for shortening, you might need to slightly reduce other liquids in the recipe to account for the butter’s water. Your baked goods will also be less tender and flaky, and may spread more. For every 1 cup of shortening, you might use 1 cup of butter, but expect textural differences.

Common Shortening Questions, Answered!
You’ve got questions, I’ve got answers! Let’s clear up some common curiosities about this versatile baking fat.Does shortening make baked goods taste greasy?
Not if used correctly! High-quality shortening is flavorless, so it shouldn’t impart a greasy taste. If your baked goods taste greasy, it might be due to an imbalance in the recipe, over-mixing, or baking at too low a temperature, which prevents the fats from rendering properly. When it melts during baking, it creates a tender crumb, not a greasy one.
Is shortening healthier than butter?
Health is a complex topic, and both have their nutritional profiles. Shortening is 100% fat, while butter contains some water and milk solids. Modern shortenings are often trans-fat-free, but they are still a highly processed fat. Butter contains saturated fat and cholesterol. Neither is a “health food,” and both should be consumed in moderation as part of a balanced diet. The “healthier” choice often depends on individual dietary needs and preferences.
Can I use shortening for frying?
Absolutely! Shortening has a high smoke point, making it excellent for deep frying. It produces crispy, less greasy fried foods compared to some oils. Many classic fried chicken or donut recipes specifically call for shortening for this reason.
How do I store shortening?
Unopened shortening can be stored in a cool, dry pantry for up to two years. Once opened, it’s best to keep it in a cool, dry place, tightly sealed, for up to one year. Refrigeration isn’t typically necessary unless your kitchen is very warm, but it can extend its freshness. Just make sure to bring it to the appropriate temperature (cold for pastry, room temp for creaming) before using.
What’s the difference between shortening and lard?
While both are solid fats, lard is rendered pork fat, and shortening is typically made from hydrogenated vegetable oils. Lard traditionally has a distinct savory flavor that works wonderfully in certain applications, especially savory pastries and some regional baked goods. Shortening is neutral in flavor, making it more versatile for a wider range of sweet applications where you don’t want a meaty flavor. Lard also often has a slightly different texture and melting point.
The Takeaway: Embrace the Shortening!
So, there you have it. Shortening isn’t just an antiquated ingredient; it’s a powerful tool in a baker’s arsenal, especially when you’re chasing that elusive perfect texture. From incredibly flaky pie crusts to tender, voluminous cakes and cookies, shortening can help you achieve results that butter alone simply can’t. Don’t be afraid to experiment with it, whether you’re using it solo or in combination with butter. You might just find that this humble fat becomes your new secret weapon for baking truly show-stopping desserts. Happy baking!
Classic Flaky Pie Crust (Shortening Based)
Achieve the flakiest, most tender pie crust with this shortening-based recipe, perfect for sweet or savory fillings.
📝 Ingredients
👩🍳 Instructions
- 1Combine Dry Ingredients: In a large bowl, whisk together the flour and salt until well combined. This ensures the salt is evenly distributed.
- 2Cut in Shortening: Add the cold, cut-up shortening to the flour mixture. Using a pastry blender, two knives, or your fingertips, cut the shortening into the flour until the mixture resembles coarse crumbs with some pea-sized pieces remaining. Avoid overworking it, as warmth from your hands can melt the shortening.
- 3Add Ice Water: Gradually add the ice water, 1 tablespoon at a time, mixing lightly with a fork or your hands until the dough just comes together. Be careful not to add too much water; the dough should be moist enough to hold together but not sticky. It's okay if there are still some dry bits.
- 4Form Discs: Divide the dough in half. Gently form each half into a flat disc, wrap tightly in plastic wrap, and refrigerate for at least 30 minutes, or up to 2 days. Chilling the dough is crucial for relaxing the gluten and firming the shortening, which contributes to flakiness.
- 5Roll Out Dough: On a lightly floured surface, roll out one disc of chilled dough into a 12-inch circle. Carefully transfer the dough to a 9-inch pie plate. Trim and crimp the edges as desired. If making a double-crust pie, repeat with the second disc for the top crust.
- 6Blind Bake (Optional, for single-crust pies): For blind baking, prick the bottom of the crust with a fork. Line with parchment paper and fill with pie weights or dried beans. Bake at 400°F (200°C) for 15 minutes. Remove weights and parchment, then bake for another 5-10 minutes, or until lightly golden. Let cool before filling.
💡 Notes
For the flakiest crust, ensure your shortening and water are as cold as possible. Do not overmix the dough, as this can develop gluten and make the crust tough. This recipe yields enough for one double-crust pie or two single-crust pies. Leftover dough can be wrapped and frozen for up to 3 months; thaw in the refrigerator before rolling.



