


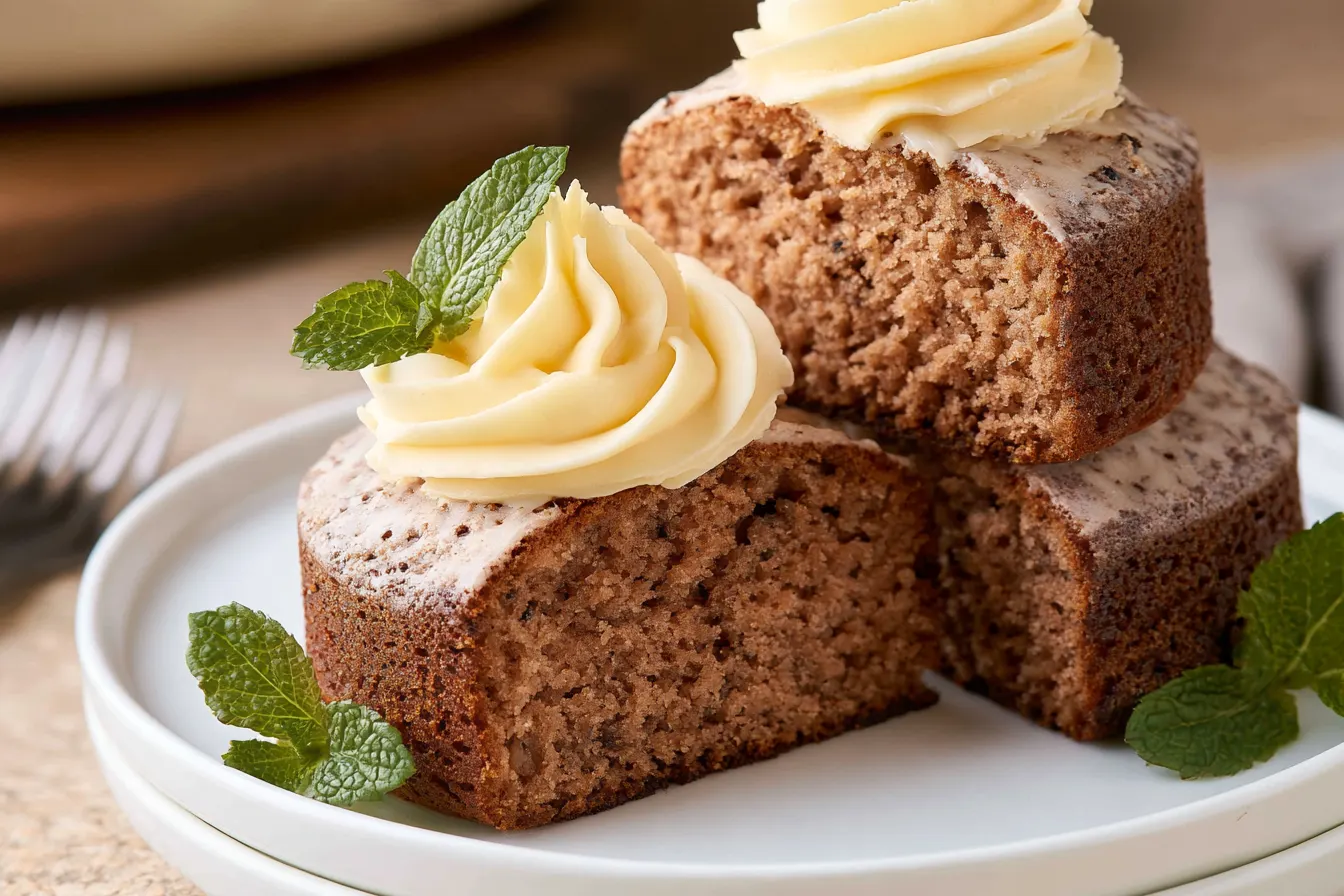
I used to think that a truly great cake, the kind that makes you close your eyes and sigh with pure bliss, could only come from a fancy bakery. You know the type — tall, perfectly frosted, with layers so moist they practically melt on your tongue. But then, one dreary afternoon, driven by a sudden craving and a lack of desire to put on actual pants to go to said bakery, I decided to tackle a truly homemade chocolate layer cake. And let me tell you, the results absolutely blew my expectations out of the water.
There’s something incredibly satisfying about bringing a dessert like this to life in your own kitchen. The rich, sweet scent of cocoa and vanilla slowly filling the air, the gentle hum of the mixer, the anticipation building with each step. It’s an experience that a quick stop at the pastry shop just can’t replicate.
This isn’t just any chocolate cake recipe; it’s the one that converted me. It’s rich without being overly dense, deeply chocolatey without being bitter, and has a crumb so tender, it practically whispers as you cut into it. Forget everything you thought about baking cakes at home; this recipe is about to become your new favorite.

The Secret to a Truly Moist Cake
Many home bakers struggle with dry cakes, which is often why they feel bakery cakes are superior. The truth is, bakeries often use specific techniques and ingredients to ensure moisture. For this homemade chocolate layer cake, we’re incorporating a few key elements that guarantee a tender, moist crumb every single time.
First off, a combination of both butter and oil. Butter brings flavor, while oil ensures a super moist cake that stays soft for days. Then there’s the unsung hero: hot coffee. Don’t worry, your cake won’t taste like coffee! It intensifies the chocolate flavor dramatically and also helps to create a more tender crumb by blooming the cocoa powder.
Finally, we’re using buttermilk. The acidity in buttermilk reacts with the baking soda, creating air pockets that result in a lighter, more delicate texture. This trio of ingredients works in harmony to give you a cake that’s anything but dry.
Gathering Your Ingredients
For the Chocolate Cake Layers
- 2 cups (240g) all-purpose flour
- 2 cups (400g) granulated sugar
- ¾ cup (70g) unsweetened cocoa powder, Dutch-processed preferred
- 2 teaspoons baking soda
- 1 teaspoon baking powder
- 1 teaspoon salt
- 1 cup (240ml) buttermilk, at room temperature
- ½ cup (120ml) vegetable oil
- 2 large eggs, at room temperature
- 1 teaspoon vanilla extract
- 1 cup (240ml) hot strong brewed coffee (or hot water with 1 tbsp instant espresso powder)
For the Creamy Chocolate Buttercream
- 1 cup (226g) unsalted butter, softened
- 3-4 cups (360-480g) powdered sugar, sifted
- ¾ cup (70g) unsweetened cocoa powder, Dutch-processed
- ½ cup (120ml) heavy cream or milk
- 1 teaspoon vanilla extract
- Pinch of salt

Let’s Bake Our Luscious Layer Cake
Preparing the Cake Batter
Preheat your oven to 350°F (175°C). Grease and flour two 8-inch round cake pans, or line the bottoms with parchment paper and spray with baking spray. This simple step ensures your beautiful cakes won’t stick.
In a large mixing bowl, whisk together the flour, sugar, cocoa powder, baking soda, baking powder, and salt. Make sure there are no lumps; a well-aerated dry mix makes for a smoother batter.
In a separate medium bowl, whisk together the buttermilk, vegetable oil, eggs, and vanilla extract until well combined. The liquids should be smooth and uniform before adding to the dry ingredients.
Pour the wet ingredients into the dry ingredients. Mix on low speed with an electric mixer, or by hand with a whisk, until just combined. Don’t overmix at this stage; overmixing can develop gluten too much, leading to a tough cake.
Gradually pour in the hot coffee, mixing until the batter is smooth and thin. The hot coffee will thin out the batter significantly, which is exactly what we want. Tip: The batter will be quite thin – almost soupy – but this is normal and contributes to the cake’s incredible moisture. Don’t be alarmed!
Baking the Layers to Perfection
Divide the batter evenly between the two prepared cake pans. You can use a kitchen scale for precision if you want perfectly even layers, but eyeballing it is usually fine.
Bake for 30-35 minutes, or until a wooden skewer inserted into the center comes out clean or with a few moist crumbs attached. Every oven is different, so start checking around the 28-minute mark.
Let the cakes cool in their pans on a wire rack for 10-15 minutes. This allows them to firm up slightly before you attempt to remove them. Gently invert the cakes onto the wire rack to cool completely before frosting. Trying to frost warm cakes is a recipe for disaster!

Whipping Up the Decadent Buttercream
In a large bowl, beat the softened butter with an electric mixer on medium speed until creamy and light in color, about 3-4 minutes. This step is crucial for light, fluffy frosting.
Gradually add the sifted powdered sugar, cocoa powder, and salt, alternating with the heavy cream, starting and ending with powdered sugar. Begin on low speed to avoid a powdered sugar cloud, then increase to medium-high.
Beat until the frosting is light, fluffy, and smooth, about 3-5 minutes. Stir in the vanilla extract. If the frosting is too thick, add more cream a teaspoon at a time. If it’s too thin, add more sifted powdered sugar.
Assembling Your Masterpiece
Once the cake layers are completely cool, place one layer on a serving plate or cake stand. Spread about 1 to 1½ cups of chocolate buttercream evenly over the top.
Carefully place the second cake layer on top. Spread the remaining frosting over the top and sides of the cake, using an offset spatula or knife to smooth it out. For a “naked” cake look, use less frosting on the sides. For a classic, smooth finish, take your time and use long, even strokes.
Decorate as desired! Shaved chocolate, sprinkles, or even a dusting of cocoa powder can add a lovely touch. Let the cake set for at least 30 minutes at room temperature or in the fridge before slicing for cleaner cuts.
Common Questions About Baking This Cake
Can I make this cake ahead of time?
Absolutely! The cake layers can be baked up to 2-3 days in advance. Once completely cooled, wrap them tightly in plastic wrap and store at room temperature. You can also freeze the unfrosted layers for up to 2 months; wrap well in plastic wrap and then foil. Thaw at room temperature before frosting.
What if I don’t have buttermilk?
No problem! You can easily make a buttermilk substitute. For 1 cup of buttermilk, pour 1 tablespoon of white vinegar or lemon juice into a liquid measuring cup, then fill the rest of the way with regular milk (dairy or non-dairy) to the 1-cup line. Stir and let it sit for 5-10 minutes until it slightly curdles. It works like a charm!
Can I use regular cocoa powder instead of Dutch-processed?
Yes, you can, but the flavor and color will be slightly different. Dutch-processed cocoa powder has been treated to reduce its acidity, resulting in a darker color and a mellower chocolate flavor. Natural cocoa powder is more acidic and can sometimes yield a slightly lighter cake with a sharper chocolate taste. For the best results in this specific recipe, Dutch-processed is recommended, but natural will still make a delicious cake!
How do I store leftover cake?
Store leftover cake covered at room temperature for up to 3 days. If your kitchen is particularly warm, or if you prefer a firmer frosting, you can store it in the refrigerator. Just be sure to bring it back to room temperature for about 30-60 minutes before serving for the best texture and flavor.
My cake layers domed in the middle, what did I do wrong?
Domed cake layers are very common and usually indicate that your oven temperature is a little too high, causing the outside to set too quickly while the inside continues to rise. Try reducing your oven temperature by 15-25°F next time. You can also use cake strips around your pans, or simply level the cooled cakes with a serrated knife before frosting for perfectly flat layers.
Serving Suggestions and Flourishes
This homemade chocolate layer cake is a showstopper all on its own, but a few simple additions can elevate it even further. A dusting of powdered sugar or a sprinkle of high-quality cocoa powder always looks elegant.
For a bit of textural contrast, consider adding some chocolate shavings or curls on top. You can make these by gently scraping a bar of chocolate with a vegetable peeler. They instantly make the cake look more professional and inviting.
A scoop of vanilla bean ice cream or a dollop of freshly whipped cream alongside a slice of this rich chocolate cake is pure indulgence. The cool creaminess provides a delightful counterpoint to the deep chocolate flavor.
And for those who love a little fruit with their chocolate, a handful of fresh raspberries or sliced strawberries adds a beautiful pop of color and a touch of tartness that cuts through the richness beautifully. It’s truly a versatile cake that welcomes your personal touch.

Decadent Homemade Chocolate Layer Cake
Indulge in this incredibly moist and rich homemade chocolate layer cake, featuring a tender crumb and creamy chocolate buttercream frosting. It's a bakery-quality cake from your own kitchen.
📝 Ingredients
👩🍳 Instructions
- 1Preheat oven to 350°F (175°C). Grease and flour two 8-inch round cake pans, or line bottoms with parchment paper and spray.
- 2In a large bowl, whisk together the flour, granulated sugar, cocoa powder, baking soda, baking powder, and salt.
- 3In a separate medium bowl, whisk together the buttermilk, vegetable oil, eggs, and 1 teaspoon vanilla extract.
- 4Pour the wet ingredients into the dry ingredients. Mix on low speed until just combined. Do not overmix.
- 5Gradually pour in the hot coffee, mixing until the batter is smooth and thin.
- 6Divide batter evenly between the prepared cake pans.
- 7Bake for 30-35 minutes, or until a wooden skewer inserted into the center comes out clean or with a few moist crumbs.
- 8Let cakes cool in pans on a wire rack for 10-15 minutes, then invert onto the rack to cool completely.
- 9For the buttercream: In a large bowl, beat softened butter with an electric mixer until creamy and light (3-4 minutes).
- 10Gradually add sifted powdered sugar, cocoa powder, and salt, alternating with heavy cream. Begin on low speed, then increase to medium-high.
- 11Beat until light, fluffy, and smooth (3-5 minutes). Stir in 1 teaspoon vanilla extract. Adjust consistency with more cream or powdered sugar if needed.
- 12Once cake layers are completely cool, place one layer on a serving plate. Spread with about 1 to 1½ cups of buttercream.
- 13Place the second cake layer on top. Spread the remaining frosting over the top and sides of the cake.
- 14Decorate as desired with chocolate shavings, sprinkles, or fresh berries. Let set for 30 minutes before slicing.
💡 Notes
For best results, ensure all cold ingredients (buttermilk, eggs) are at room temperature. Hot coffee is essential for blooming the cocoa and ensuring a moist crumb. Cake layers can be made 2-3 days ahead and stored tightly wrapped. If storing frosted cake in the fridge, bring to room temperature before serving for optimal texture.



