


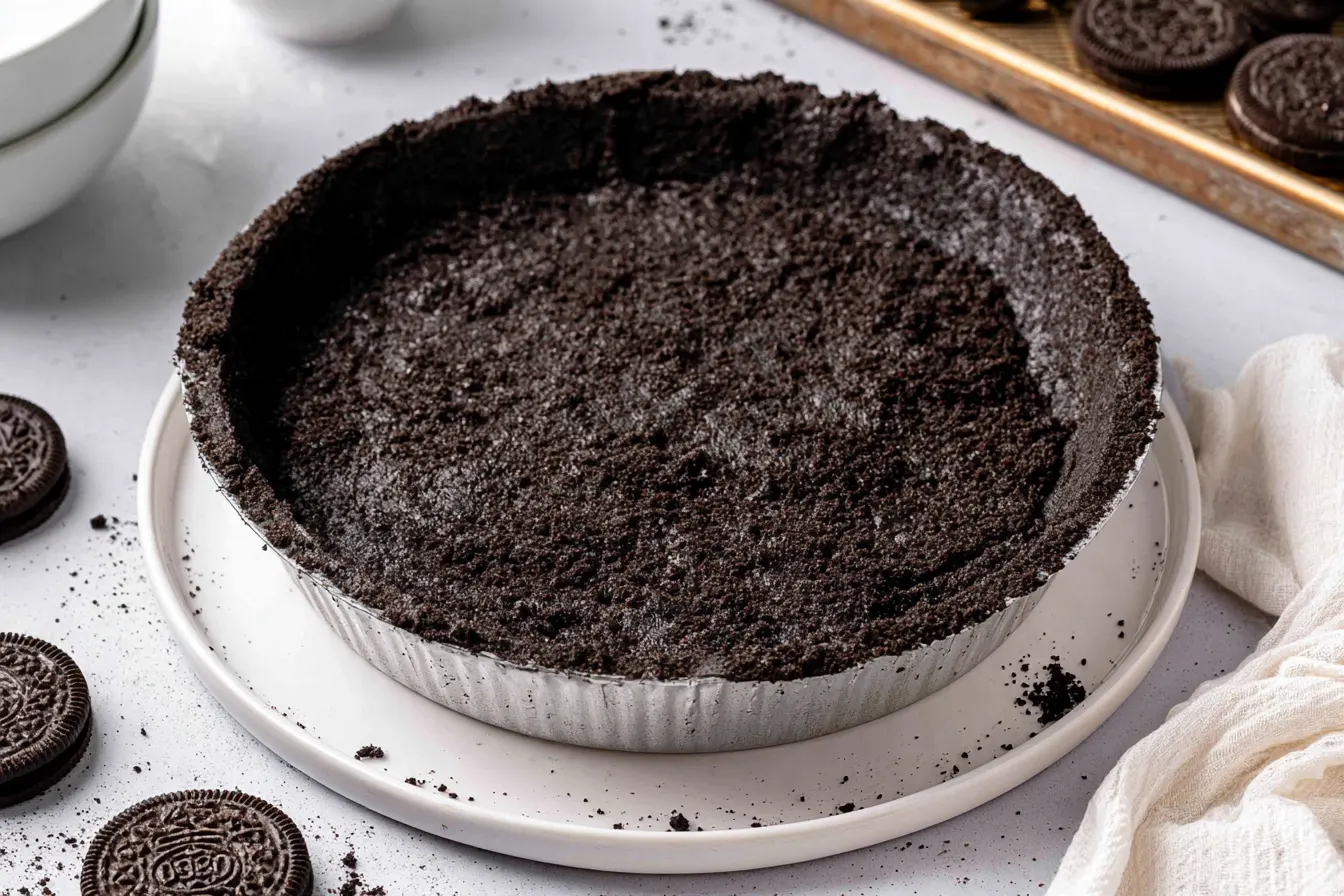
Alright, let’s talk pie crusts. More specifically, let’s talk about the unsung hero that often gets overlooked but truly makes a pie sing: the Oreo pie crust. I used to be a purist, always reaching for the classic buttery shortcrust. But then, a few years back, I had a sudden craving for a no-bake chocolate cheesecake, and the store-bought Oreo crusts just weren’t cutting it. They were too thin, too crumbly, and honestly, just a little sad.
That’s when I decided to take matters into my own hands. My mission? To create an Oreo pie crust that was sturdy enough to hold its own, packed with that iconic chocolatey flavor, and just buttery enough to bind everything into a perfect, crumbly base. What I discovered was a ridiculously simple process that yields incredible results, whether you’re baking it or keeping it cool.
It turns out, the secret isn’t complicated at all. Just two ingredients, a food processor, and a little bit of chilling time are all it takes to elevate your next dessert from “good” to “oh-my-gosh-can-I-have-another-slice?” Seriously, once you make your own, you’ll wonder why you ever bothered with anything else.
Why This Homemade Oreo Pie Crust Will Change Your Dessert Game
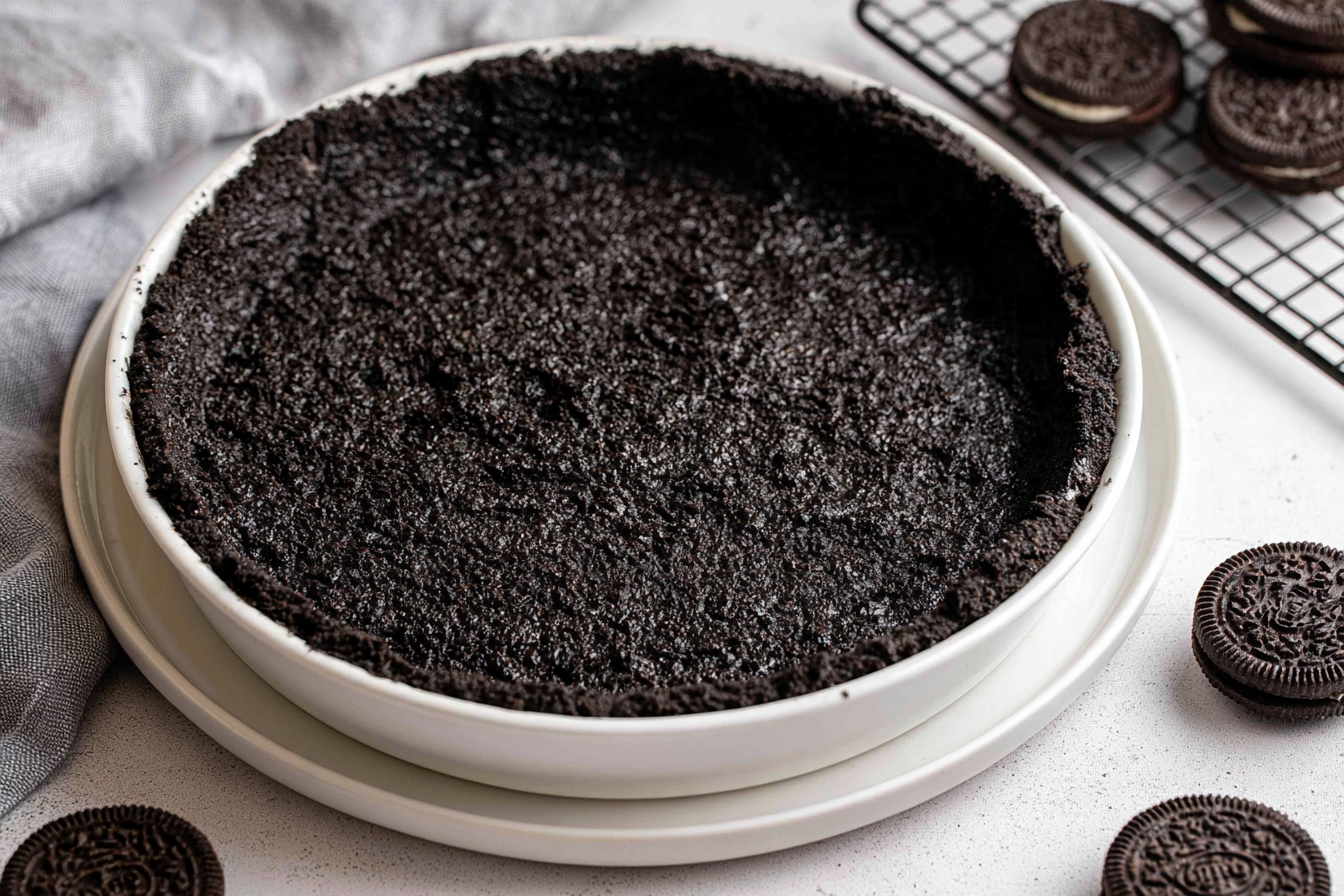
You might be thinking, “It’s just an Oreo crust, how different can it be?” Oh, friend, let me tell you. The difference is night and day. Store-bought versions often taste stale or lack that rich, deep chocolate flavor we all crave from an Oreo. When you make it yourself, you control the texture and the butter ratio, leading to a much more satisfying experience.
This recipe delivers a crust that’s perfectly balanced – not too sweet, not too bland, and with just the right amount of crunch. It holds its shape beautifully, whether it’s supporting a creamy no-bake filling or a baked custard. Plus, it’s incredibly versatile, acting as the perfect foundation for countless dessert creations. Think cheesecakes, ice cream pies, pudding pies, and even some fruit tarts that benefit from a chocolatey base.
What You’ll Need for Your Decadent Pie Base
The beauty of this Oreo pie crust is its simplicity. You really only need two main ingredients, plus a pan!
- Oreo Cookies: One standard package (about 14.3 ounces or 36 cookies). Don’t use the Double Stuf, Thins, or flavored varieties for this basic recipe unless you’re intentionally experimenting with flavor. The classic works best for its crumb consistency.
- Unsalted Butter: Melted. This is the binder that brings all that delicious cookie dust together. Using unsalted gives you control over the final saltiness.
- Pinch of Salt (Optional): A tiny bit can enhance the chocolate flavor, especially if your Oreos aren’t as rich as you’d like.
You’ll also need a food processor for the quickest and easiest way to get those cookies into fine crumbs. If you don’t have one, a sturdy Ziploc bag and a rolling pin work just as well, albeit with a bit more elbow grease. A 9-inch pie plate is standard, but you can adjust for other sizes.
Crafting Your Perfect Oreo Pie Crust
Let’s get down to business. Making this crust is genuinely one of the easiest steps in any pie-making process.
Step 1: Crumb Those Cookies
First things first, you need to turn those glorious cookies into fine crumbs. Pop the entire cookies, cream filling and all, into your food processor. Pulse until you have a fine, sand-like consistency. Make sure there are no large chunks left, as these can make your crust uneven and prone to crumbling. If using a Ziploc bag and rolling pin, make sure the bag is sealed well, then go to town until you achieve the same fine crumb.
Step 2: Add the Butter
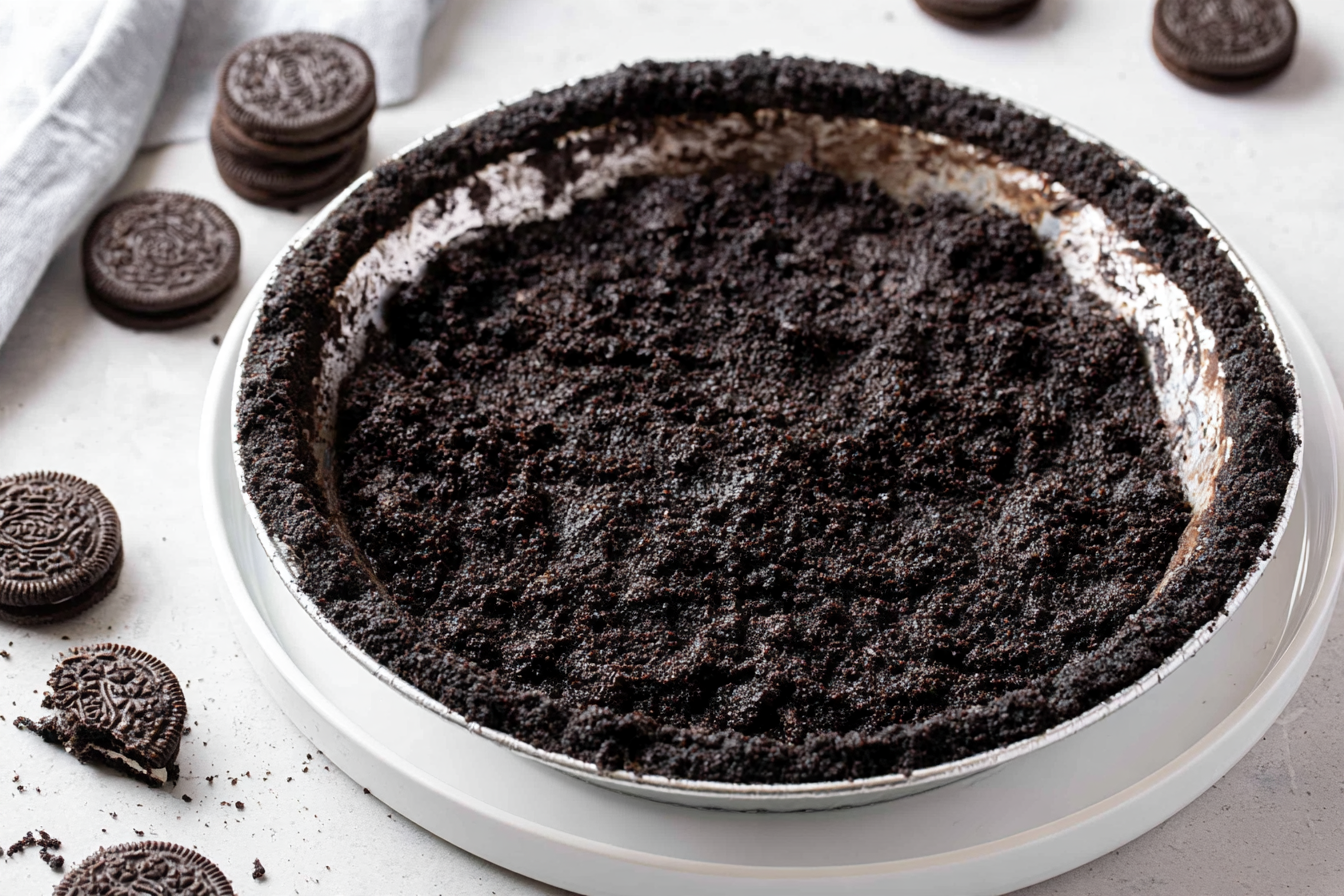
Melt your unsalted butter. Once melted, pour it directly into the food processor with the cookie crumbs (or into a bowl if you used the rolling pin method). Pulse again until the mixture is uniformly moist and resembles wet sand. It should clump together when you press a small amount between your fingers. This is the magical stage where the butter binds everything perfectly.
Tip: Don’t skimp on the butter, but don’t drown it either. Too little, and your crust will fall apart. Too much, and it will be greasy. The amount specified in the recipe is usually just right for a standard package of Oreos.
Step 3: Press into the Pan
Transfer the crumb mixture into your 9-inch pie plate. Now comes the fun part: pressing it firmly into place. Use the bottom of a flat-bottomed glass or a measuring cup to firmly and evenly press the crumbs into the bottom and up the sides of the pie plate. Take your time to ensure the thickness is consistent throughout. A firm, even press is key to a sturdy Oreo pie crust.
Step 4: Chill or Bake
This is where you decide the fate of your crust!
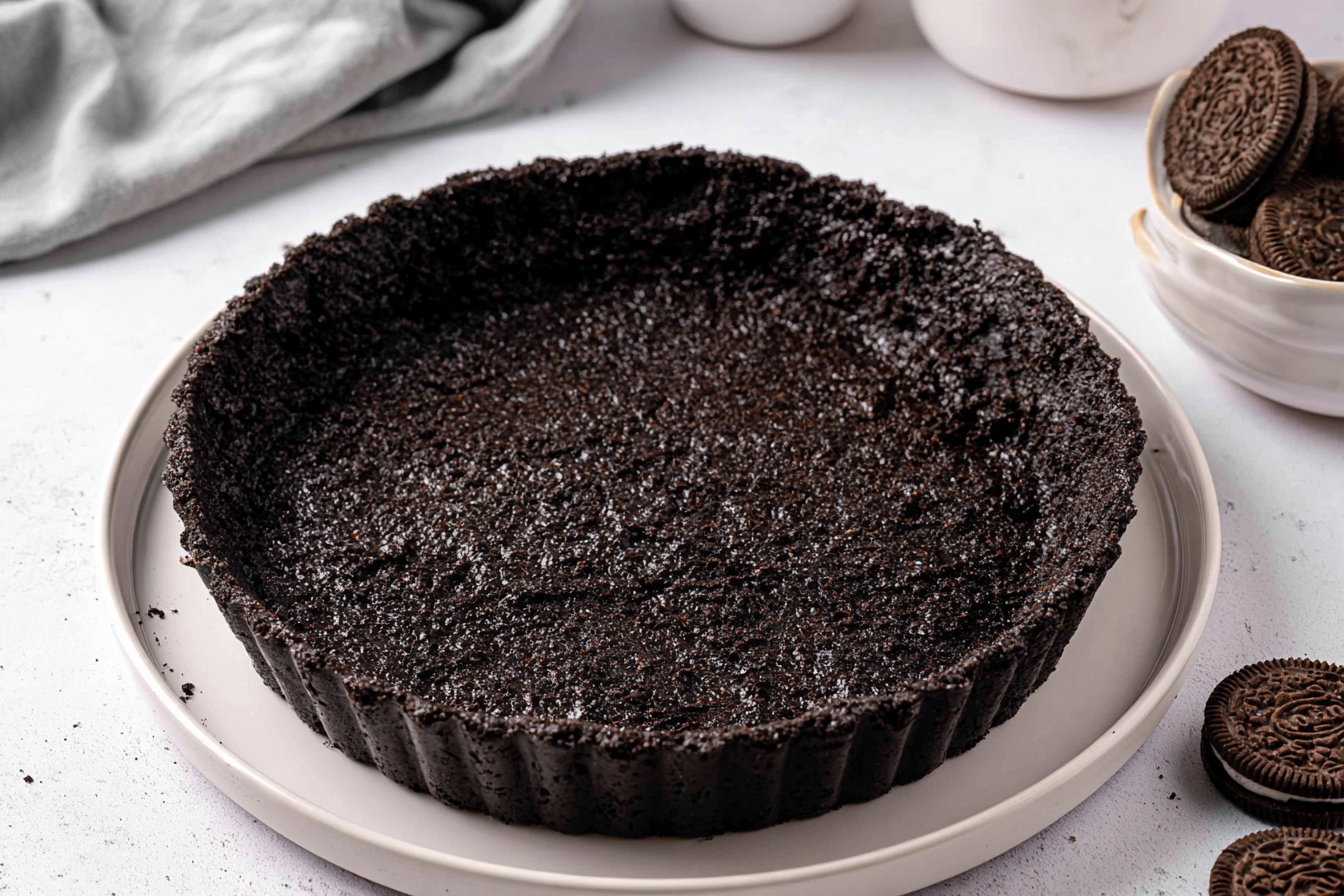
For a No-Bake Crust: Place the pie plate in the refrigerator for at least 30 minutes, or up to several hours, to allow the butter to firm up and bind the crumbs. This is perfect for cheesecakes, ice cream pies, or any filling that doesn’t require baking.
For a Baked Crust: Preheat your oven to 350°F (175°C). Bake the crust for 8-10 minutes. This gives it a slightly toasted flavor and a bit more structural integrity, especially good for custard pies or fillings that might make an unbaked crust soggy. Let it cool completely on a wire rack before adding your filling.
Troubleshooting Your Chocolate Cookie Crust
Even with simple recipes, a few common questions pop up. Let’s tackle them head-on!
My crust is falling apart! What happened?
This usually means you didn’t use enough butter or didn’t press it firmly enough into the pie plate. The butter acts as the glue, and firm pressure helps it adhere. If it’s too late to add more butter, try pressing it down more forcefully, especially along the edges. Next time, ensure your crumbs are fine and evenly coated in butter.
Can I use other types of sandwich cookies?
Absolutely! While this recipe focuses on the classic Oreo pie crust, the same method works for other sandwich cookies like Nutter Butters, vanilla wafers, or even chocolate chip cookies. Just be aware that the butter ratio might need slight adjustment depending on the cookie’s fat content and how finely it crumbles.
Do I have to remove the cream filling from the Oreos?
Nope! The cream filling contributes to the flavor and also helps bind the crumbs. No need to scrape it out. Just toss the whole cookies into the food processor.
How far in advance can I make this crust?
You can prepare and press the crust into the pie plate up to 3 days in advance if you’re keeping it unbaked and refrigerated. If baked, it can be made 1-2 days ahead and stored at room temperature (covered loosely) or in the fridge.
Can I freeze this Oreo pie crust?
Yes! You can freeze a baked or unbaked crust for up to a month. Wrap it tightly in plastic wrap and then foil to prevent freezer burn. Thaw in the refrigerator before filling.
Serving Suggestions and Flavor Twists
This versatile Oreo pie crust is truly a blank canvas for your dessert imagination. My personal favorite is a rich chocolate fudge pie, where the double chocolate action is simply divine. But don’t stop there!
It’s phenomenal with a creamy no-bake cheesecake (classic or flavored), especially a peanut butter or mint chocolate chip version. An ice cream pie, piled high with your favorite scoops and a drizzle of hot fudge, is another winner. For something a little lighter, try it with a fresh banana cream or coconut cream pie. The chocolatey crunch offers a lovely contrast to smooth, creamy fillings.
Feeling adventurous? Try adding a pinch of espresso powder to your cookie crumbs for an even deeper chocolate flavor, or a touch of cinnamon for a warm, spicy note. A tablespoon of finely chopped nuts (like pecans or walnuts) can also add another layer of texture and flavor. The possibilities are truly endless!
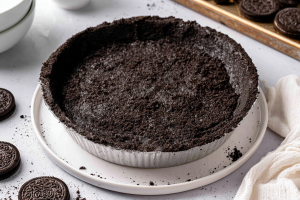
Homemade Oreo Pie Crust
Create the perfect homemade Oreo pie crust for any dessert, whether baked or no-bake. It's rich, chocolatey, and incredibly simple to make!
📝 Ingredients
👩🍳 Instructions
- 1Prepare the Cookies: Place the entire Oreo cookies (filling included) into a food processor. Pulse until fine, even crumbs form, resembling sand. Ensure there are no large pieces remaining.
- 2Combine with Butter: Pour the melted unsalted butter over the cookie crumbs in the food processor. Add the optional pinch of salt. Pulse again until the mixture is uniformly moistened and resembles wet sand. When squeezed, the mixture should hold together.
- 3Press into Pie Plate: Transfer the crumb mixture into a 9-inch pie plate. Using the bottom of a flat-bottomed glass or your fingers, firmly and evenly press the crumbs into the bottom and up the sides of the pie plate. Take care to make the thickness consistent.
- 4Chill or Bake (Choose One):
- 5For No-Bake: Place the pie plate in the refrigerator for at least 30 minutes, or up to several hours, to allow the butter to firm up and set the crust. Fill as desired.
- 6For Baked: Preheat your oven to 350°F (175°C). Bake the crust for 8-10 minutes until slightly fragrant and set. Let it cool completely on a wire rack before filling.
💡 Notes
This crust recipe is incredibly versatile! Adjust the butter slightly if using different types of sandwich cookies. For a deeper chocolate flavor, you can add 1/2 teaspoon of espresso powder to the crumbs. Always cool a baked crust completely before adding your filling to prevent sogginess. Store any leftover crust (empty or filled) in the refrigerator.



