


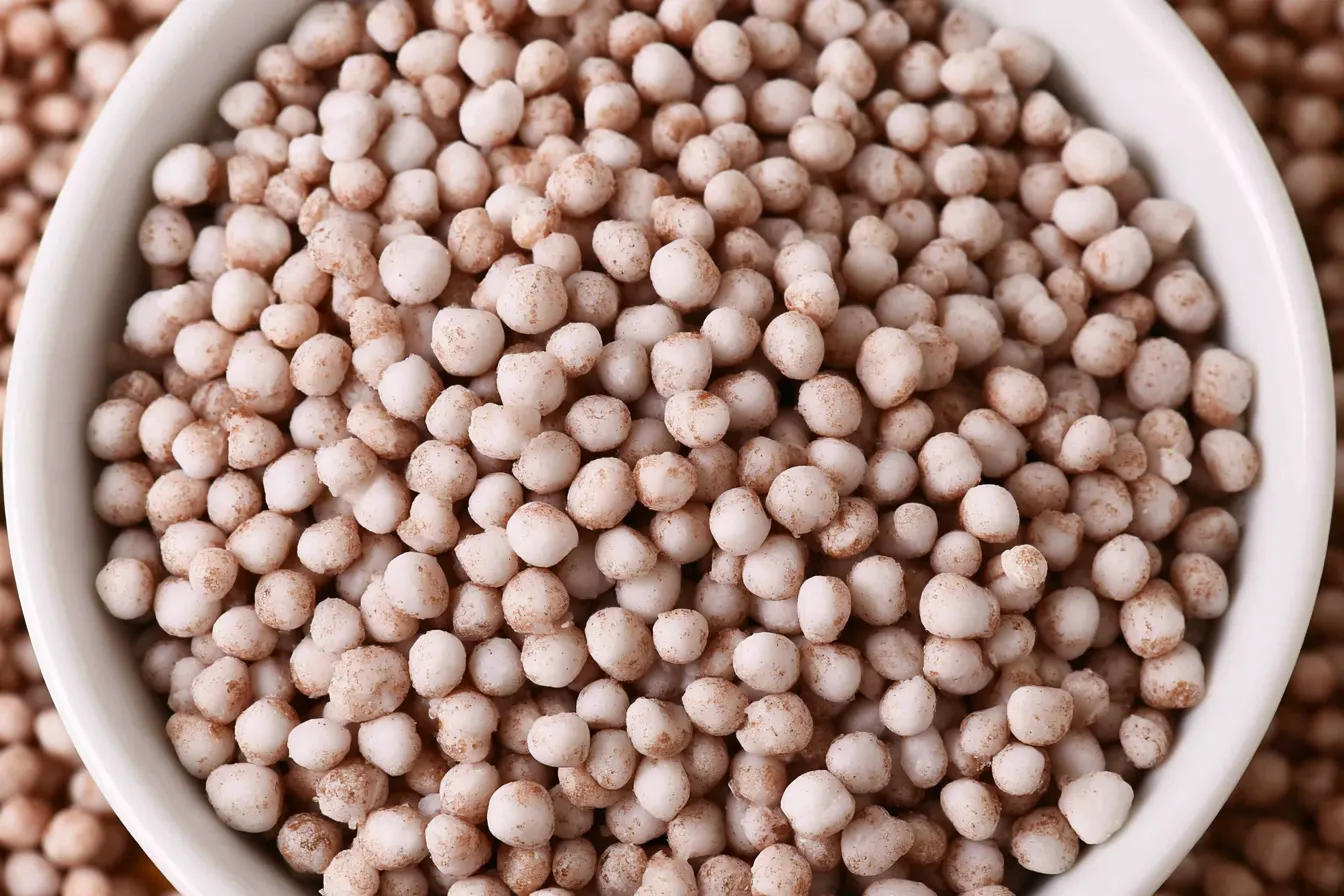
A few years back, Thanksgiving was in full swing at my place. The turkey was brining, the stuffing was prepped, and I was just about to roll out my famous pumpkin pie crusts when I realized it – my trusty bag of ceramic pie weights? Gone. Vanished into the culinary ether, likely spirited away by a mischievous kitchen gnome. Panic set in. How was I going to achieve that perfectly crisp, non-shrunken crust without them? A quick rummage through the pantry, a moment of desperation, and a flash of inspiration later, I discovered a few fantastic, everyday items that saved the day. So, if you’re staring down a beautiful pie crust with no weights in sight, fear not! This guide to solid pie weights substitute options is exactly what you need.
Blind baking a pie crust is one of those foundational skills that can make or break your final dessert. It creates a sturdy, flaky base that won’t get soggy when filled withCustard or fruit. The key to preventing shrinkage and bubbling? Even pressure during baking.
Whether you’re making a delicate quiche, a rich chocolate silk pie, or the quintessential holiday pumpkin pie, getting that crust just right is paramount. And sometimes, the right tools just aren’t at hand. But that’s okay – necessity, as they say, is the mother of invention, or in this case, the mother of many clever kitchen hacks.

Why Do We Even Need Pie Weights?
Before we dive into what you *can* use, let’s quickly chat about *why* we use pie weights in the first place. When you blind bake a pie crust, you’re essentially pre-cooking it before adding the filling. Pie dough, being made of flour, fat, and water, contains gluten. When heated, gluten contracts, causing the crust to shrink from the edges of the pie plate. The fat melts, releasing steam, which can cause the bottom of the crust to puff up or bubble.
Pie weights, whether they’re ceramic beads, metal chains, or even dried beans, serve a crucial purpose: they weigh down the pie dough to prevent it from shrinking and bubbling. This ensures a beautifully even, flat bottom and sides, ready to hold your delicious filling without compromise. Think of them as tiny, heat-resistant anchors for your pastry.
The Contenders: Best Alternatives for Pie Weights
When you’re in a pinch, your pantry is often your best friend. Look for items that are oven-safe, heavy, and small enough to evenly distribute pressure across the bottom and up the sides of your pie crust. Here are my top picks for a reliable pie weights substitute:
Dried Beans or Legumes
This is probably the most common and widely recommended substitute, and for good reason! Dried beans, chickpeas, lentils, or even split peas work wonderfully. They’re inexpensive, readily available, and heavy enough to do the job. The key is to use a significant amount – you want to fill the pie shell almost to the rim.
- How to use: Line your pie crust with parchment paper (or foil) leaving an overhang. Pour in a generous layer of dried beans, ensuring they cover the bottom and push up against the sides of the crust.
- Pro-Tip: Once baked, these beans are no longer suitable for eating as they dry out and can become rock-hard. However, you can save them in a jar, label them “pie weights,” and reuse them indefinitely for future blind baking adventures!
Uncooked Rice
Similar to dried beans, uncooked rice is another fantastic option you likely already have on hand. It’s dense, fine-grained, and conforms perfectly to the shape of your pie crust, providing excellent even pressure. Both white and brown rice work equally well here.
- How to use: Just like with beans, line your crust with parchment paper or foil, then fill it nearly to the top with uncooked rice.
- Reuse Factor: Like the beans, this rice isn’t for eating after its oven debut, but it can be stored and reused as pie weights again and again.
Small Metal or Ceramic Baking Balls/Marbles (if you have them!)
While not as common as beans or rice, if you happen to have a collection of small, oven-safe metal ball bearings or ceramic marbles (think decorative ones, not plastic toys!), they can serve as excellent pie weights. Just ensure they are indeed oven-safe and won’t melt or release fumes.
- How to use: Line your crust and fill it with these small, heavy objects.
- Caution: Double-check material safety. If unsure, stick to beans or rice.
Pennies or other Coins (Cleaned and Sanitized)
This might sound a little out there, but in a true emergency, clean metal coins can work. The key is *clean*. Give them a good scrub with soap and hot water, and a rinse. While not my first choice due to potential concerns about metals and heat, they are heavy and small. However, I’d generally steer clear of this unless you’re really in a bind and have no other options.
- How to use: Wrap them tightly in foil to prevent direct contact with the crust, then place them in the lined shell.
- Warning: Not all coins are created equal across countries, and some might contain alloys you don’t want near food. Use at your own discretion and only if desperate.
Sugar (Granulated)
Believe it or not, granulated sugar can act as a pie weight! It’s dense, fine, and readily available. The main caveat? It can caramelize and become quite hot, so handle with care.
- How to use: Line your pie crust with parchment paper or foil. Pour in a thick layer of granulated sugar.
- Post-Bake: The sugar will likely clump together. You can break it apart and reuse it for future pie weighting, but it’s generally not recommended for consumption afterward as it might have a slightly burnt flavor or texture.

Step-by-Step Guide to Blind Baking with Substitutes
The technique for blind baking is pretty consistent, regardless of what you use as a pie weights substitute. Here’s how to do it right for a perfectly golden, flaky crust every time.
Prepare Your Pie Dough
Roll out your pie dough to about 1/8 to 1/4 inch thick. Gently transfer it to your pie plate. Trim the edges, leaving about an inch of overhang, then fold the overhang under and crimp the edges decoratively. Don’t forget to repair any cracks or tears in the dough.
Chill the Crust
This is a crucial step! Place your pie crust in the freezer for at least 20-30 minutes, or in the refrigerator for an hour. Chilling helps the butter solidify, preventing excessive shrinkage during baking. A cold crust is a happy crust.
Preheat Your Oven
Preheat your oven to the temperature specified in your recipe, typically between 375°F and 425°F (190°C to 220°C). Make sure it’s fully preheated before putting the pie in.
Line the Crust
Take a piece of parchment paper or aluminum foil somewhat larger than your pie plate. Carefully press it into the chilled pie crust, making sure it covers the bottom and goes up the sides, extending slightly over the crimped edges. This barrier prevents your chosen weights from sticking to the dough and makes removal easy.
Add Your Chosen Pie Weights Substitute
Pour your chosen substitute (dried beans, rice, etc.) into the lined pie crust. Fill it generously, almost to the top of the crimped edges. Ensure the weights are evenly distributed and press gently against the sides to hold them in place. The more uniform the weight, the better the result.
Tip: Don’t skimp on the filling! A good amount of weight is what prevents the sides from slumping. If you only put a thin layer, you might still get shrinkage.

Bake Partially
Place the pie plate on a baking sheet (to catch any potential spills and for easier handling) and bake for about 15-20 minutes, or until the edges of the crust are starting to look set and lightly golden. The exact timing will depend on your oven and recipe.
Remove Weights and Finish Baking
Carefully remove the pie plate from the oven. Using the edges of the parchment paper or foil, lift out the pie weights. If your crust needs to be fully baked (for a no-bake filling, for example), prick the bottom of the crust all over with a fork to prevent bubbling. Return the crust to the oven for another 10-15 minutes, or until it’s golden brown and fully cooked through. If it’s a partially blind-baked crust for a filling that will also bake (like quiche), bake it until it’s just set but not deeply golden.
Cool Completely
Allow the blind-baked crust to cool completely on a wire rack before adding your filling. This prevents condensation and keeps the crust crisp.
Common Blind Baking Pitfalls and How to Dodge Them
Even with the best pie weights substitute, things can sometimes go awry. Here are a few common issues and how to navigate them for a perfect crust:
My Crust Shrank!
Ah, the dreaded shrinkage. This usually happens if your dough wasn’t sufficiently chilled before baking, or if you didn’t use enough pie weights to hold the sides up. Always chill your dough well, and fill those pie shells generously with your weights!
The Crust Bubbled in the Middle!
Bubbling indicates steam getting trapped under the dough. This can happen if you didn’t prick the bottom of the crust after removing the weights for the final bake, or if your initial weight coverage wasn’t entirely even. A few gentle pricks with a fork post-weight removal usually solves this.
The Crust Is Pale and Soggy!
This is often a sign of under-baking. Ensure you bake the crust until it’s a uniform golden brown, even after removing the weights. Don’t be afraid to let it get a little color. A fully baked crust will have better texture and flavor, and it creates a better barrier against moisture from your filling.
My Weights Stuck to the Crust!
This is why parchment paper or foil is your best friend! If you skipped lining the crust, or if your lining wasn’t pressed tightly against the dough, your weights might fuse to the crust. Always use a barrier and press it firmly into every curve of the pie plate.
Why Blind Baking is a Game Changer
Understanding how to properly blind bake, even with a clever pie weights substitute, truly elevates your pie game. It’s the secret to a professional-looking finish and that satisfying snap when you cut into a slice. Think of it as laying a solid foundation for a beautiful house – you wouldn’t skimp on the foundation, so don’t shortchange your pie crust!
Whether you’re a seasoned pie maker or just starting out, knowing these easy alternative methods means you’ll never be caught off guard. Your holiday pies, quiches, and tarts will consistently turn out with perfectly crisp, golden crusts, no special equipment required. It’s all about working with what you’ve got and baking with confidence.
Frequently Asked Questions About Pie Weights Substitutes
Can I use aluminum foil instead of parchment paper for lining?
Yes, absolutely! Aluminum foil works just as well as parchment paper for lining the pie crust before adding your weights. Just make sure to press it firmly into all the curves of the crust to prevent any gaps.
How much of a substitute should I use?
You should fill your pie crust almost to the very top edge with your chosen substitute. The idea is to apply even pressure all over the bottom and sides of the crust, so a generous amount is necessary.
Can I eat the beans/rice after using them as pie weights?
No, unfortunately. Once dried beans or rice have been baked at high temperatures, they become extremely dry and hard, making them unsuitable for consumption. However, you can save and reuse them indefinitely as pie weights! Just let them cool completely and store them in an airtight container.
Do I really need to chill the pie crust before blind baking?
Yes, chilling is a very important step! It helps the butter in the crust to firm up, which prevents the dough from shrinking excessively in the oven. A cold crust holds its shape much better during baking.
My pie recipe doesn’t mention blind baking. Should I still do it?
If your recipe involves a very wet filling (like custard or a very juicy fruit pie) or a no-bake filling (like a cream pie), blind baking is highly recommended. It creates a barrier against moisture and ensures a crisp bottom crust. If it’s a standard double-crust fruit pie, it’s usually not necessary as the top crust helps contain steam and some recipes rely on the filling baking with the crust.

Blind Baked Pie Crust with Substitute Weights
Achieve a perfectly crisp, pre-baked pie crust using common pantry items as pie weights.
📝 Ingredients
👩🍳 Instructions
- 1Preheat your oven to 400°F (200°C).
- 2Roll out pie dough if making homemade, then gently fit it into a 9-inch pie plate. Trim the edges, leaving about a 1-inch overhang, then fold under and crimp as desired.
- 3Chill the pie crust in the freezer for at least 20-30 minutes, or in the refrigerator for 1 hour. This step is crucial for preventing shrinkage.
- 4Line the chilled pie crust with a large piece of parchment paper or aluminum foil, pressing it firmly into the bottom and up the sides. Ensure there's an overhang to easily lift it out later.
- 5Fill the lined crust almost to the top with your chosen pie weights substitute (dried beans, uncooked rice, etc.), distributing them evenly.
- 6Place the pie plate on a baking sheet and bake for 15-20 minutes, or until the edges of the crust are set and lightly golden.
- 7Carefully remove the pie plate from the oven. Using the overhang of the parchment paper or foil, gently lift out the pie weights. Discard or save the weights for future use (do not consume).
- 8If your recipe requires a fully baked crust (for no-bake fillings), prick the bottom of the crust all over with a fork to prevent bubbling. Return the crust to the oven and bake for another 10-15 minutes, or until golden brown and cooked through. If partially baked (for fillings that will also bake), bake until just set.
- 9Allow the blind-baked crust to cool completely on a wire rack before filling.
💡 Notes
Always use a barrier (parchment or foil) between the crust and your substitute weights. The beans/rice used as weights are not edible after baking but can be reused indefinitely for blind baking purposes. Store them in an airtight container once cooled.



