


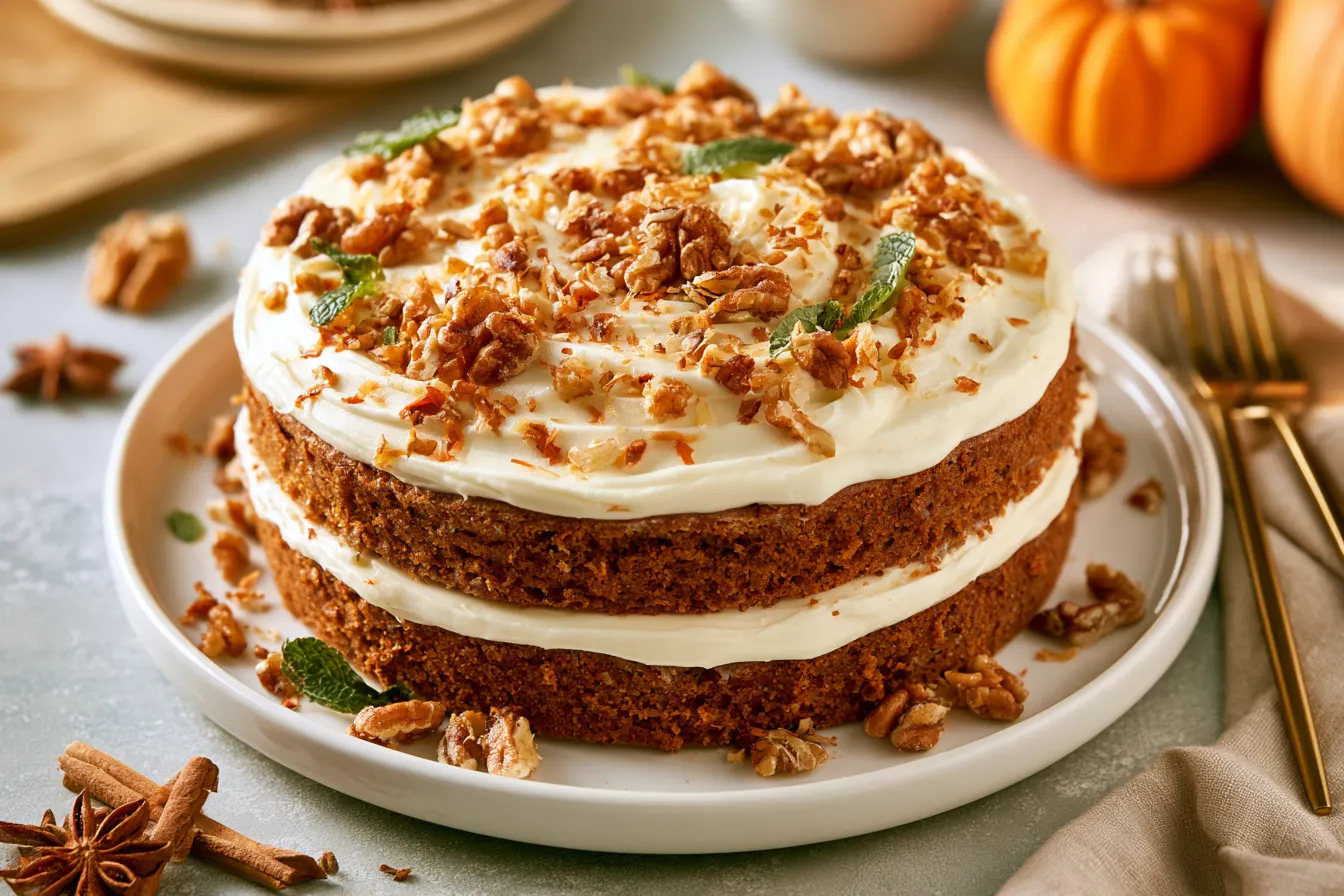
E very single time I attempt to frost a cake, I remember my very first disastrous attempt. It involved a lopsided chocolate cake, a can of store-bought frosting that refused to cooperate, and a spatula wielded with the grace of a toddler finger-painting. The end result was less “elegant dessert” and more “mudslide on a plate.” If you’ve ever stared down a freshly baked cake, frosting in hand, feeling a wave of panic, you’re in good company. But fear not, because learning how to frost a cake beautifully is entirely within reach, even for total beginners.
- Why This Beginner-Friendly Method Works Every Time
- Gather Your Frosting Arsenal: Essential Tools
- The Star of the Show: Your Frosting
- Getting Your Cake Ready: The Foundation for Success
- The Art of Frosting: Step-by-Step to a Perfect Finish
- Common Frosting Pitfalls and How to Dodge Them
- Frequently Asked Questions About Frosting Cakes
- Storing Your Beautifully Frosted Creation

Why This Beginner-Friendly Method Works Every Time
You might have seen countless videos of professional bakers effortlessly gliding spatulas and piping bags, creating intricate designs. It’s easy to feel overwhelmed. But my approach focuses on simplicity and building confidence. We’re not aiming for competition-level artistry here; we’re aiming for a stable, smooth, and delicious finish that you’ll be proud to show off. The secret lies in a few key steps that ensure your cake is prepped perfectly and your frosting is applied efficiently. We’ll talk about chilling, crumb coating, and the gentle art of the final layer. It’s a process that minimizes frustration and maximizes success.Gather Your Frosting Arsenal: Essential Tools
Before we even think about touching that cake, let’s make sure you have the right equipment. Having the proper tools makes an enormous difference in how easily and neatly you can frost. You don’t need a professional pastry chef’s kit, but a few specific items will make your life much, much easier.Must-Have Frosting Tools:
- Offset Spatula (Small and Large): These are your best friends. The offset handle keeps your knuckles from dragging in the frosting, allowing for smoother application. A small one is great for tight spots and crumb coating, while a larger one helps smooth broader surfaces.
- Bench Scraper or Icing Smoother: This flat, straight edge is invaluable for achieving perfectly smooth sides on your cake. It works like magic to even out frosting layers.
- Turntable (Optional but Highly Recommended): A rotating cake stand makes frosting the sides of your cake incredibly simple. You can spin the cake instead of walking around it, ensuring even coverage. If you don’t have one, a sturdy dinner plate on a non-slip mat can work in a pinch.
- Piping Bags and Tips (Optional, for Decoration): If you want to add borders or decorative swirls, a basic set of piping bags and a few star or round tips are helpful.
- Small Bowls/Containers: For dividing frosting if you’re using different colors, or for keeping your crumb coat frosting separate.
The Star of the Show: Your Frosting
The type of frosting you use plays a significant role in how easy or difficult it is to work with. For beginners, a stable, not-too-soft frosting is ideal.Best Frostings for Beginners:
- American Buttercream: This is a classic for a reason. It’s easy to make, holds its shape well, and is forgiving. It can be a little sweet, but its stability is a huge advantage for learning.
- Cream Cheese Frosting (Thickened): A well-made cream cheese frosting, especially one with a bit more powdered sugar, can also be quite stable and delicious. Just make sure it’s chilled if it feels too soft.
- Swiss or Italian Meringue Buttercream: These are silkier and less sweet but require a bit more technique to make. Once made, they are incredibly smooth and a dream to work with. If you’re feeling adventurous, give them a try!

Getting Your Cake Ready: The Foundation for Success
You’ve baked your beautiful cake layers – congratulations! Now, let’s make sure they’re prepped for frosting. This step is crucial for preventing crumb-filled frosting and uneven layers.Step-by-Step Cake Prep:
- Cool Completely: This is non-negotiable. Your cake layers MUST be completely cool to the touch. Even slightly warm cake will melt your frosting into a greasy mess. I often bake cakes the day before and let them cool on a wire rack overnight, or pop them in the fridge once cooled.
- Level Your Cakes: If your cake layers have domed tops, use a serrated knife (a bread knife works well) to carefully level them. This creates a flat surface for stacking, preventing a lopsided cake. You can save the trimmed bits for cake pops or just snack on them!
- Chill Your Cakes (Optional but Recommended): Once leveled, wrap your cooled cake layers tightly in plastic wrap and chill them in the fridge for at least 30 minutes, or even in the freezer for 15-20 minutes. Cold cake is firmer and much easier to handle, especially when applying the first layer of frosting.
The Art of Frosting: Step-by-Step to a Perfect Finish
Alright, your cake is cool, leveled, and ready. Your frosting is at the perfect consistency. Let’s get frosting! This process is broken down into distinct stages for the best results.1. The Crumb Coat: Your Cake’s First Layer of Protection
The crumb coat is a thin layer of frosting that traps any loose crumbs, preventing them from mixing into your final, pristine outer layer. It’s a game-changer!- Place your first cake layer on your serving plate or turntable.
- Dollop about 1/4 to 1/2 cup of frosting onto the center of the first layer.
- Using your offset spatula, spread the frosting evenly across the top, going just to the edges. Don’t worry if it’s not perfect; this is just the base.
- Place the next cake layer on top, lining it up as best you can. Repeat the frosting process for each subsequent layer.
- Once all layers are stacked, apply a very thin, almost translucent, layer of frosting all over the top and sides of the cake. This is where you literally “trap the crumbs.”
- Tip: Use a very light hand when applying the crumb coat. If you press too hard, you’ll just dig up more crumbs. The goal is just to barely cover the cake.
- Pop the cake into the fridge or freezer for 15-30 minutes. This allows the crumb coat to firm up, creating a stable foundation for your final layer.

2. The Final Frosting Layer: Achieving Smooth Perfection
Now for the main event! With your chilled, crumb-coated cake, you’re ready for the smooth, beautiful outer layer.- Take your cake out of the fridge. It should feel firm to the touch.
- Dollop a generous amount of frosting onto the top of the cake – probably about 1 to 1.5 cups, depending on cake size.
- Using your large offset spatula, spread the frosting from the center outwards, gently pushing it towards the edges. You want to create a slightly mounded top that extends just beyond the cake’s edge.
- Now, for the sides: dollop frosting onto the sides of the cake in sections, working your way around. Use your offset spatula to spread it evenly, aiming for a consistent thickness. Don’t be shy with the frosting; it’s easier to remove excess than to add more.
- Once the entire cake is covered, use your offset spatula to smooth the top. Hold the spatula almost parallel to the cake and gently drag it across the surface, removing any excess frosting until it’s smooth.
- For the sides, hold your bench scraper or icing smoother perpendicular to the cake. With firm, even pressure, slowly rotate your turntable (or the cake itself) while holding the scraper steady. This will smooth out the frosting and create crisp sides. You might need to do a few passes.
- Note: As you smooth the sides, you’ll notice a small “lip” of frosting forming around the top edge. This is normal. Once the sides are smooth, use your offset spatula to gently drag this lip of frosting inwards towards the center of the cake, creating a clean, sharp edge.
- For a super-smooth finish, you can dip your offset spatula or bench scraper in hot water, wipe it dry, and then use it to smooth the frosting again. The warmth helps melt and smooth any imperfections.
3. The Finishing Touches: Decorate and Chill!
Once your cake is frosted, you can add any decorations you like – sprinkles, piped borders, fresh fruit, or edible flowers.- Decorate your cake as desired.
- Once decorated, pop your cake back into the fridge for at least 30 minutes, or even an hour, to allow the frosting to firm up completely. This makes it much easier to transport and slice cleanly.
Common Frosting Pitfalls and How to Dodge Them
Even with the best intentions, things can go a little sideways. Here are some common issues beginners face and how to fix them:Why is my frosting tearing the cake?
This usually happens if your cake isn’t fully cooled, or your frosting is too stiff. Ensure your cake is completely chilled before starting. If your frosting is too firm, let it sit at room temperature for 15-20 minutes, then re-whip it for a minute or two until it’s pliable.My frosting is too soft and sliding off!
The culprit here is usually frosting that’s too warm or has too much liquid. If your kitchen is warm, your frosting will soften quickly. Pop your frosting (or the entire frosted cake, if it’s already on) into the fridge for 15-20 minutes to firm up. If you’re making your own frosting, make sure you’re measuring ingredients precisely.I keep getting crumbs in my final frosting layer!
This is almost always due to skipping or rushing the crumb coat. The crumb coat is essential for trapping those sneaky crumbs. Make sure it’s thin, even, and thoroughly chilled before applying your final layer. Also, clean your spatula frequently between scoops of frosting.My cake is lopsided. Help!
This goes back to leveling your cake layers. If your layers aren’t flat, your cake will lean. Don’t skip leveling! If you’re already in the frosting stage and notice a slight lean, you can sometimes gently nudge the top layers into place before the frosting sets completely.Frequently Asked Questions About Frosting Cakes
Do I really need a turntable to frost a cake?
While not strictly mandatory, a turntable makes frosting sides incredibly easy and helps achieve a much smoother, more even finish. If you plan to frost cakes regularly, it’s a worthwhile investment. For occasional bakers, a steady hand and patience will get you there.How much frosting do I need for a standard 8-inch two-layer cake?
Generally, you’ll need about 3-4 cups of frosting for an 8-inch two-layer cake, and about 4-5 cups for a three-layer cake. This gives you enough for filling, crumb coat, and a generous final layer, with a little extra for any small decorations.Can I frost a cake the day before serving?
Absolutely! In fact, frosting a cake a day ahead can actually improve its flavor and moisture as the flavors meld. Just make sure to store it properly. Most frosted cakes (especially those with buttercream) can be stored at room temperature for a day or two, or in the fridge for up to 5 days, covered loosely.How do I get sharp edges on my cake?
Sharp edges come from careful smoothing with a bench scraper and then gently pulling that top “lip” of frosting inwards with an offset spatula. Chilling the cake after the crumb coat and after the final frosting layer also helps firm everything up, making it easier to refine those edges.What’s the best way to clean my frosting tools?
Scrape off as much excess frosting as you can into the trash (or a container if you’re saving it). Then, wash your tools immediately with warm, soapy water. Don’t let frosting dry on them; it becomes much harder to remove!Storing Your Beautifully Frosted Creation
Once your cake is frosted and chilled, proper storage ensures it stays fresh and delicious. Most buttercream-frosted cakes can sit at cool room temperature (68-72°F / 20-22°C) for up to 2 days, loosely covered with a cake dome or plastic wrap. If your kitchen is warmer, or if your frosting contains perishable ingredients like fresh cream or cream cheese, it’s best to store the cake in the refrigerator. Just be sure to bring it to room temperature for about an hour before serving for the best flavor and texture. For longer storage, many frosted cakes can be frozen! Wrap them tightly in plastic wrap, then foil, and they’ll keep for up to a month. Thaw in the fridge overnight. This step-by-step guide on how to frost a cake should give you all the confidence you need to tackle your next baking project. With a little patience and the right techniques, you’ll be creating stunning, smooth cakes in no time. Happy frosting!
How to Frost a Cake Like a Pro (Beginner's Guide)
Master cake frosting with this easy, step-by-step beginner's guide to smooth, bakery-worthy results at home.
📝 Ingredients
👩🍳 Instructions
- 1Prepare Your Cake: Ensure your cake layers are completely cooled (chilled is best) and leveled. Place the first cake layer on your serving plate or turntable.
- 2Stack and Fill: Dollop about 1/2 cup of frosting onto the center of the first layer. Use an offset spatula to spread it evenly to the edges. Place the next cake layer on top, align it, and repeat with frosting. Continue until all layers are stacked.
- 3Apply the Crumb Coat: Take about 1/2 to 1 cup of frosting and apply a very thin, almost translucent layer over the entire top and sides of the stacked cake. This traps any loose crumbs. Use a light touch. Refrigerate the cake for 15-30 minutes until the crumb coat is firm.
- 4Apply the Final Top Layer: Remove the chilled cake. Dollop a generous amount of frosting (about 1-1.5 cups) onto the top. Using your large offset spatula, spread the frosting from the center outwards, creating a slightly mounded top that extends just beyond the cake's edge.
- 5Frost the Sides: Apply generous dollops of frosting to the sides of the cake. Use your offset spatula to spread it evenly around the entire circumference, aiming for a consistent thickness. Don't worry about perfection yet.
- 6Smooth the Top: Hold your offset spatula almost parallel to the cake top and gently drag it across the surface, removing excess frosting and smoothing it out. Clean your spatula as needed.
- 7Smooth the Sides: Hold a bench scraper or icing smoother perpendicular to the cake. With firm, even pressure, slowly rotate your turntable (or the cake itself) while holding the scraper steady. This will smooth out the frosting and create crisp sides. Repeat until smooth.
- 8Create Sharp Edges: As you smooth the sides, a small lip of frosting will form around the top edge. Use your offset spatula to gently drag this lip of frosting inwards towards the center of the cake, creating a clean, sharp edge.
- 9Final Chill & Decorate: Refrigerate the fully frosted cake for at least 30 minutes to allow the frosting to firm up. Decorate as desired with sprinkles, piping, or fruit. Serve at room temperature for best flavor and texture.
💡 Notes
Always use completely cool cake layers to prevent melting. If your frosting is too stiff, add a tiny bit of milk or cream (1 tsp at a time) and beat until smooth. If too soft, refrigerate for 10-15 minutes and stir. For extra sharp edges, chill the cake briefly after smoothing the sides before pulling in the top lip.



