


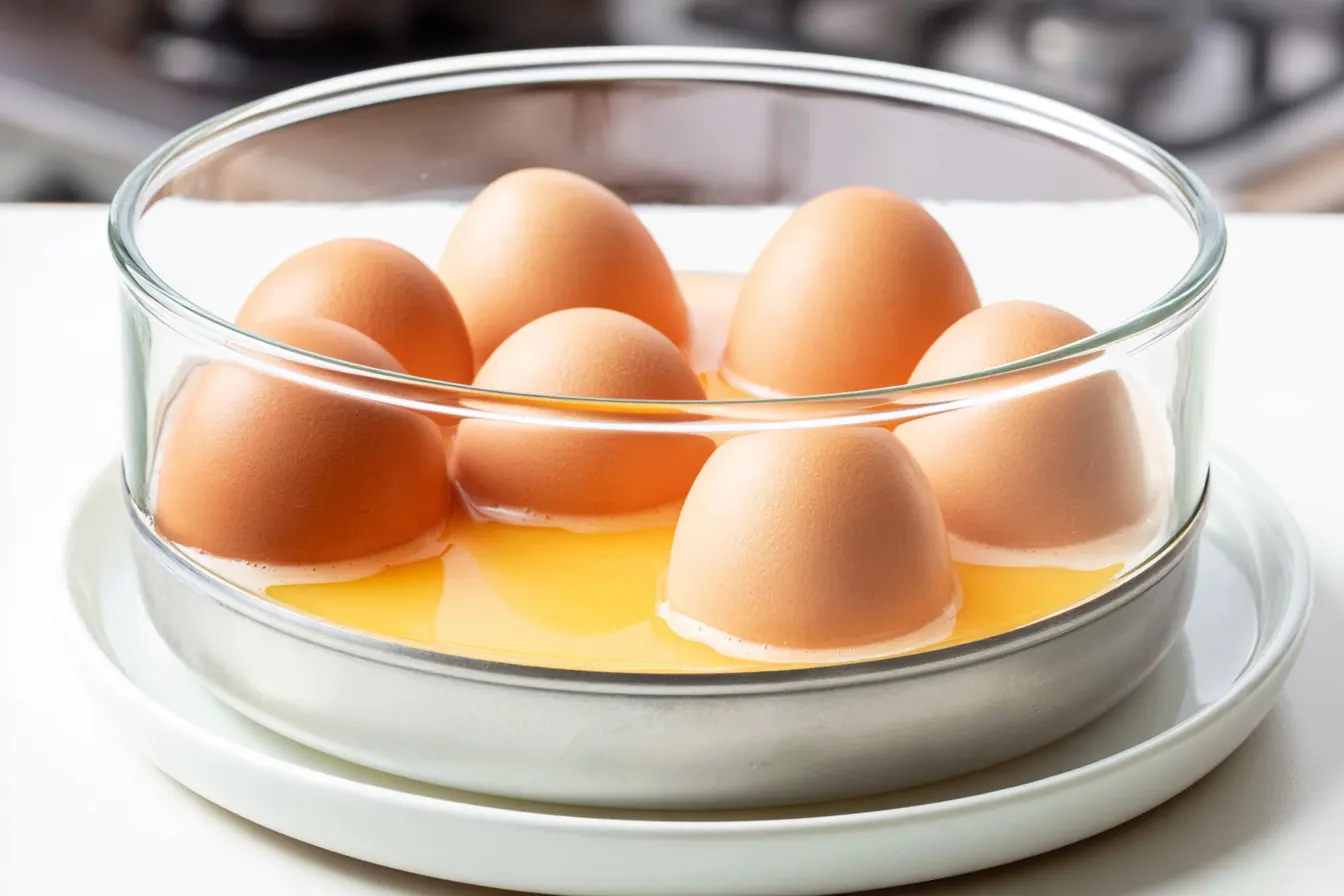
Have you ever scrolled past a tiramisu recipe, a classic Caesar salad dressing, or even a homemade mayonnaise, only to pause at the “raw egg” warning? It’s a common dilemma. We want that silky texture and rich flavor, but the thought of unpasteurized eggs can give anyone pause, especially when cooking for young children, pregnant women, or those with compromised immune systems. This guide will walk you through exactly how to pasteurize eggs right in your own kitchen, giving you the confidence to tackle those recipes you’ve been eyeing.
- Why Bother with Pasteurization?
- Essential Gear for the Job
- How to Pasteurize Whole Eggs
- Separating and Pasteurizing Yolks or Whites
- Common Pitfalls and How to Avoid Them
- What About Commercially Pasteurized Eggs?
- Recipes That Benefit from Pasteurized Eggs
- Storage and Shelf Life
- Troubleshooting Common Questions

Why Bother with Pasteurization?
Before we get into the “how,” let’s quickly touch on the “why.” The primary reason to pasteurize eggs is to eliminate harmful bacteria, specifically Salmonella, which can be present in raw eggs. While the risk is relatively low in commercially produced eggs, it’s not zero. The pasteurization process involves heating the eggs to a specific temperature for a set amount of time, just enough to kill bacteria without actually cooking the egg. Think of it as a gentle thermal bath for your eggs. This delicate balance is key: you want to sanitize them, not scramble them. For dishes where eggs aren’t fully cooked – anything from custards that don’t reach a high boil to meringues that are only lightly baked – pasteurization offers a crucial layer of food safety. It’s peace of mind, deliciousness, and culinary freedom, all rolled into one.Essential Gear for the Job
You don’t need a professional kitchen setup to pasteurize eggs, but a few key tools will make the process much smoother and more accurate. Precision is important here, so having the right equipment on hand is a must. First and foremost, you’ll need a reliable instant-read thermometer. This is non-negotiable. An accurate reading is crucial to ensure you hit the target temperature to kill bacteria without overcooking the eggs. A digital thermometer with a thin probe is ideal. Next, a medium-sized saucepan is perfect for creating your water bath. Choose one that’s large enough to comfortably hold your eggs without them touching the bottom or sides too much, allowing for even heat distribution. A slotted spoon will be helpful for carefully placing and removing the eggs. Finally, a bowl of ice water is essential for rapidly cooling the eggs after pasteurization. This stops the cooking process immediately and ensures the eggs don’t continue to heat up from residual warmth, which could lead to an unwanted texture change. Having all these items ready before you start will make the whole process much less stressful.How to Pasteurize Whole Eggs
This method is fantastic for when your recipe calls for whole eggs – think a rich crème brûlée, a smooth hollandaise, or any batter where you want the safety of a pasteurized product. It’s surprisingly straightforward once you get the hang of it.Gather Your Supplies
You’ll need fresh, clean eggs, a medium saucepan, an instant-read thermometer, a slotted spoon, and a large bowl filled with ice water. Having everything within arm’s reach before you begin is a good strategy.Prepare the Water Bath
Fill your saucepan about halfway with water. You want enough water to fully submerge the eggs without overflowing when they’re added. Bring this water to a gentle simmer over medium heat. The target temperature for the water is between 140°F and 142°F (60°C and 61°C). Use your thermometer to monitor this closely. It’s important not to let the water get too hot, or you risk cooking the eggs.Add and Monitor Eggs
Carefully place the eggs into the simmering water using your slotted spoon. Don’t just drop them in, as they could crack. Once the eggs are submerged, maintain the water temperature between 140°F and 142°F (60°C and 61°C) for precisely 3 to 5 minutes. Gently stir the eggs occasionally to ensure even heating. Tip: If the water temperature starts to drop below 140°F, increase the heat slightly. If it climbs above 142°F, remove the pan from the heat briefly until it cools down, then return it. This constant monitoring is the most crucial part.Cool Them Down
After the 3 to 5 minutes are up, immediately transfer the eggs from the hot water bath into your bowl of ice water. Let them sit in the ice bath for at least 10 minutes, or until they are completely cool to the touch. This rapid cooling halts the cooking process, ensuring the eggs retain their raw, liquid state inside. Once cooled, you can use them immediately or store them in the refrigerator for up to two weeks, just like unpasteurized eggs.
Separating and Pasteurizing Yolks or Whites
Sometimes, a recipe calls for just the yolks or just the whites, and you want to ensure they’re pasteurized. This method is slightly different from pasteurizing whole eggs, as you’ll be working with the separated components directly over a double boiler. It’s perfect for things like Swiss meringue buttercream (whites) or homemade custards (yolks).Getting Ready
First, separate your eggs carefully, ensuring no yolk gets into the whites if you’re pasteurizing whites, and vice versa. You’ll need a heatproof bowl (preferably glass or stainless steel), a saucepan for the double boiler, an instant-read thermometer, and a whisk.The Double Boiler Method
Fill your saucepan with about an inch or two of water and bring it to a simmer. Place your heatproof bowl over the saucepan, making sure the bottom of the bowl does not touch the simmering water. Add your egg yolks or whites to the bowl.Whisk and Heat
Continuously whisk the yolks or whites as they heat over the simmering water. This constant movement is essential to prevent them from scrambling. Monitor the temperature with your instant-read thermometer. For egg yolks, you’re aiming for 160°F (71°C) for about 30 seconds. For egg whites, the target is 160°F (71°C) for about 30 seconds. It’s a delicate dance: you want to reach the pasteurization temperature without cooking them solid. Keep whisking vigorously, especially around the edges of the bowl, to ensure even heating. The mixture will thicken slightly as it heats, but it should remain pourable and smooth.Immediate Cooling
Once the target temperature is reached and held for the specified time, remove the bowl from the heat. If you’re using yolks, you can whisk in a little sugar from your recipe at this stage to help stabilize them and prevent further cooking. For whites, continue whisking off the heat for a minute or two to help them cool slightly. Immediately transfer the bowl to a larger bowl filled with ice water, continuing to whisk occasionally until the egg yolks or whites are completely cool. This quick chill is vital for stopping the cooking process and maintaining their liquid consistency. Once cooled, they are ready to be used in your recipe.
Common Pitfalls and How to Avoid Them
Even though pasteurizing eggs isn’t overly complicated, there are a few common missteps that can lead to less-than-ideal results. Knowing what to watch out for will save you time and frustration. One of the most frequent errors is overheating the eggs. If your water bath for whole eggs is too hot, or if you don’t whisk constantly when pasteurizing separated yolks or whites, you’ll end up with partially cooked eggs. They might look cloudy, have small cooked bits, or even start to curdle. This is why a reliable thermometer and constant attention are your best friends. Keep that water bath between 140-142°F (60-61°C) for whole eggs, and whisk, whisk, whisk for separated ones. Another issue can be uneven heating. If eggs are left to sit in a water bath without occasional stirring, or if the double boiler bowl touches the simmering water, some parts of the egg might cook while others don’t reach the pasteurization temperature. Always ensure good circulation in the water bath and that your double boiler setup is correct. Finally, not cooling the eggs rapidly enough can also be a problem. If you remove them from the heat and let them sit at room temperature, they’ll continue to cook from residual heat. The ice bath is essential for instantly halting this process and preserving their raw state. Be prepared with your ice bath before you even start heating.What About Commercially Pasteurized Eggs?
You might be wondering, “Why go through all this trouble when I can just buy pasteurized eggs?” And that’s a fair question! Commercially pasteurized eggs are indeed a convenient option, and they work perfectly well in any recipe calling for raw eggs. However, there are a few reasons why you might choose to pasteurize your own. Firstly, availability can be an issue. Not all grocery stores consistently stock pasteurized eggs, especially in smaller towns or specialty varieties. Secondly, cost can be a factor. Pasteurized eggs often come with a higher price tag than regular eggs. For those who prioritize freshness, using eggs from a local farm or even your own backyard chickens is a wonderful thing. These eggs, while incredibly fresh, are not pasteurized. Learning this technique allows you to enjoy the safety benefits without sacrificing your preference for local, unpasteurized eggs. It’s about having options and control in your kitchen.Recipes That Benefit from Pasteurized Eggs
Once you’ve mastered the art of pasteurizing eggs, a whole new world of recipes opens up to you. Many classic dishes, known for their rich texture and flavor, traditionally call for raw eggs. Now, you can make them with complete confidence. Imagine a truly authentic Tiramisu, where the creamy mascarpone filling is enriched with safe, pasteurized egg yolks. The texture is divine, and the flavor is exactly as it should be, without any lingering worries. Or consider a classic Caesar Salad Dressing – that unmistakable depth of flavor and perfect emulsion comes from egg yolks, and now you can enjoy it without concern. Homemade ice cream bases often rely on a custard made with egg yolks, which can be lightly cooked but benefit from pre-pasteurization for extra safety. Mousse recipes, from chocolate to fruit-based, frequently incorporate raw egg whites for their airy structure. Even a simple, decadent aioli or mayonnaise becomes a worry-free delight. Any recipe where eggs are not fully cooked to 160°F (71°C) will benefit immensely from this simple safety step.Storage and Shelf Life
Once you’ve gone through the effort of pasteurizing your eggs, you’ll want to store them properly to maintain their safety and quality. The good news is that pasteurized eggs can be stored in much the same way as their unpasteurized counterparts. For whole pasteurized eggs, simply return them to their original carton or an airtight container and refrigerate them. They will last for about two weeks, similar to regular eggs. It’s a good idea to mark the carton with the date you pasteurized them so you know exactly how long they’ve been stored. For separated pasteurized egg yolks or whites, place them in an airtight container immediately after cooling in the ice bath. Refrigerate them promptly. Pasteurized yolks are best used within 2-3 days, while pasteurized whites can last a little longer, up to 4 days, when stored correctly. Always check for any off-smells or discoloration before use. Freezing is also an option for longer storage. Just place them in freezer-safe containers and they’ll keep for several months. Just remember to thaw them in the refrigerator before using.Troubleshooting Common Questions
It’s natural to have a few questions when trying a new kitchen technique. Here are some common inquiries about pasteurizing eggs, along with helpful answers to guide you.Can I use a slow cooker for pasteurizing eggs?
While theoretically possible to maintain a consistent low temperature, a slow cooker isn’t ideal for pasteurizing eggs. Its temperature controls are often not precise enough for the narrow 140-142°F (60-61°C) range required, and it can take too long to reach and stabilize the temperature. The stovetop method with a thermometer offers much better control and accuracy.Will pasteurizing affect the taste or texture of the eggs?
When done correctly, pasteurizing eggs should not noticeably alter their taste, texture, or cooking properties. The goal is to heat them just enough to kill bacteria without actually cooking them. If you over-pasteurize, you might notice a slight cloudiness or thickening, but a properly pasteurized egg will look and behave exactly like a fresh, raw egg in your recipes.What if my eggs crack during pasteurization?
Cracked eggs during pasteurization can be a result of thermal shock (placing very cold eggs into too-hot water) or bumping them around too much. Using room-temperature eggs and carefully lowering them into the water can help. If an egg cracks significantly, it’s best to discard it, as the internal contents may have been exposed to unpasteurized water. Small hairline cracks might be okay if the membrane is intact, but err on the side of caution.Can I pasteurize duck or other poultry eggs this way?
Yes, the same principles apply to pasteurizing other poultry eggs like duck or quail eggs. However, due to differences in size and shell thickness, you may need to adjust the timing slightly. Larger eggs might need an extra minute or two in the water bath, while smaller eggs might need a minute less. Always use your instant-read thermometer to check the internal temperature, if possible, or observe for any signs of cooking.Is it possible to pasteurize eggs in their shell in a sous vide bath?
Absolutely! Sous vide is actually an excellent, highly precise method for pasteurizing eggs in their shell. Set your sous vide bath to 135°F (57°C) for about 75 minutes. This low and slow approach gently heats the eggs to a safe temperature without any risk of cooking them. It’s a hands-off and very reliable way to get perfectly pasteurized eggs, especially if you have a sous vide circulator.
How to Pasteurize Eggs at Home
Learn to safely pasteurize whole eggs, whites, or yolks at home for any recipe requiring raw eggs, like tiramisu or Caesar dressing.
📝 Ingredients
👩🍳 Instructions
- 1For Whole Eggs in Shell:
- 21. Fill a medium saucepan about halfway with water. Bring the water to a gentle simmer over medium heat, aiming for a consistent temperature between 140°F and 142°F (60°C and 61°C). Use an instant-read thermometer to monitor.
- 32. While the water heats, prepare an ice bath: fill a large bowl with ice and water. Set aside.
- 43. Carefully place the eggs into the simmering water using a slotted spoon, ensuring they are fully submerged. Maintain the water temperature between 140°F and 142°F (60°C and 61°C) for exactly 3 to 5 minutes. Stir the eggs gently occasionally for even heating.
- 54. After 3-5 minutes, immediately transfer the eggs from the hot water bath into the prepared ice bath. Let them cool completely for at least 10 minutes, or until cold to the touch. This stops the cooking process.
- 65. Use immediately or store in the refrigerator for up to 2 weeks, just like unpasteurized eggs.
- 7For Separated Yolks or Whites (Double Boiler Method):
- 81. Separate your eggs carefully, ensuring no yolk gets into the whites if pasteurizing whites, and vice versa. Place yolks or whites in a heatproof bowl (glass or stainless steel).
- 92. Fill a saucepan with 1-2 inches of water and bring it to a simmer. Place the heatproof bowl over the saucepan, ensuring the bottom of the bowl does not touch the simmering water.
- 103. Continuously whisk the yolks or whites as they heat over the simmering water. Monitor the temperature with an instant-read thermometer. For yolks or whites, heat to 160°F (71°C) and hold for 30 seconds, whisking constantly.
- 114. Immediately remove the bowl from the heat and place it into a larger bowl filled with ice water. Continue whisking occasionally until the egg yolks or whites are completely cool. This rapid cooling prevents further cooking.
- 125. Use immediately or store in an airtight container in the refrigerator for 2-4 days. For longer storage, freeze in freezer-safe containers.
💡 Notes
Always use a reliable instant-read thermometer for accurate temperature control. Do not exceed the recommended temperatures or times, as this will cook the eggs. Rapid cooling in an ice bath is critical to stop the cooking process.



