


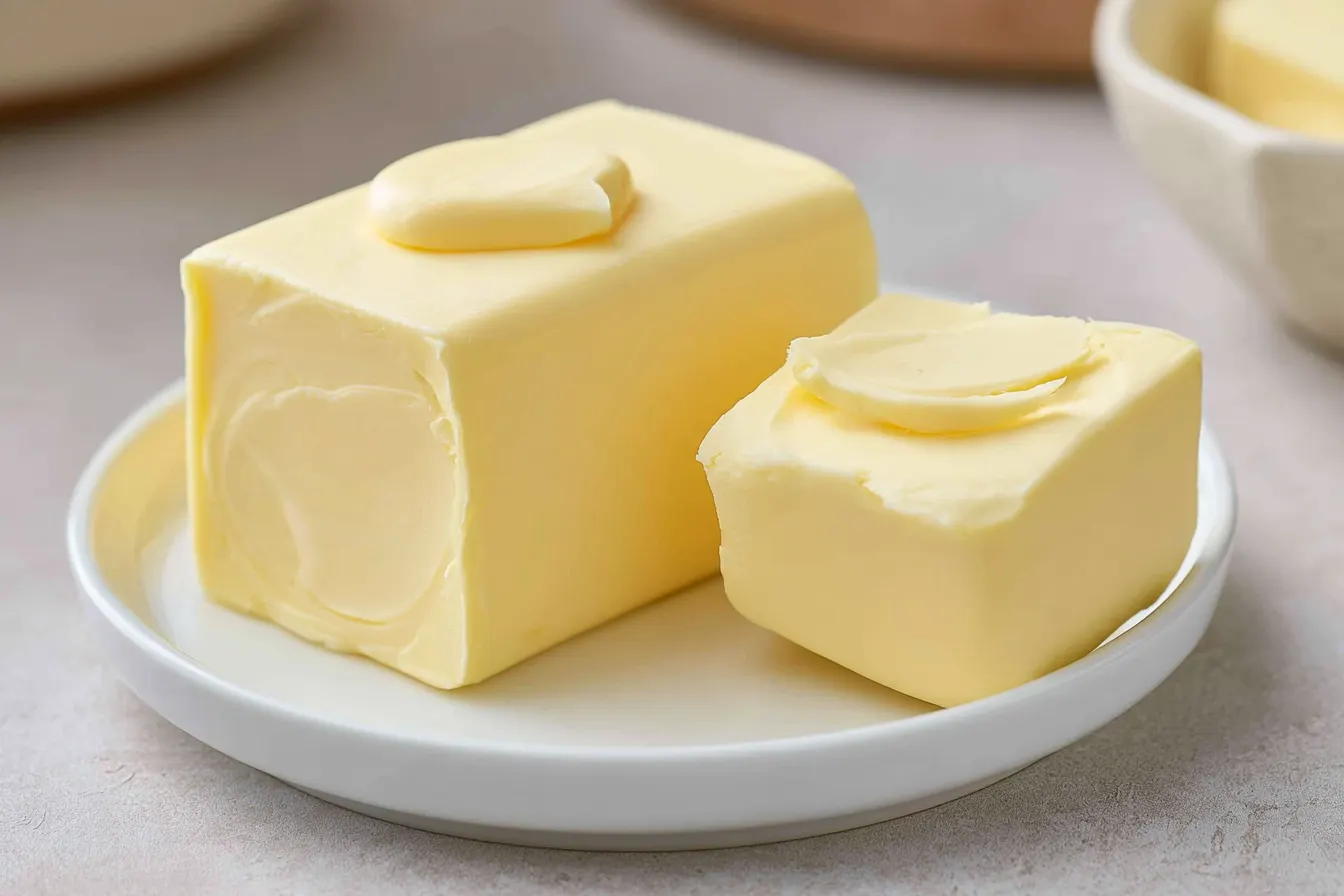
Ever found yourself mid-recipe, staring down a cold, hard stick of butter when the instructions clearly call for “room temperature”? It’s a classic baking predicament, isn’t it? One minute you’re humming along, ready to whip up a batch of dreamy cookies, and the next you’re halted by a rock-solid dairy dilemma. Learning how to soften butter quickly isn’t just a time-saver; it’s a genuine skill that elevates your baking from good to absolutely glorious.

Why “Room Temperature” Matters So Much
Before we dive into the nitty-gritty of *how* to soften butter quickly, let’s briefly touch on the *why*. You might be thinking, “Can’t I just microwave it for a few seconds?” And while that’s a common impulse, it’s often a shortcut to disaster. Truly room temperature butter—meaning 65-70°F (18-21°C)—is soft enough to yield to gentle pressure, but still cool to the touch. It holds its shape. When butter is at this ideal temperature, its fat molecules are stable yet flexible. This allows it to emulsify smoothly with other ingredients, like sugar, trapping air and creating a light, airy base for your batters and doughs. Over-softened or melted butter, however, separates and greases out, leading to flat, dense, or oily results. Think sad, spread-out cookies instead of perfectly puffy ones!The Best Ways to Bring Butter to Temperature, Fast!
There are several reliable techniques to achieve that perfectly softened butter texture without melting it. Each has its pros and cons, and some are better suited for different situations or quantities of butter. I encourage you to try a few and see which one becomes your go-to!1. The Grater Method: Instant Gratification
This is probably my favorite last-minute trick, especially if I only need a stick or two. It’s shockingly effective and provides almost instant results. How it works: Grab a box grater (the kind you’d use for cheese) and grate your cold stick of butter directly into a bowl. The act of grating creates small, thin strands of butter, which have a much larger surface area exposed to the ambient air. Why it’s great: It softens incredibly fast, often in just a couple of minutes, thanks to that increased surface area. You can immediately see and feel the difference. Perfect for: Cookies, cakes, muffins, or anything where you need softened butter in a hurry. Considerations: It can get a little messy, and you’ll want to use it right away, as the thin strands can warm up quickly.2. The Pounding & Rolling Technique: A Bit of Therapy
If you’ve had a stressful day, this method might just be for you! It’s also fantastic for larger quantities of butter. How it works: Place your cold butter stick between two sheets of parchment paper or plastic wrap. Using a rolling pin or a heavy pan, gently pound and roll the butter until it flattens into an even sheet, about 1/4-inch thick. The physical action and increased surface area warm it up. Why it’s great: It’s fast and gives you a nice, evenly softened piece of butter. Plus, it’s a bit therapeutic! Perfect for: Pie crusts (if you need it slightly softer than fridge-cold but not fully room temp), cookie doughs, or when you need a larger amount. Considerations: Requires a bit of arm work. Ensure your parchment or plastic wrap is sturdy.3. The Warm Water Bath: Gentle and Even
This is a classic for a reason – it provides very gentle, even softening without the risk of melting. How it works: Fill a medium bowl with warm (not hot!) water. Take your stick of butter, still in its wrapper, and place it in a larger, sealable plastic bag (like a Ziploc). Make sure the bag is sealed completely to prevent water from getting in. Submerge the bagged butter in the warm water for 5-10 minutes. Why it’s great: The water gently transfers heat, softening the butter evenly from all sides. It’s a very controlled method. Perfect for: Any baking recipe where precise softening is key. Considerations: Don’t use hot water, or you’ll melt the butter. Ensure the bag is sealed tight!
4. The Glass Bowl Trick: Steamy Goodness
This method uses residual heat and steam to create a mini “sauna” for your butter. How it works: Boil some water in a kettle or microwave-safe mug. Pour the hot water into a heat-proof glass bowl (or just heat the water in the bowl directly). Let it sit for a minute or two to warm the bowl, then pour the water out. Immediately invert the warm, empty bowl over your stick of butter, which should be sitting on a plate or cutting board. The residual heat and steam will gently soften the butter. Why it’s great: It’s surprisingly effective and doesn’t require any special equipment beyond what’s probably already in your kitchen. Perfect for: Single sticks of butter for smaller baking projects. Considerations: Make sure the bowl is warm but not scorching hot. You might need to repeat if your butter is super cold.5. Cutting into Small Pieces: Basic but Effective
Sometimes the simplest solutions are the best. This is a no-fuss approach. How it works: Cut your cold stick of butter into small, even cubes, about 1/2-inch to 1-inch in size. Spread them out on a plate. The increased surface area allows them to come to room temperature much faster than a whole stick. Why it’s great: Extremely simple, requires no special tools, and is hard to mess up. Perfect for: When you have a little bit of time (15-20 minutes) but not hours. Considerations: Still takes a bit longer than the grating or pounding methods.6. The Microwave (Use with Extreme Caution!)
Okay, I’m including this one because I know many people try it, but it comes with a *huge* caveat. This is the riskiest method and easily leads to partially melted butter, which you want to avoid. How it works: Place a stick of butter (unwrapped) on a microwave-safe plate. Microwave on the *lowest* power setting (usually 10-20% power) for 5-10 second bursts, flipping the butter between bursts. Stop as soon as it yields to gentle pressure. Why it’s great: It *can* be very fast if done perfectly. Perfect for: Experienced bakers who know their microwave well and are willing to babysit the butter. Considerations: The risk of melting is very high, and once butter melts, it won’t cream properly. If it melts, it’s best to start over or use it for something else (like buttering toast!).
What About Vegan Butter or Margarine?
Good question! Most plant-based butter sticks and margarine behave very similarly to dairy butter when it comes to softening. The same principles apply: increased surface area and gentle, even heat transfer will help them reach that ideal pliable consistency. The water bath, grating, pounding, and cutting into pieces methods all work wonderfully for vegan butter. Just be mindful that some brands of vegan butter can be a bit softer to begin with, so they might require less time to soften. Always check the package instructions, as some brands are formulated specifically for baking.Frequently Asked Questions About Softened Butter
Here are some common queries that pop up when discussing this essential baking component.Q: How do I know if my butter is truly “room temperature”?
A: The perfect test is gentle pressure. Your finger should make a slight indentation in the butter without sinking straight through. It should feel cool, not greasy or oily, and hold its shape. If it looks shiny or starts to separate, it’s too warm.
Q: Can I re-chill butter that got too soft?
A: You can, but it won’t have the same uniform texture when it re-hardens. If it’s just a little too soft, popping it in the fridge for 5-10 minutes might save it. If it’s melted, chilling it solidifies the fat, but the water content often separates, making it less ideal for creaming or whipping.
Q: Does the type of butter matter when softening?
A: Yes, slightly. Higher fat European-style butters tend to be a bit firmer when cold due to their lower water content, and might take a minute or two longer to soften. American-style butter, with slightly more water, can soften a tad quicker. Unsalted butter is generally preferred for baking to control salt levels, but salted butter softens the same way.
Q: What’s the ideal temperature for room temperature butter?
A: Aim for butter that’s between 65°F and 70°F (18°C-21°C). This range ensures it’s soft enough to cream well but firm enough to hold air. Your kitchen’s ambient temperature will play a big role, so adjust your method accordingly.
Q: What happens if I use cold butter in a recipe that calls for softened?
A: Using cold butter will result in a denser, tougher product. When cold butter is creamed with sugar, it won’t incorporate as much air, leading to a less airy, more compact texture. In cookies, this often means they don’t spread as much and can be crumbly. In cakes, it might be heavy and less tender. It truly makes a noticeable difference!
Beyond Softening: Butter Storage Tips
While we’re on the subject of butter, a quick note on storage can make your life easier. For everyday use (spreading on toast, cooking quick meals), keeping a small amount of butter in a butter dish on the counter is generally safe for a few days, especially in a cooler kitchen. However, for baking, always store your butter in the refrigerator. Why? Because fresh, properly stored butter performs best in recipes. Exposure to air and light can make butter go rancid faster, affecting its flavor. When you’re ready to bake, you can then pull out exactly what you need and apply one of these quick softening methods. This ensures your ingredients are always at their peak for the best results.My Personal Takeaway
After years of baking, I’ve come to appreciate that the little details often make the biggest difference. Properly softened butter is one of those foundational elements that can truly elevate your homemade treats. It’s not about being a perfectionist; it’s about understanding the science behind the ingredients and giving them the best chance to shine. So, the next time you forget to pull that butter out of the fridge, don’t despair! Pick one of these methods, get that butter to its ideal state, and enjoy the process. Happy baking!
6 Quick Ways to Soften Butter
Unlock perfect baking results every time with 6 easy and fast methods to soften butter to room temperature.
📝 Ingredients
👩🍳 Instructions
- 1Method 1: The Grater Method - Unwrap the cold butter. Using a box grater, grate the entire stick of butter into a bowl. The thin strands will soften almost immediately. Use within 5-10 minutes.
- 2Method 2: The Pounding & Rolling Technique - Place the unwrapped cold butter between two sheets of parchment paper or plastic wrap. Using a rolling pin or a heavy pan, gently pound and roll the butter until it flattens into an even sheet, about 1/4-inch thick. This increases surface area and warms it quickly. Peel from parchment and use.
- 3Method 3: The Warm Water Bath - Place the butter (still in its wrapper or in a sealed plastic bag) into a bowl. Fill the bowl with warm (not hot!) water. Submerge the butter completely. Let sit for 5-10 minutes, checking for softness. Remove, pat dry, and use.
- 4Method 4: The Glass Bowl Trick - Heat a heat-proof glass bowl by filling it with hot water, letting it sit for 1-2 minutes, then pouring the water out. Place the unwrapped cold butter on a plate. Immediately invert the warm, empty bowl over the butter, creating a mini steam tent. Let sit for 5-15 minutes, checking periodically. Repeat if needed.
- 5Method 5: Cutting into Small Pieces - Unwrap the cold butter and cut it into small, 1/2-inch to 1-inch cubes. Spread the cubes out on a plate. Allow 15-20 minutes for the pieces to come to room temperature.
- 6Method 6: The Microwave (Use with Extreme Caution!) - Unwrap the butter and place it on a microwave-safe plate. Microwave on the lowest power setting (10-20%) for 5-10 second bursts. Flip the butter after each burst. Stop immediately when it yields to gentle pressure. *Avoid melting at all costs.*
💡 Notes
Always aim for butter that is pliable and cool, not greasy or melted. If butter becomes too soft or melts, it's best to use it for another purpose or re-chill and try again, though the texture may be slightly altered. These methods are also suitable for most plant-based butter sticks.



