


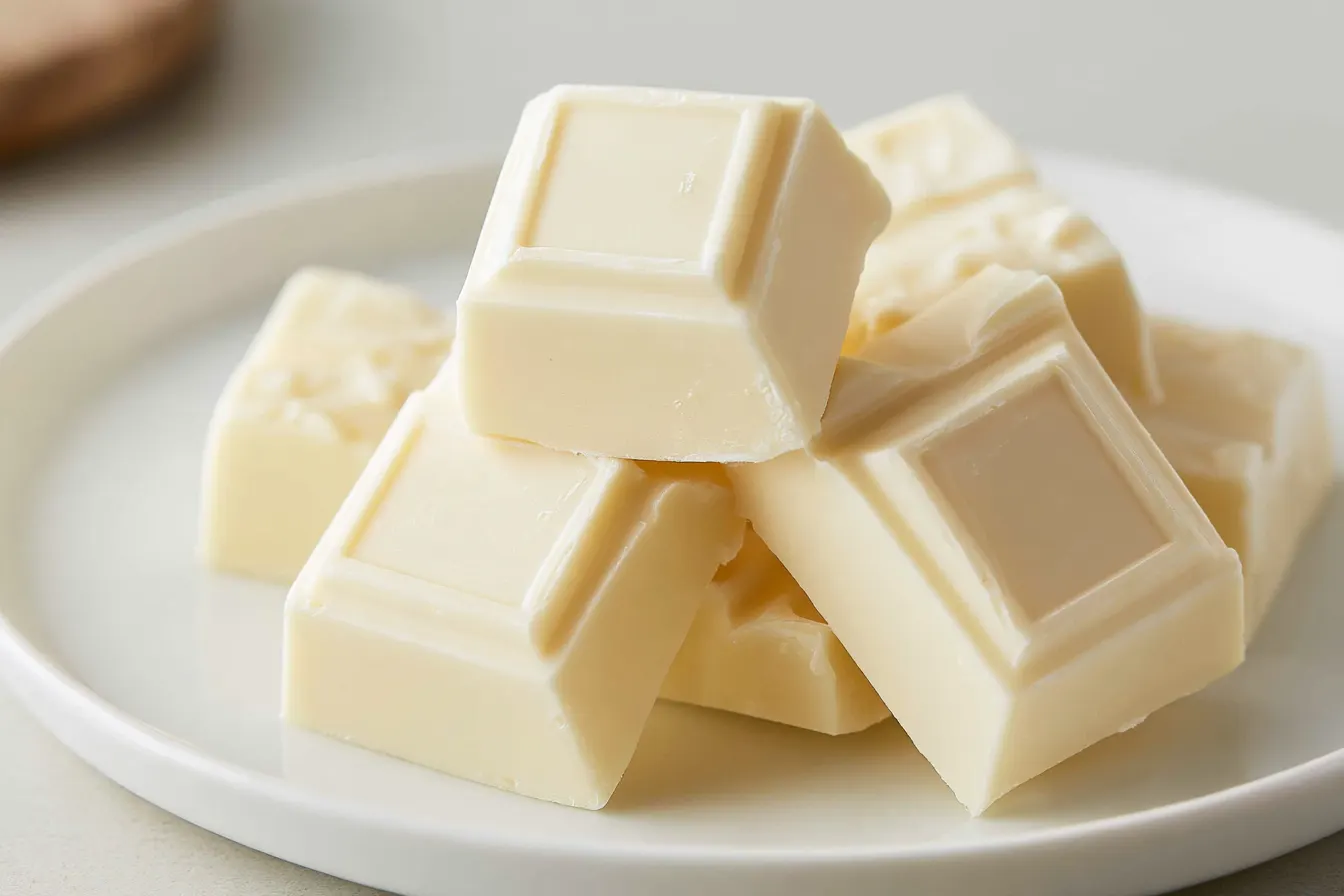
When I was a kid, white chocolate felt like the fanciest thing on Earth. It wasn’t the dark, mysterious bar my dad kept hidden, nor the everyday milk chocolate everyone else loved. No, white chocolate was this smooth, creamy, almost ethereal confection that seemed to melt on my tongue like a sweet dream. It felt special, and honestly, a little misunderstood, even back then. As I grew up and started baking, that curiosity only deepened.

The Curious Case of White Chocolate: A Deep Dive
Let’s get right to the heart of the matter. The main distinguishing factor for what is white chocolate lies in what it *doesn’t* contain: cocoa solids. Traditional dark and milk chocolates get their rich color and distinctive flavor from cocoa solids, the non-fat part of the cocoa bean. White chocolate, however, is made exclusively from cocoa butter, along with sugar, milk solids (like milk powder), and often vanilla. This unique composition gives white chocolate its signature pale hue and incredibly smooth, melty texture. It’s less bitter, sweeter, and has a distinct creamy, often vanilla-forward flavor profile that makes it a fantastic partner for brighter fruits, tart berries, or even a counterpoint to more robust flavors. Understanding this fundamental difference is your first step to mastering its use in the kitchen.A Quick Look at the Ingredients that Matter
When you’re scrutinizing a label, here’s what you want to see for quality white chocolate: Cocoa Butter: This is the star. It’s the fat extracted from the cocoa bean and is responsible for the luxurious mouthfeel and low melting point. A higher percentage usually means better quality. Sugar: Provides the sweetness. Milk Solids: These contribute to the creamy texture and flavor. They can be whole milk powder, skim milk powder, or cream powder. Vanilla: Often vanilla extract or vanillin, enhancing the sweet aroma. Lecithin (usually soy or sunflower): An emulsifier that helps keep everything smooth and prevents separation. You *won’t* find cocoa liquor (cocoa solids and cocoa butter combined) in proper white chocolate. If a product lists vegetable oils or other fats instead of cocoa butter as the primary fat, it’s not truly white chocolate; it’s a confectionary coating, and it behaves very differently when melted.Why White Chocolate Behaves Differently in Baking
Because it lacks cocoa solids, white chocolate has a lower melting point than its dark or milk counterparts. This is both a blessing and a curse. On one hand, it melts beautifully into smooth ganaches and glazes. On the other, it can seize or burn more easily if not handled with care. Its sweetness and creaminess mean it often pairs best with ingredients that provide a contrast. Think tart raspberries, zingy lemon, crunchy nuts, or even a sprinkle of sea salt to balance its richness. It’s not just a blank canvas; it’s a thoughtful ingredient that deserves to be paired well.
The Art of Melting White Chocolate Without a Meltdown
Melting white chocolate might seem straightforward, but it’s where many bakers encounter trouble. Its high sugar and milk solid content, combined with the pure cocoa butter, makes it susceptible to seizing if it gets too hot or comes into contact with even a tiny drop of water. Bain-Marie (Double Boiler): This is my preferred method. Place finely chopped white chocolate in a heatproof bowl set over a saucepan of simmering water. Ensure the bottom of the bowl doesn’t touch the water. The steam provides gentle, even heat. Stir constantly until smooth. Microwave Method: Use with extreme caution. Place chopped white chocolate in a microwave-safe bowl. Heat in short bursts (15-30 seconds) on medium power, stirring thoroughly after each interval. It might not look fully melted when you take it out, but the residual heat will continue to melt it as you stir. Don’t overheat! A crucial tip: always chop your white chocolate into small, uniform pieces. This ensures even melting and reduces the risk of burning or seizing. The smaller the pieces, the quicker and more gently it will melt.Baking with White Chocolate: Recipes and Ideas
Now that we know what it is and how to handle it, let’s talk about the delicious possibilities. White chocolate is incredibly versatile, adding a luxurious creaminess and sweet note to countless desserts. White Chocolate Raspberry Scones: The sweetness of the chocolate perfectly balances the tartness of the raspberries. White Chocolate Macadamia Nut Cookies: A classic pairing for a reason – the buttery macadamias and creamy white chocolate are a match made in heaven. White Chocolate Mousse: Light, airy, and incredibly decadent. A perfect vehicle for showcasing its pure flavor. White Chocolate Ganache: Ideal for glazes, fillings, or even whipped into a frosting. Drizzles and Decorations: Its pale color makes it fantastic for contrasting drizzles over darker desserts or for creating intricate designs. Don’t be afraid to experiment! White chocolate can elevate simple desserts into something truly special.Choosing the Right White Chocolate for Your Project
The quality of your white chocolate will significantly impact your final product. For general baking, good quality white chocolate chips or bars from reputable brands work well. For melting and tempering (like for dipping or glazes): Opt for baking bars or couverture white chocolate. These have a higher cocoa butter content and temper beautifully, resulting in a shiny, snap-able finish. For chunks in cookies or muffins: Chips or larger chunks are perfect as they hold their shape better. For flavor focus: Choose a brand you genuinely enjoy eating on its own. The flavor will shine through in your dessert. Remember, a “white chocolate flavored candy coating” is *not* the same thing. Those often contain hydrogenated oils and behave very differently when melted, often resulting in a waxy texture and less appealing flavor. Always read the ingredients!Common Questions About White Chocolate
It’s natural to have a few lingering questions about this unique ingredient. Here are some of the most common ones I hear:Is white chocolate really chocolate?
Technically, no, not in the same way dark or milk chocolate is. It contains cocoa butter, which comes from the cocoa bean, but it lacks cocoa solids. The FDA in the U.S. defines white chocolate as containing a minimum of 20% cocoa butter, at least 14% total milk solids, and no more than 55% sugar. So while it’s derived from the cocoa bean, it’s missing a key component that gives “chocolate” its traditional definition.Why does my white chocolate seize when I melt it?
Seizing is almost always caused by one of two things: overheating or contact with moisture. Even a tiny drop of water (from steam, a wet spatula, or condensation) can cause the sugar crystals to clump together, turning your smooth chocolate into a grainy, unworkable mess. Overheating causes the sugar and milk solids to burn and seize. Always melt gently and ensure your equipment is completely dry.Can I substitute white chocolate for milk or dark chocolate?
Flavor-wise, not usually. White chocolate has a much sweeter, creamier, and less intense flavor profile. Texture-wise, you might be able to in some recipes (like ganaches, though the ratio of chocolate to cream would change due to different fat content), but the overall taste of your dessert would be drastically different. For best results, stick to what the recipe calls for or understand that your final product will have a significantly altered flavor.How should I store white chocolate?
Store white chocolate in a cool, dry place, away from direct sunlight and strong odors. An airtight container or its original packaging is best. Avoid the refrigerator unless you live in a very hot and humid climate, as refrigeration can cause sugar bloom (a white, powdery film) due to condensation, affecting texture and appearance. Stored properly, it can last for several months to a year.What’s the difference between white chocolate and white baking chips?
While many white baking chips are indeed white chocolate, some are “white confectionery coating” or “white flavored chips.” Always check the ingredient list. If cocoa butter isn’t listed as a primary fat ingredient, it’s likely a confectionery coating, which uses other vegetable oils. These coatings melt differently and don’t provide the same rich flavor or smooth texture as true white chocolate.
White Chocolate Raspberry Truffles: A Taste of Elegance
Now that you’re an expert on the nuances of white chocolate, let’s put that knowledge to good use with a truly decadent recipe: White Chocolate Raspberry Truffles. These are incredibly easy to make, yet feel wonderfully sophisticated, making them perfect for gifting or a special treat. The tart raspberries cut beautifully through the richness of the white chocolate, creating a balanced and utterly addictive bite.Gather Your Goodies: What You’ll Need
For the Truffles: 10 ounces high-quality white chocolate, finely chopped 1/2 cup heavy cream (at least 36% fat) 1/4 cup seedless raspberry preserves or jam 1 teaspoon vanilla extract Pinch of salt For Rolling (choose one or a combination): 1/2 cup freeze-dried raspberries, crushed into a powder 1/2 cup unsweetened cocoa powder 1/2 cup shredded coconut 1/2 cup finely chopped nuts (pistachios or almonds work wonderfully)Crafting Your Truffle Magic: Step-by-Step
The process is surprisingly simple, allowing the quality of your ingredients to shine.Step 1: Prepare Your Ganache Base
Place the finely chopped white chocolate in a medium heatproof bowl. In a small saucepan, gently heat the heavy cream until it just begins to simmer around the edges – do not let it boil vigorously. Pour the hot cream directly over the chopped white chocolate. Let it sit undisturbed for 5 minutes. This allows the heat to gently melt the chocolate.Step 2: Whisk to Perfection
After 5 minutes, add the raspberry preserves, vanilla extract, and pinch of salt to the bowl. Starting from the center and working your way out, gently whisk the mixture until it becomes completely smooth, glossy, and emulsified. There should be no streaks of unmixed chocolate or preserves. Tip: If any small pieces of chocolate remain, you can place the bowl over a very lightly simmering pot of water (ensuring the bowl doesn’t touch the water) for a minute, stirring constantly, until fully smooth. Be careful not to overheat!Step 3: Chill and Firm
Cover the bowl tightly with plastic wrap, pressing the wrap directly onto the surface of the ganache to prevent a skin from forming. Refrigerate for at least 4 hours, or until the mixture is firm enough to scoop. For best results, chill overnight.Step 4: Roll Your Truffles
Once firm, use a small cookie scoop (about 1 tablespoon) or two spoons to portion out the ganache. Quickly roll each portion between your palms to form a smooth ball. Work quickly as the warmth of your hands will start to melt the ganache. If the mixture becomes too soft, pop it back into the fridge for 10-15 minutes.Step 5: Coat and Finish
Place your chosen coatings (crushed freeze-dried raspberries, cocoa powder, etc.) in shallow dishes. Roll each truffle in your desired coating until evenly covered. Place the finished truffles on a parchment-lined baking sheet or platter.Step 6: Final Chill and Serve
Return the coated truffles to the refrigerator for at least 30 minutes to firm up completely before serving. They are best enjoyed at cool room temperature, allowing their flavors to fully bloom.Storage and Enjoyment
These White Chocolate Raspberry Truffles will keep in an airtight container in the refrigerator for up to 1 week. Bring them to room temperature for about 15-20 minutes before serving for the best texture and flavor. They also make a fantastic edible gift, packed into a pretty box with some tissue paper.
White Chocolate Raspberry Truffles
Decadent white chocolate truffles with a sweet-tart raspberry swirl, perfect for gifting or a special treat.
📝 Ingredients
👩🍳 Instructions
- 1Place the finely chopped white chocolate in a medium heatproof bowl.
- 2In a small saucepan, gently heat the heavy cream until it just begins to simmer around the edges; do not let it boil vigorously.
- 3Pour the hot cream directly over the chopped white chocolate. Let it sit undisturbed for 5 minutes to allow the chocolate to melt.
- 4Add the raspberry preserves, vanilla extract, and pinch of salt to the bowl. Starting from the center and working your way out, gently whisk the mixture until it becomes completely smooth, glossy, and emulsified.
- 5Cover the bowl tightly with plastic wrap, pressing the wrap directly onto the surface of the ganache to prevent a skin from forming. Refrigerate for at least 4 hours, or until the mixture is firm enough to scoop. For best results, chill overnight.
- 6Once firm, use a small cookie scoop (about 1 tablespoon) or two spoons to portion out the ganache. Quickly roll each portion between your palms to form a smooth ball. Work quickly as the warmth of your hands will start to melt the ganache. If the mixture becomes too soft, pop it back into the fridge for 10-15 minutes.
- 7Place your chosen coatings (crushed freeze-dried raspberries, cocoa powder, etc.) in shallow dishes. Roll each truffle in your desired coating until evenly covered.
- 8Place the finished truffles on a parchment-lined baking sheet or platter. Return the coated truffles to the refrigerator for at least 30 minutes to firm up completely before serving.
- 9Enjoy at cool room temperature for the best texture and flavor. Store in an airtight container in the refrigerator for up to 1 week.
💡 Notes
For a richer raspberry flavor, you can gently heat the raspberry preserves in a microwave for 15-20 seconds before adding to the ganache mixture. For variety, try rolling some truffles in different coatings or drizzling with melted dark chocolate for contrast.



